
>>

A simple, no bake treat made with shredded coconut, sweetened condensed milk, Manuka honey, whole almonds, and dark chocolate. Ready in under an hour and perfect for gifting.
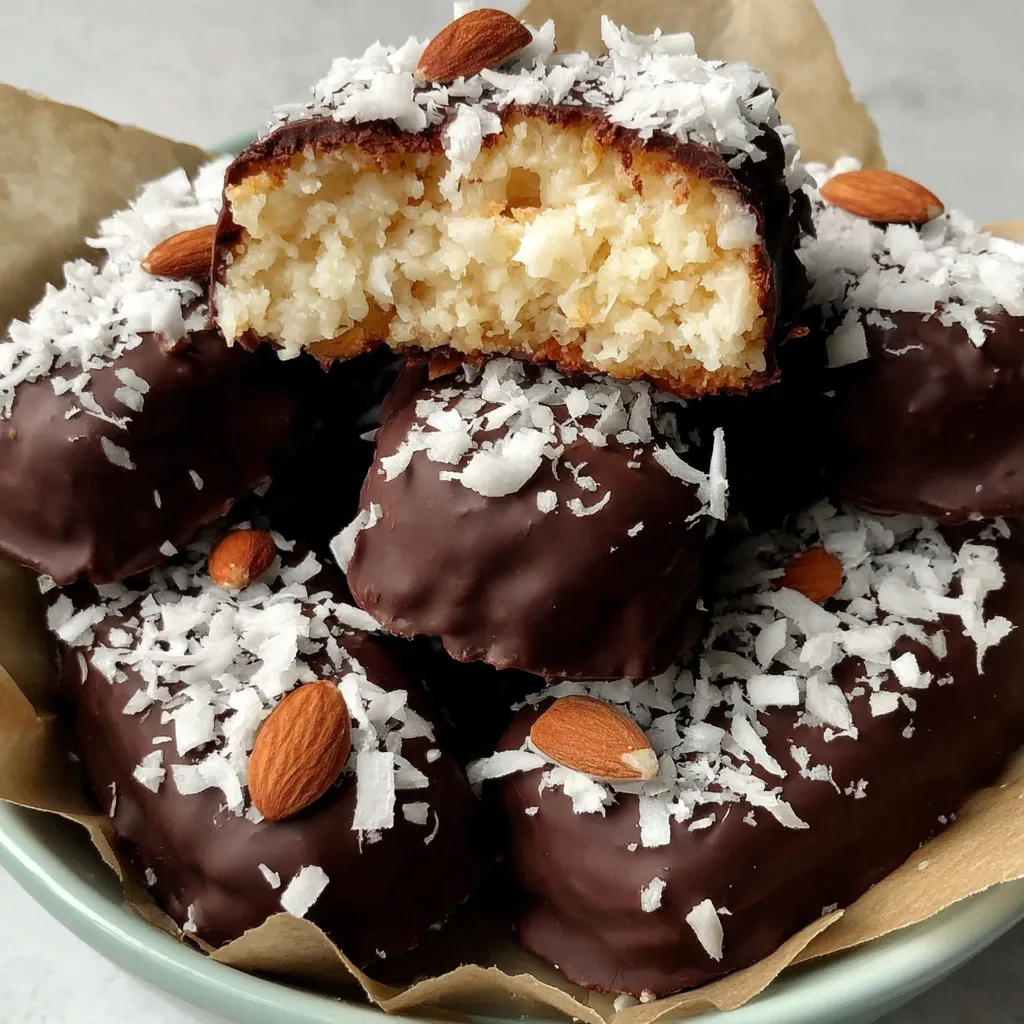
This recipe began as a weekend experiment and quickly became a favorite for both casual treats and homemade gifts. I wanted something that captured the classic almond and coconut combination without a long list of pantry ingredients. The result is a chewy coconut center glazed in glossy dark chocolate with a single almond pressed on top. I first made these on a rainy afternoon when the grocery store was low on options and I had a craving for classic candy bar flavors. The contrast between the tender coconut filling and the crisp chocolate exterior is what keeps me coming back.
What makes these bars special is how forgiving they are. The base mixture of shredded coconut, condensed milk, and a touch of Manuka honey creates a sticky, pliable filling that can be adjusted easily if it seems wet or dry. I sometimes use chocolate covered almonds when I want extra indulgence. These bars freeze well which makes them excellent for planning ahead or assembling for a party. The whole process is no bake and approachable for cooks of any level, while still delivering a candy shop quality finish when you take the extra minute to drizzle additional chocolate on top.
In my family these are the little victories that make holiday trays look more impressive than they are. A neighbor once mistook them for store bought and asked for the recipe the next day. I love assembling them with kids because shaping and pressing the almond on top is pure joy, and they are proud to hand out their own creations.
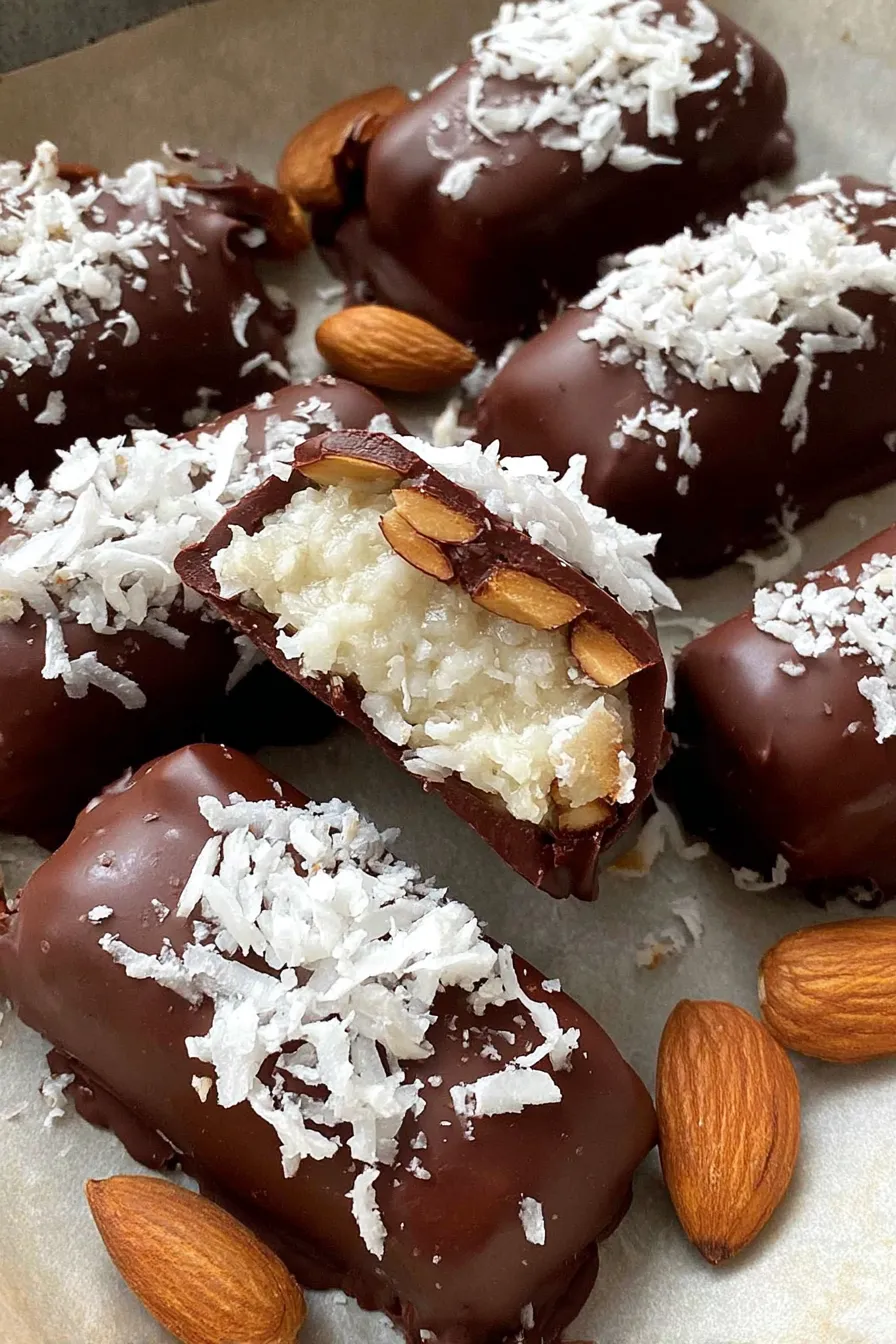
My favorite part of these bars is the immediate payoff. The first time I plated them for guests I watched people take a bite and smile, noting the satisfying chew and the clean crunch of the almond. Over the years I have tweaked the honey to balance sweetness and to add complexity, and I always keep a small jar of Manuka honey on hand for this purpose.
Store bars in an airtight container in the refrigerator for up to two weeks. For longer storage, freeze them in a single layer on a tray for an hour then transfer to a freezer safe container with parchment layers to prevent sticking. When you want to serve, move them to the refrigerator to thaw for thirty to sixty minutes. For best texture avoid leaving them at room temperature for long periods on warm days to prevent chocolate bloom.
If you prefer dairy free swap condensed milk for sweetened condensed coconut milk cup for cup. For nut free select a seed such as a roasted pumpkin seed to press on top instead of an almond. If you like a sweeter finish use milk chocolate in place of dark. To reduce sugar slightly try using a lighter touch of honey and choosing unsweetened coconut with a small increase in condensed milk to maintain binding.
Serve chilled on a small dessert plate with a dusting of finely chopped roasted almonds or a light sprinkle of flaky sea salt to enhance the chocolate. These work well on holiday trays or boxed as gifts with tissue paper and a simple ribbon. Pair with strong coffee or a dark roast to balance the sweetness. For a party display vary sizes and include some with chocolate drizzle and some plain for contrast.
The flavor combination of coconut almond and chocolate traces back to classic candy bars from the mid twentieth century. The contrast of chewy coconut and crunchy nuts paired with chocolate became a hallmark of American confectionery. These bars capture that nostalgic profile in a homemade form and allow home cooks to control ingredient quality and sweetness while preserving the familiar textures that made the original so beloved.
In winter add a pinch of warm spices such as cinnamon or ground cardamom to the coconut mixture for seasonal warmth. For summer swap dark chocolate for a lighter milk chocolate and chill the bars well before serving outside. For holiday gifting add a few drops of almond extract to the filling to deepen the nutty character and sprinkle finely chopped toasted coconut on top before the chocolate sets.
Make the coconut centers ahead and keep them frozen on a tray. When you need fresh bars dip the frozen centers in melted chocolate and set them quickly in the fridge. This method lets you produce a fresh coating and keeps the centers tender. Label containers with the date and store in layers separated by parchment for easy access.
These bars are satisfying to make and share. Take a moment to experiment with chocolate types and almond varieties to discover the combination you love the most. Sharing them is part of the fun and they make a lovely homemade gift.
If the filling is too sticky refrigerate for ten minutes before shaping to make handling easier.
Warm the chocolate gently and add a teaspoon of coconut oil to achieve a glossy melt that coats evenly.
To prevent fingerprints on the finished bars use silicone gloves or chill the bars briefly after dipping.
Use fine shredded coconut for a smoother texture and easier shaping.
This nourishing 5-ingredient homemade almond joy candy bars recipe is sure to be a staple in your kitchen. Enjoy every moist, high protein slice — it is perfect for breakfast or as a wholesome snack any time.
This 5-Ingredient Homemade Almond Joy Candy Bars recipe makes perfectly juicy, tender, and flavorful steak every time! Serve with potatoes and a side salad for an unforgettable dinner in under 30 minutes.
Combine two cups unsweetened shredded coconut with one cup sweetened condensed milk and one to two tablespoons honey in a medium bowl. Stir until mixture is thick and sticky and holds together when pressed. Adjust texture with extra coconut or a splash more condensed milk as needed.
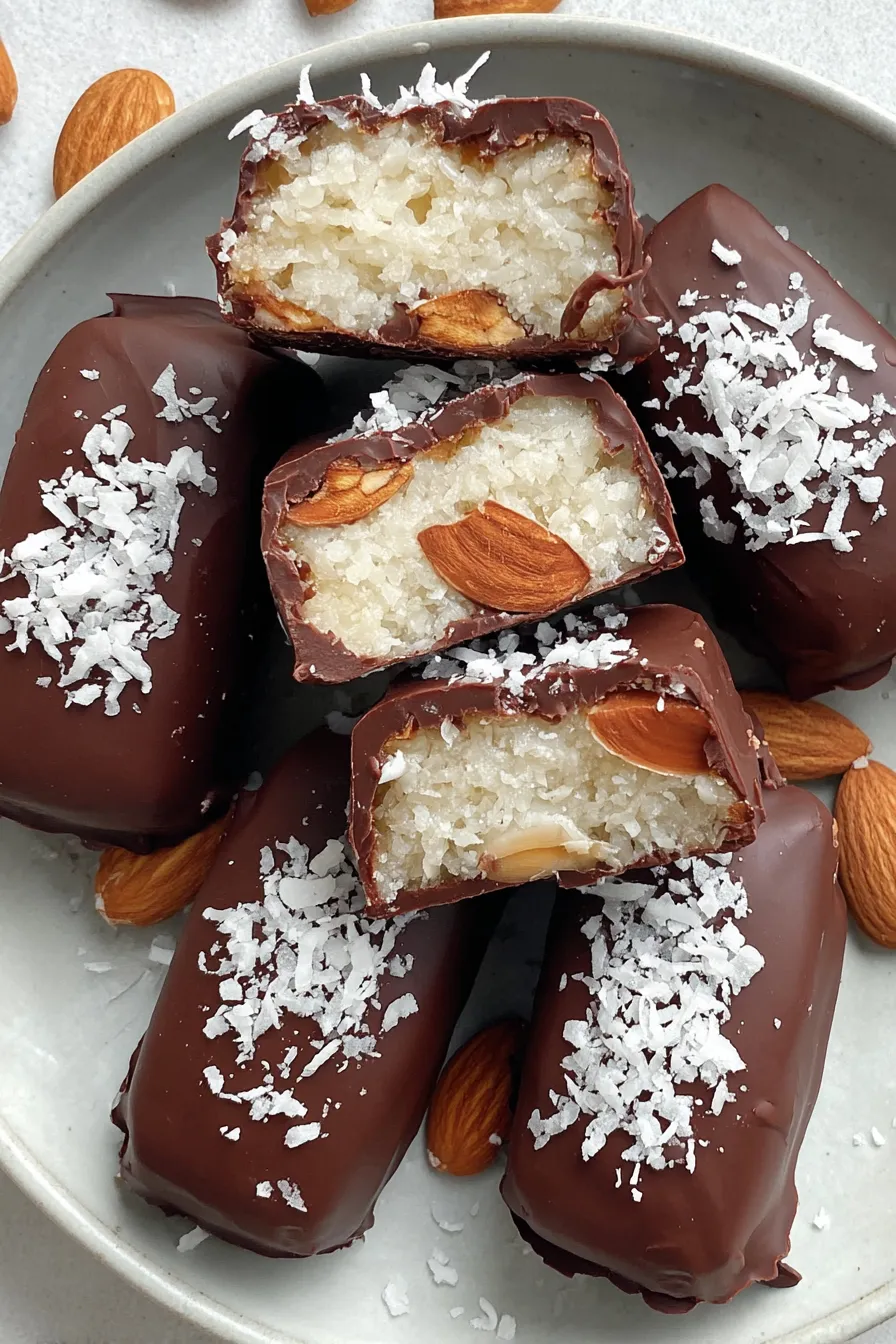
Line a baking sheet with parchment. Form the coconut mixture into oblong mounds about two inches long and one inch wide using a spoon or lightly oiled hands. Aim for nine to twelve pieces depending on size preference.
Press one almond onto each mound. Place the tray in the freezer for forty five to sixty minutes to firm up so the pieces are easier to dip.
Melt one cup dark chocolate chips in a microwave safe bowl in thirty second intervals stirring between each until smooth. Add one teaspoon coconut oil if chocolate is thick to create a glossy coating.
Remove frozen centers and dip each into melted chocolate using a fork or dipping tool. Tap off excess and return to parchment. Drizzle extra chocolate if desired and chill in the fridge or freezer for ten to fifteen minutes until set.
Last Step: Please leave a rating and comment letting us know how you liked this recipe! This helps our business to thrive and continue providing free, high-quality recipes for you.
Leave a comment & rating below or tag
@gusteen on social media!

Ultra-fudgy brownies crowned with melty marshmallows and a glossy cocoa icing. A nostalgic crowd-pleaser that slices cleanly and disappears fast.

Buttery shortbread crust meets gooey brown-sugar pecan filling in these quick, crowd-pleasing bars, prepped in just 10 minutes.

Ultra-smooth pumpkin cheesecake with warm spice, sturdy graham crust, and a foolproof, crack-free bake. Perfect with caramel and whipped cream.
Leave a comment & rating below or tag @gusteen on social media!
Enjoyed this recipe? Share it with friends and family, and don't forget to leave a review!
This recipe looks amazing! Can't wait to try it.
Comments are stored locally in your browser. Server comments are displayed alongside your local comments.

Join to receive our email series which contains a round-up of some of our quick and easy family favorite recipes.
