
>>

Crisp, stand-and-stuff baked tacos filled with seasoned ground beef and melted cheddar-jack — easy, family-friendly, and perfect for weeknights or gatherings.
I’ve served these at neighborhood potlucks and quiet weeknight dinners; they always disappear fast. My nephew, who’s picky about textures, loves that the shells stay crisp while the cheese and meat are warm and comforting. Experimenting with different cheeses and a splash of lime before serving has become part of our ritual — small tweaks that make a big difference.
My favorite thing about these is how reliably they bring people together. On a busy night when my partner arrives late from work, I can have these hot and ready with minimal fuss — and the leftovers (if there are any) always make excellent lunch the next day. The crisp shells and gooey cheese feel indulgent, while the process stays straightforward.
Store leftover baked tacos and filling separately when possible. Transfer any unused filling to an airtight container and refrigerate for up to 2 days. The baked, fully assembled tacos are best eaten the same day; if you must store them, cool completely and place in a single layer in an airtight container with paper towels to absorb moisture — they’ll keep for up to 24 hours but will lose crispness. To reheat, place assembled tacos in a 350°F oven for 6–8 minutes to revive the cheese and crisp the shells. For longer storage, freeze cooked filling (not assembled tacos) in freezer-safe containers for up to 3 months; thaw overnight in the fridge before reheating on the stove.
Swap the ground beef for ground turkey or chicken (use 85/15 equivalent) for a leaner option; increase olive oil slightly if using very lean meat to maintain moisture. For a vegetarian version, replace meat with seasoned lentils or crumbled plant-based ground beef; add a teaspoon of soy sauce or miso for umami. If you don’t have tomato sauce, use 1/2 cup crushed tomatoes mixed with 2 tablespoons water. For dairy-free eaters, omit the cheese and finish tacos under the broiler with a thin layer of dairy-free cheese alternative or a sprinkle of nutritional yeast to introduce savory flavor.
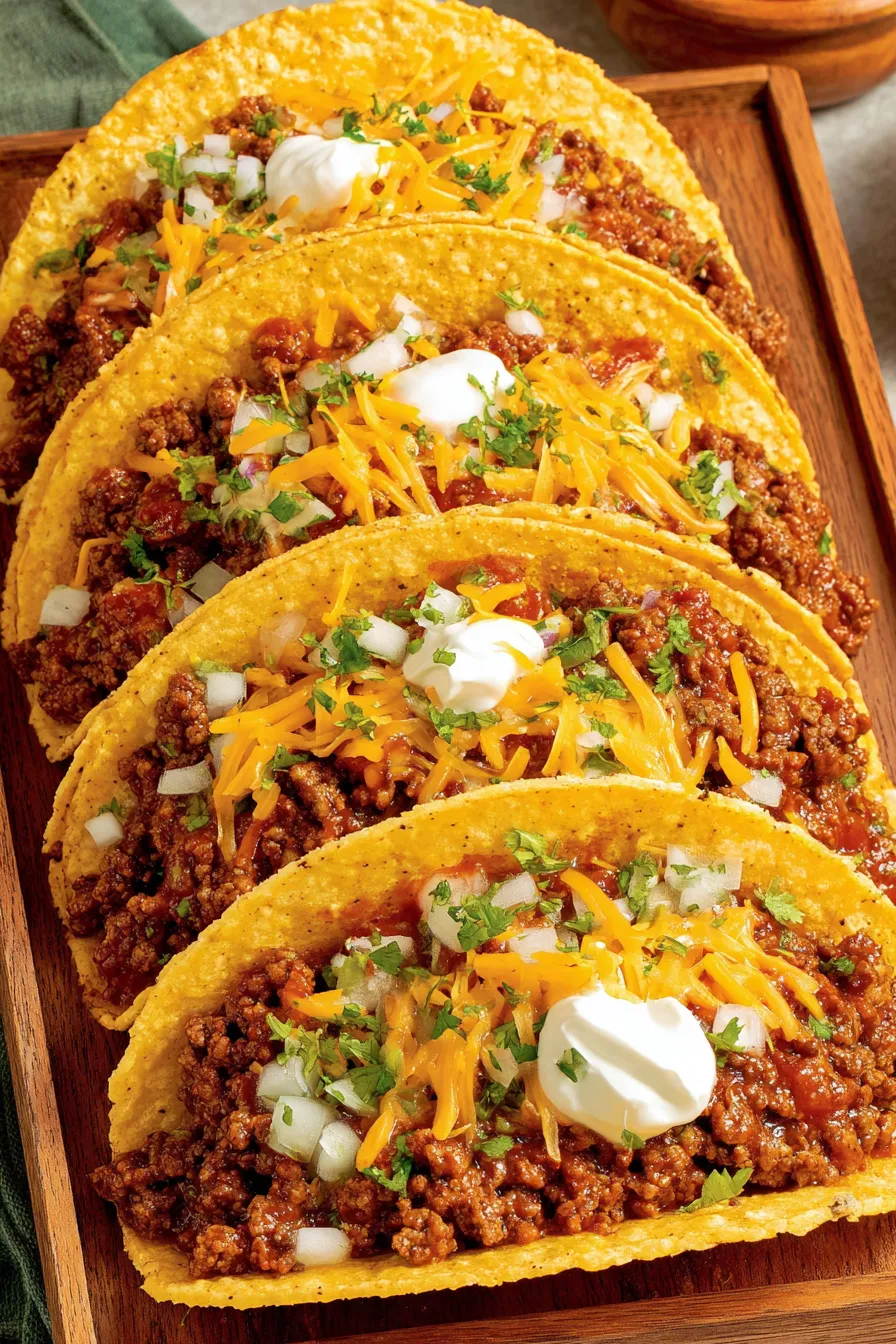
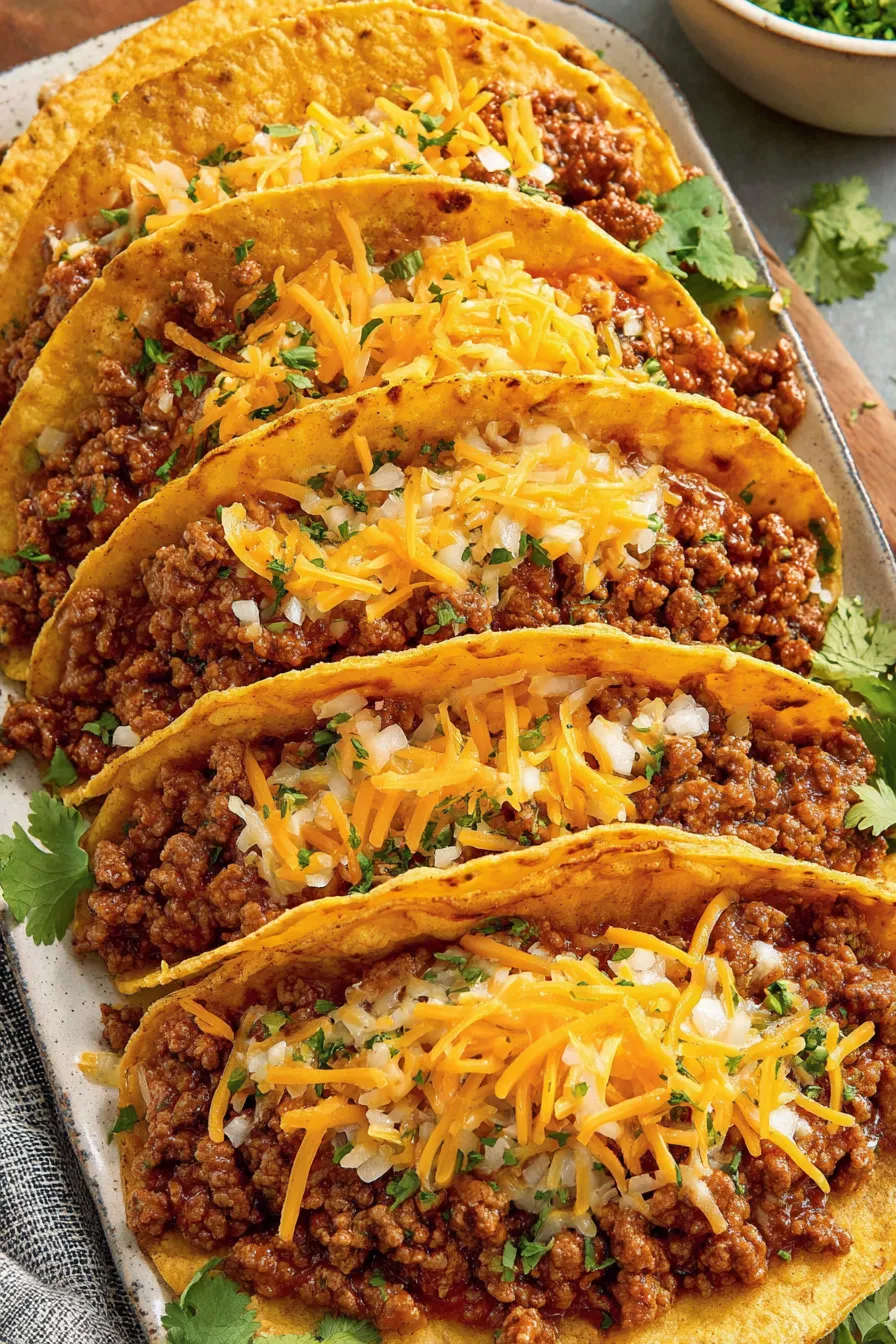
Serve these with classic taco accompaniments like shredded lettuce, diced tomatoes, sliced jalapeños, sour cream, pico de gallo, and lime wedges. For a festive board, include bowls of guacamole, pickled onions, and a smoky salsa. Pair with a crisp green salad or a simple Mexican-style rice for a heartier meal. For gatherings, arrange the baked tacos on a platter with small plates and let guests add their toppings — they’re easy to eat with one hand and pair wonderfully with light, citrusy beverages.
Hard-shell tacos as typically served in many American households are an adaptation of traditional Mexican antojitos. The concept of baking tacos in a pan to crisp them and melt the cheese is a practical, Americanized approach that blends convenience with the flavor profile of classic tacos. Using corn shells nods to Mexico’s long history of maize-based cuisine, while the stand-and-stuff shells became popular as grocery staples in the mid-20th century. This version celebrates the textures and flavors of street-style tacos in a format that’s easy to prepare at home.
In summer, amp up freshness with ripe tomatoes, corn kernels, and a corn-and-avocado salsa on the side. In winter, add warming spices to the seasoning (smoked paprika or a pinch of cinnamon) and serve with roasted winter squash as a side. For holidays, consider topping with pickled red onions and a drizzle of crema for a celebratory finish. The core method remains the same — adjust fillings and toppings to seasonal produce for the best results.
Make the filling in bulk at the start of the week and portion into containers for quick assembly all week long. Reheat the filling in a skillet over medium heat with a splash of water to restore moisture before filling shells. Pre-portion shredded cheese into small containers or resealable bags so assembly takes just minutes. If you’re packing lunches, assemble tacos the morning you’ll eat them and keep toppings separate to preserve crunch. Store shells in a cool, dry place to maintain their crispness until use.
These baked tacos are proof that comfort food can be fast, flexible, and crowd-pleasing. Try the tips above, make it your own with different proteins or toppings, and enjoy the simple delight of hot, cheesy, crunchy tacos that everyone will reach for. Whether you’re feeding a family or a group of friends, this method delivers great texture and big flavor with minimal stress.
Drain most of the grease after browning the meat to keep the filling from making the shell bottoms soggy, but leave a tablespoon for flavor.
Shred cheese from a block for better melt and texture; pre-shredded cheese can be drier and less melty.
If the filling seems wet, simmer it a few extra minutes before filling the shells to reduce excess moisture.
Warm the empty shells briefly in the oven for a minute or two before filling to reduce steam and improve crispness.
This nourishing baked tacos recipe is sure to be a staple in your kitchen. Enjoy every moist, high protein slice — it is perfect for breakfast or as a wholesome snack any time.
Yes. For best results, make the filling up to 48 hours ahead and refrigerate. Assemble and bake just before serving so shells remain crisp.
To reheat assembled tacos, bake at 350°F for 6–8 minutes until warmed through and cheese softens. For crispness, avoid microwaving assembled tacos.
This Baked Tacos recipe makes perfectly juicy, tender, and flavorful steak every time! Serve with potatoes and a side salad for an unforgettable dinner in under 30 minutes.
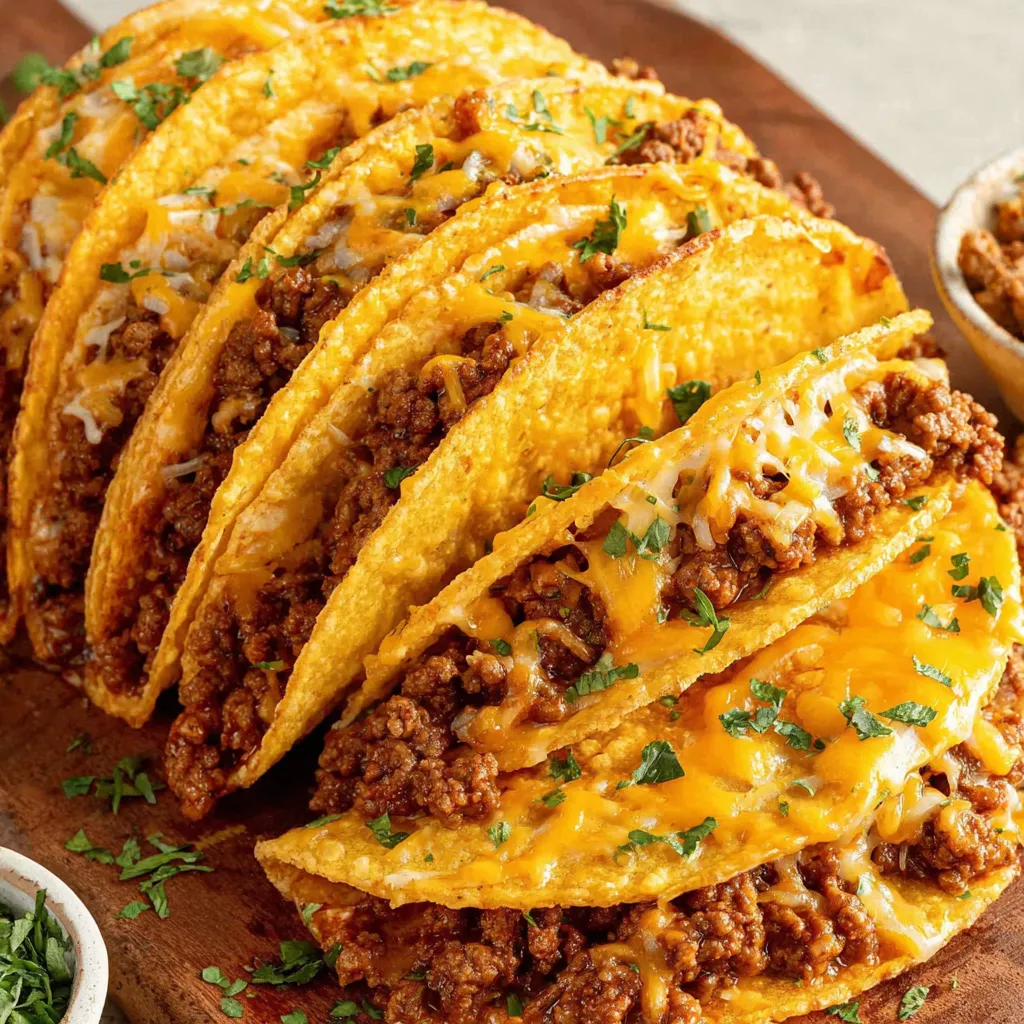
Preheat oven to 400°F. Stand the 10 hard shells upright in a 9x13-inch baking dish with gaps between them so they crisp evenly during baking.
Heat 1 tablespoon olive oil in a large skillet over medium-high heat. Add 3/4 cup diced onion and cook 1–2 minutes. Add 1 1/2 pounds ground beef, 1/2 teaspoon salt, and 1/4 teaspoon black pepper. Brown 8–10 minutes, breaking the meat into even pieces; drain excess grease.
Stir in 3/4 cup tomato sauce and the 1-ounce taco seasoning packet. Cook 2–3 minutes until the mixture thickens slightly and is not watery. Simmer longer if necessary to avoid soggy shells.
Divide the filling evenly among the 10 shells (about 1/3–1/2 cup per shell), packing slightly so the meat sits securely in each shell.
Sprinkle 1 1/2 cups shredded cheddar-jack cheese across the filled shells and bake 5–7 minutes at 400°F until cheese melts and shells are crispy. Let rest 1–2 minutes, garnish with 1 tablespoon chopped cilantro if desired, and serve.
Last Step: Please leave a rating and comment letting us know how you liked this recipe! This helps our business to thrive and continue providing free, high-quality recipes for you.
Leave a comment & rating below or tag
@gusteen on social media!

Ultra-fudgy brownies crowned with melty marshmallows and a glossy cocoa icing. A nostalgic crowd-pleaser that slices cleanly and disappears fast.

Buttery shortbread crust meets gooey brown-sugar pecan filling in these quick, crowd-pleasing bars, prepped in just 10 minutes.

Ultra-smooth pumpkin cheesecake with warm spice, sturdy graham crust, and a foolproof, crack-free bake. Perfect with caramel and whipped cream.
Leave a comment & rating below or tag @gusteen on social media!
Enjoyed this recipe? Share it with friends and family, and don't forget to leave a review!
This recipe looks amazing! Can't wait to try it.
Comments are stored locally in your browser. Server comments are displayed alongside your local comments.

Join to receive our email series which contains a round-up of some of our quick and easy family favorite recipes.
