
>>

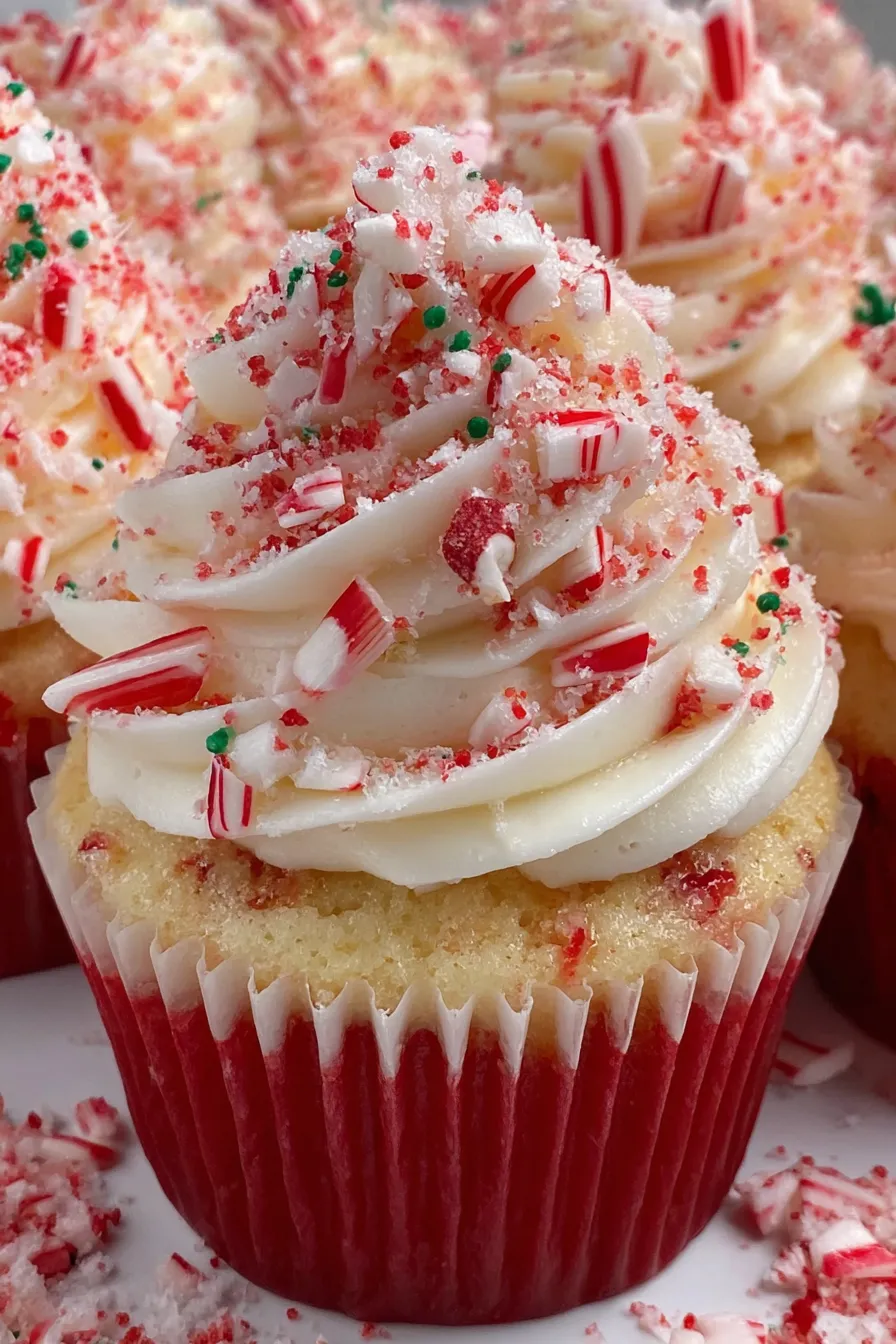
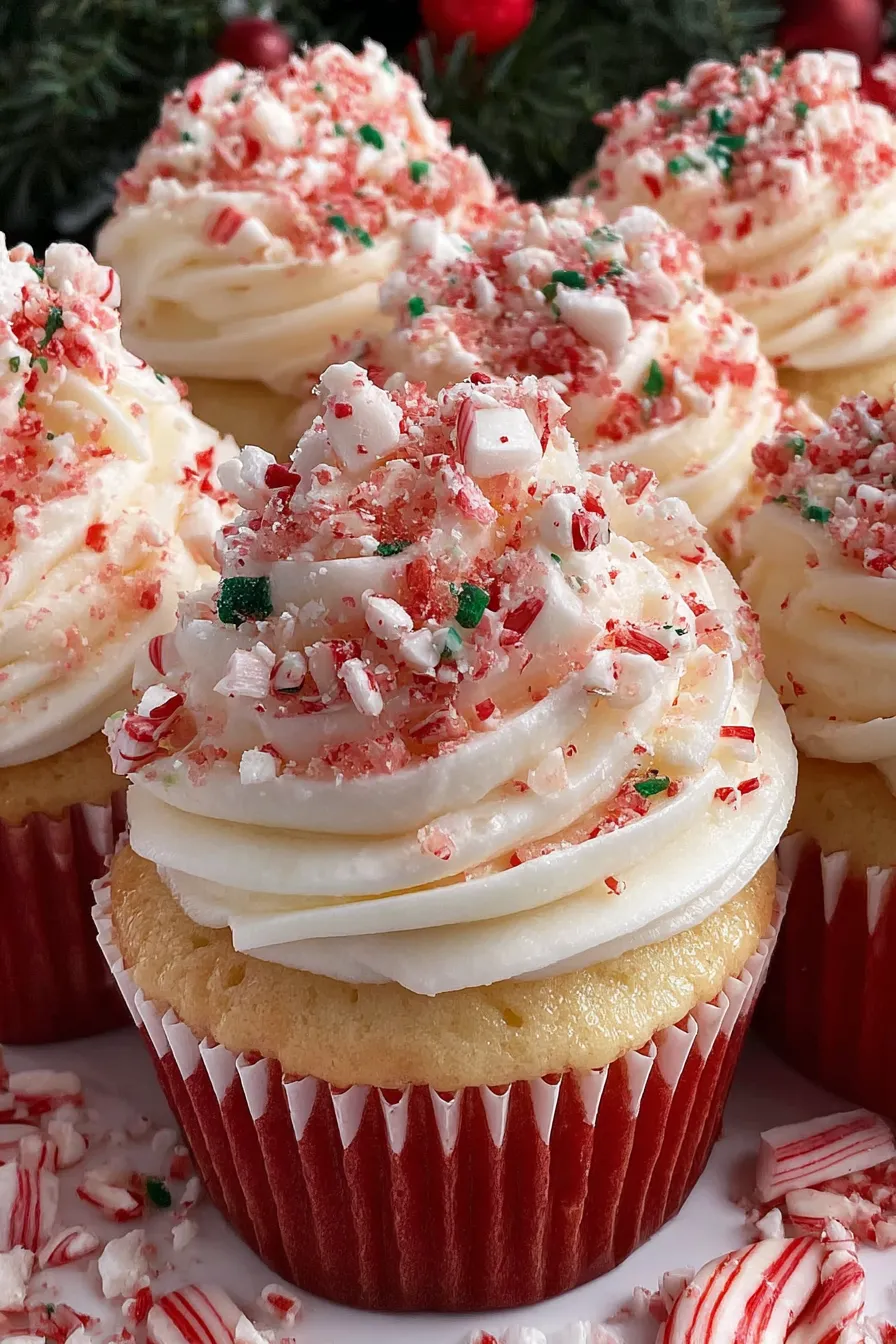
Light, festive cupcakes with swirled red and white cake and a bright peppermint buttercream finished with mini candy canes or crushed peppermint sugar.
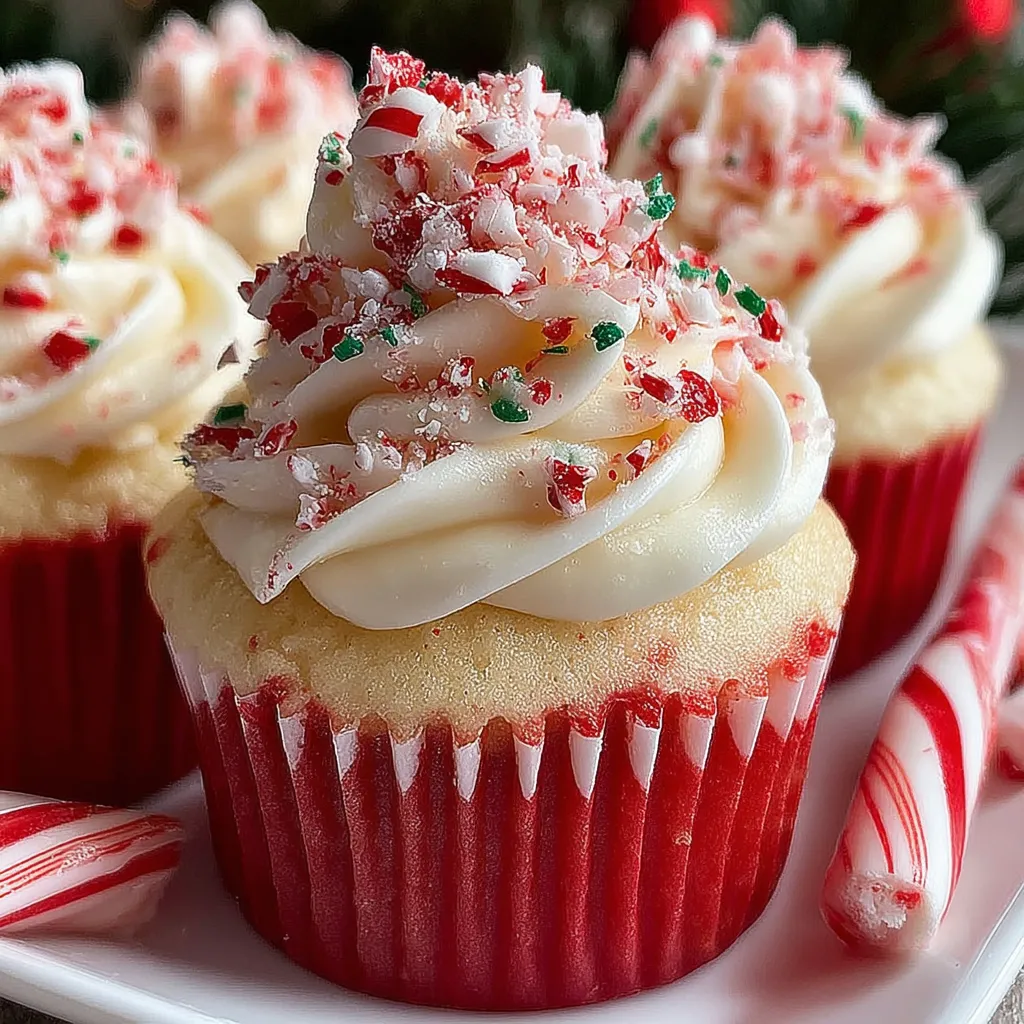
This batch of Candy Cane Peppermint Cupcakes is my favorite holiday treat to bring to parties and to make with family. I first developed this version the year my niece learned how to pipe frosting; she wanted something that looked like candy canes and tasted like a cool, classic peppermint. The white cake keeps the crumb tender and neutral so the peppermint buttercream can shine, while the red swirl gives each bite a playful, festive look. These are the cupcakes I reach for when I want something that feels special but still comes together quickly.
I discovered how well a boxed white mix responds to a simple color split when I needed to make two dozen cupcakes with limited time. Using one box and painting the piping bag with red gel lets you make crisp red streaks in the frosting without messy color blending. The frosting combines unsalted butter, powdered sugar, a touch of heavy cream, and a splash of peppermint extract so the flavor is bright but not overpowering. These keep well for gifting, and everyone always notices the cool peppermint finish.
When I serve these, guests always comment on the bright peppermint aroma. I’ve made them for school events, neighborhood cookie swaps, and quiet family brunches; the recipe scales easily and people tend to remember the presentation as much as the flavor. My niece still requests to help paint the piping bag because it feels like a tiny craft project every time.
My favorite part of this recipe is how the painted piping bag trick consistently yields that candy-cane stripe without needing specialized tips or coloring techniques. I’ve gifted these in holiday boxes and watched them disappear first at cookie exchanges; they feel festive but are simple enough that anyone can make them look polished.
Store frosted cupcakes in a single layer in an airtight container at room temperature for up to 24 hours; longer and refrigerate them for up to 3 days. If refrigerated, allow cupcakes to come to room temperature for 30 to 60 minutes before serving so the buttercream softens and the flavor opens up. For longer storage, freeze unfrosted cupcakes on a tray until firm, then wrap individually in plastic wrap and place in a freezer-safe container for up to 3 months. Thaw overnight in the refrigerator and bring to room temperature before frosting.
If you need to avoid dairy, substitute vegan butter and a non-dairy creamer for the heavy cream, and use a dairy-free boxed mix. For an egg-free option, choose an egg-free white cake mix and follow package instructions for egg substitutes. To reduce sweetness slightly, replace 1/4 cup of confectioners’ sugar with 1 to 2 tablespoons of cornstarch to stabilize the buttercream while cutting sugar volume marginally; expect a slightly less glossy finish. If you prefer a milder mint flavor, use 1/4 teaspoon peppermint extract and add extra vanilla for balance.
Present these on a white platter for a classic holiday look or nestle them into decorative cupcake boxes for gifting. Pair with hot cocoa or a peppermint mocha to amplify the mint notes, or serve with simple brewed coffee to balance sweetness. Garnish with a small sprig of fresh mint for contrast or scatter crushed candy cane around the platter for a festive display. These work well as dessert at dinner parties or as part of a holiday brunch spread.
Candy cane flavors and colors have been a seasonal staple in many North American Christmas traditions for decades. The red-and-white stripe echoes classic candy cane patterns that originated in 19th-century European church customs and became commercial holiday symbols in the United States. Incorporating peppermint into bakery items is a modern twist that blends nostalgic candy flavors with contemporary pastry techniques, making them approachable for family baking sessions.
In winter, emphasize peppermint with a dusting of crushed candy cane and serve with warm drinks. For a summer party, swap peppermint extract for pure vanilla and omit the red swirl to create light vanilla cupcakes; add seasonal fruit compote on top instead. For Valentine’s situations, use a deeper pink gel and a few heart-shaped sprinkles. The core method—split batter, paint piping bag, pipe frosting—stays the same and adapts easily to themes and seasons.
To prepare ahead, bake the cupcake bases one day in advance, cool completely, and store in an airtight container at room temperature. Make the frosting the morning of serving and pipe just before guests arrive for the freshest texture. If transporting, freeze the frosted cupcakes on a tray then pack in a shallow container with parchment layers; they’ll thaw slowly in transit and retain their shape. Keep mini candy canes separate until just before serving to preserve their crunch.
These cupcakes are as much about memories as they are about flavor—the peppermint aroma always brings my family back to the kitchen. Try them once, then make them your own with small adjustments; they’ll quickly become a holiday favorite.
Use a concentrated gel coloring for the batter and gel for the piping bag streaks to avoid thinning the batter or frosting.
Sift the confectioners’ sugar before adding to the butter to prevent lumps in the buttercream.
Paint thin stripes of red gel inside the piping bag for a consistent candy-cane effect when piping.
This nourishing candy cane peppermint cupcakes recipe is sure to be a staple in your kitchen. Enjoy every moist, high protein slice — it is perfect for breakfast or as a wholesome snack any time.
Yes. Unfrosted cupcakes freeze well for up to 3 months. Frost them after thawing.
Use 1/2 teaspoon peppermint extract, then taste the frosting and add up to another 1/4 teaspoon if needed. Peppermint is strong.
This Candy Cane Peppermint Cupcakes recipe makes perfectly juicy, tender, and flavorful steak every time! Serve with potatoes and a side salad for an unforgettable dinner in under 30 minutes.
Preheat oven to 350°F with racks in the upper and lower thirds. Line 18 cups across two muffin tins with paper liners.
Prepare cake mix per package directions. Divide batter in half and color one half with red gel until bright red.
Alternate spoonfuls of white and red batter into each liner until half full, about 3 to 4 tablespoons per cup.
Bake 18–20 minutes, rotating tins halfway through. Cool in the tin 5 minutes, then transfer to a rack to cool completely.
Beat softened butter and salt for 2 minutes. Add sifted confectioners’ sugar in two additions, then cream, vanilla, and peppermint. Beat until light and fluffy.
Paint two thin stripes of red gel inside a piping bag fitted with a 1/2-inch round tip. Fill with frosting and pipe onto cooled cupcakes, then garnish.
Last Step: Please leave a rating and comment letting us know how you liked this recipe! This helps our business to thrive and continue providing free, high-quality recipes for you.
Leave a comment & rating below or tag
@gusteen on social media!

Ultra-fudgy brownies crowned with melty marshmallows and a glossy cocoa icing. A nostalgic crowd-pleaser that slices cleanly and disappears fast.

Buttery shortbread crust meets gooey brown-sugar pecan filling in these quick, crowd-pleasing bars, prepped in just 10 minutes.

Ultra-smooth pumpkin cheesecake with warm spice, sturdy graham crust, and a foolproof, crack-free bake. Perfect with caramel and whipped cream.
Leave a comment & rating below or tag @gusteen on social media!
Enjoyed this recipe? Share it with friends and family, and don't forget to leave a review!
This recipe looks amazing! Can't wait to try it.
Comments are stored locally in your browser. Server comments are displayed alongside your local comments.

Join to receive our email series which contains a round-up of some of our quick and easy family favorite recipes.
