
>>

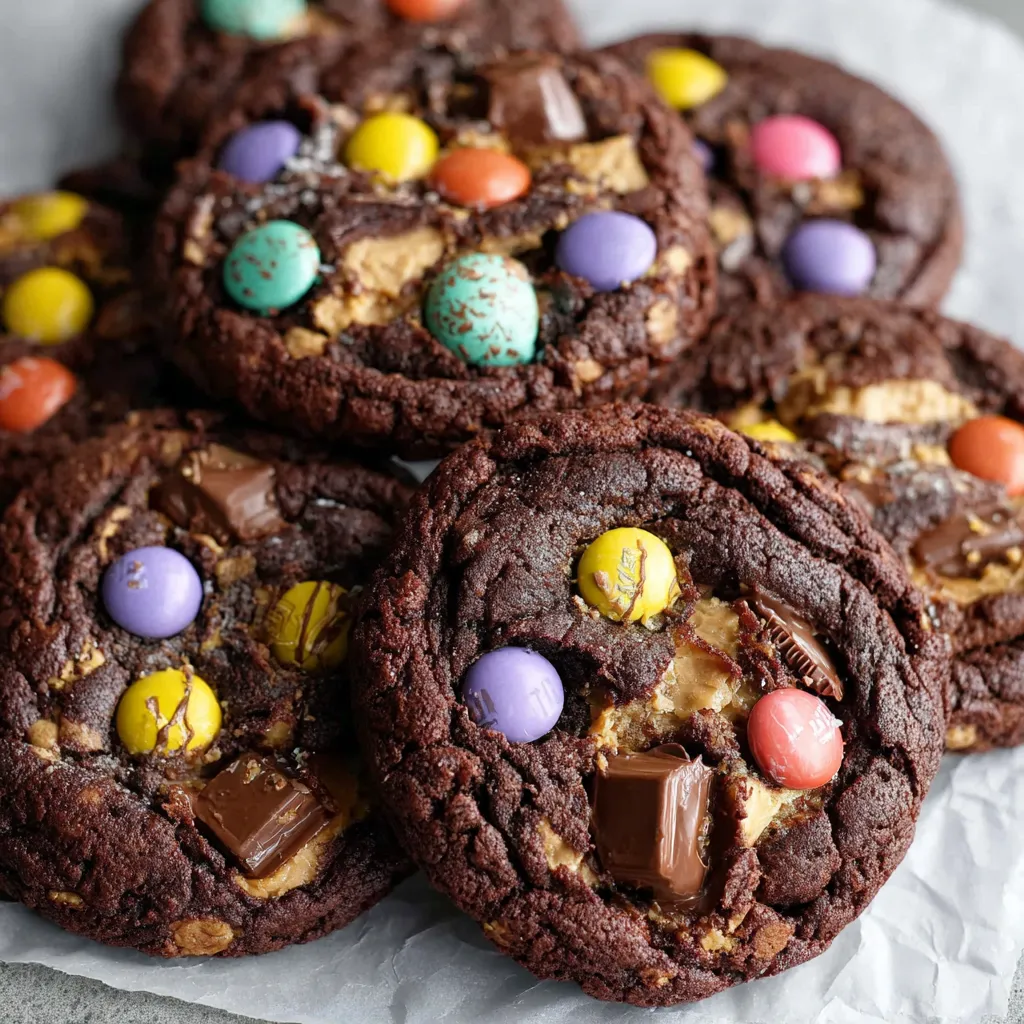
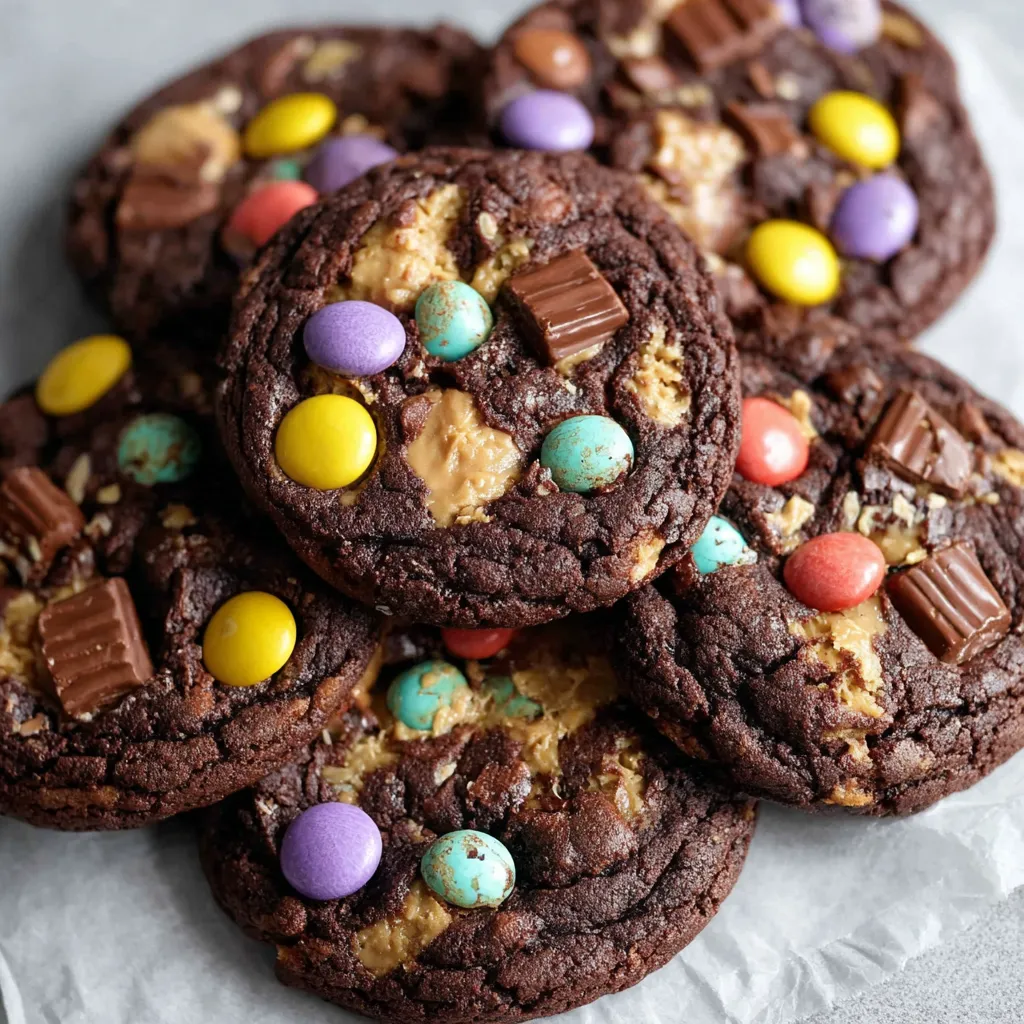
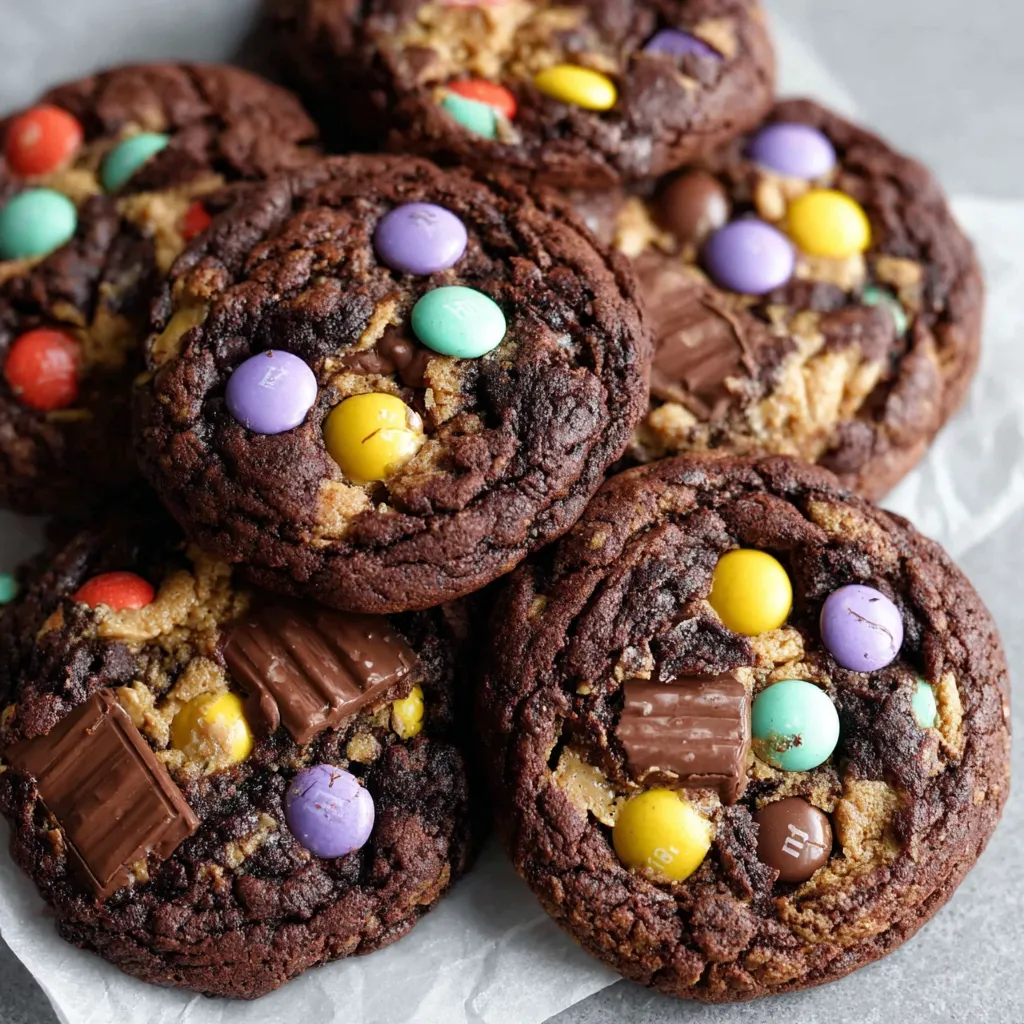
Thick, fudgy cookies studded with chopped milk chocolate, candy-coated pieces and peanut butter cups for an over-the-top treat everyone will fight over.
This is my go-to cookie for parties, grab-and-go school treats, and those evenings when one chocolate chip just isn’t enough. I first developed this version during a weekend of testing for a holiday bake sale when I decided to lean hard into everything I love about cookies: rich cocoa, creamy peanut butter, lots of chopped chocolate and little pockets of crunch from candy-coated pieces. The texture lands between a brownie and a classic cookie—deep, fudgy centers with edges that set just enough to hold a shape. I remember my neighbor’s seven-year-old declaring them “monster-awesome,” and the name stuck.
What makes these stand apart is the balance of flavors and the simple technique. Melted butter and granulated sugar create a slightly glossy base that keeps the cookies tender while oat flour gives a gentle chew. Adding the mix-ins at the end ensures pockets of melted milk chocolate and bursts of candy that give both textural contrast and visual fun. I often bake a tray for late-night guests and another to freeze for spontaneous cookie emergencies—trust me, they reheat beautifully.
I’ve witnessed these disappear at book club, holiday gatherings and sidewalk bake sales. My partner insists on adding a few more chopped peanut butter cups on top before baking—he says the presentation makes them taste better. Family members argue over who gets the slightly crisp edge versus the fudgy middle. It’s become one of those recipes that sparks small, happy debates at the table.
One of my favorite things about these is how forgiving they are: even if you slightly overbake one tray, another will remain fudgy and perfect. I’ve sent trays to neighbors, and the most common reaction is a surprised “wow, this tastes homemade in the best way.” The cookie’s mix of textures—the crisp set edge, soft center, melted chocolate pockets and crunchy candies—keeps people coming back for another. I often double the recipe for gatherings because they vanish faster than I expect.
Store cooled cookies in an airtight container at room temperature for up to three days. For longer storage, freeze baked cookies in a single layer on a tray until solid, then transfer to a freezer-safe container for up to three months. To reheat, warm a cookie for 8–10 seconds in the microwave or 3–4 minutes at 325°F on a baking sheet—this revives that just-baked texture. If storing unbaked scoops, freeze them on a tray then bag for up to three months; bake directly from frozen, adding 1–2 minutes to the time to account for temperature.
If you need to avoid peanuts, swap the peanut butter for sunflower seed butter (and use seed butter cups or chopped seeds instead of peanut butter cups). For a different chocolate profile, dark chocolate chunks work beautifully and deepen the flavor—expect a slightly less sweet cookie. If you don’t have oat flour, blend rolled oats to a fine powder for a similar result; avoid wheat flour unless you want a more cake-like crumb. Light brown sugar can replace up to half the granulated sugar for caramel notes but reduces the glossy top slightly.
Serve warm with a glass of cold milk or a scoop of vanilla ice cream for an indulgent dessert. For parties, arrange on a platter with small labels indicating allergy notes; add extra quartered peanut butter cups on top for visual appeal. These work well in cookie boxes alongside salted caramel bars or simpler sugar cookies to offer texture contrast. Garnish with a light sprinkle of flaky sea salt for grown-up palates.
Cookies filled with mix-ins are a beloved part of American baking culture, evolving from simple drop cookies to extravagant “monster” versions that celebrate excess—nuts, chocolates and candies combined. This style draws from a tradition of skillet cookies and chocolate-studded cookies popularized in cookbooks and bakery counters across the U.S., where larger, shareable cookies became a trend. These reflect that playful, generous American approach to sweets.
Adapt these for holidays by swapping candy-coated pieces for seasonal colors—red and green for winter or pastels for spring. In summer, fold in toasted coconut for a tropical note and top with chilled peanut butter cups. For fall, mix in chopped toasted pecans and a pinch of cinnamon to complement the cocoa. Technique stays the same; just vary the mix-ins to fit the season.
For make-ahead planning, scoop dough into balls and freeze them on a tray. When ready, bake from frozen and package warm cookies for grab-and-go breakfasts or dessert boxes. Portion into individual bags for lunch boxes or bake a sheet and refrigerate layers separated by parchment for quick snack access. Label frozen scoops with the bake date and bake within three months for best quality.
These cookies are a joyful reminder that desserts can be both nostalgic and daring—big, bright, and guaranteed to cheer up any day. Make a batch, share with someone you love, and enjoy the little debates over the last fudgy center.
Let the dough rest for 30 minutes so oat flour hydrates—this improves shape and texture.
Use a small cookie scoop for uniform sizes so all cookies bake evenly.
Press quartered peanut butter cups on top right before baking for an eye-catching finish and extra melty topping.
If the butter overheats, allow it to cool briefly before adding the egg to prevent scrambling.
This nourishing chocolate monster cookies recipe is sure to be a staple in your kitchen. Enjoy every moist, high protein slice — it is perfect for breakfast or as a wholesome snack any time.
Yes—scoop the dough onto a tray, freeze until solid, then transfer to a sealed bag. Bake from frozen, adding 1–2 minutes to the bake time.
Store in an airtight container at room temperature for up to 3 days, or freeze baked cookies for up to 3 months.
Use sunflower seed butter and seed-based candies, and clearly label them for allergy-sensitive environments.
This Chocolate Monster Cookies recipe makes perfectly juicy, tender, and flavorful steak every time! Serve with potatoes and a side salad for an unforgettable dinner in under 30 minutes.
Melt 1 stick unsalted butter in a microwave-safe bowl in 15–20 second bursts until fully melted but not sputtering. Allow to sit briefly if very hot.
Add 1 cup granulated sugar to the melted butter and whisk briskly for about 60 seconds. Stir in 1/4 cup creamy peanut butter, 1/4 teaspoon fine sea salt and 1 teaspoon vanilla extract until smooth.
Whisk in 1 large room-temperature egg until fully incorporated and the batter is smooth and glossy.
Whisk together 1/2 cup Dutch-process cocoa, 1/4 teaspoon baking soda, 1/4 teaspoon baking powder and 1 cup oat flour. Add to wet mixture and stir until a cohesive dough forms.
Fold in 1/2 cup chopped milk chocolate and up to 1/2 cup candy-coated chocolates. Cover the bowl loosely with a tea towel and let rest at room temperature for 30 minutes to hydrate the oat flour.
Preheat oven to 350°F. Line baking sheets with parchment. Scoop dough into 1.5–2 tablespoon portions, top each with quartered peanut butter cups and extra candies, and bake for 10–12 minutes until edges set and tops look dry.
Last Step: Please leave a rating and comment letting us know how you liked this recipe! This helps our business to thrive and continue providing free, high-quality recipes for you.
Leave a comment & rating below or tag
@gusteen on social media!

Ultra-fudgy brownies crowned with melty marshmallows and a glossy cocoa icing. A nostalgic crowd-pleaser that slices cleanly and disappears fast.

Buttery shortbread crust meets gooey brown-sugar pecan filling in these quick, crowd-pleasing bars, prepped in just 10 minutes.

Ultra-smooth pumpkin cheesecake with warm spice, sturdy graham crust, and a foolproof, crack-free bake. Perfect with caramel and whipped cream.
Leave a comment & rating below or tag @gusteen on social media!
Enjoyed this recipe? Share it with friends and family, and don't forget to leave a review!
This recipe looks amazing! Can't wait to try it.
Comments are stored locally in your browser. Server comments are displayed alongside your local comments.

Join to receive our email series which contains a round-up of some of our quick and easy family favorite recipes.
