
Christmas Energy Bites

Festive no-bake bites made with quick oats, creamy peanut butter, honey, and Christmas Mini M&Ms — a perfect make-ahead, kid-friendly treat for holiday gatherings.
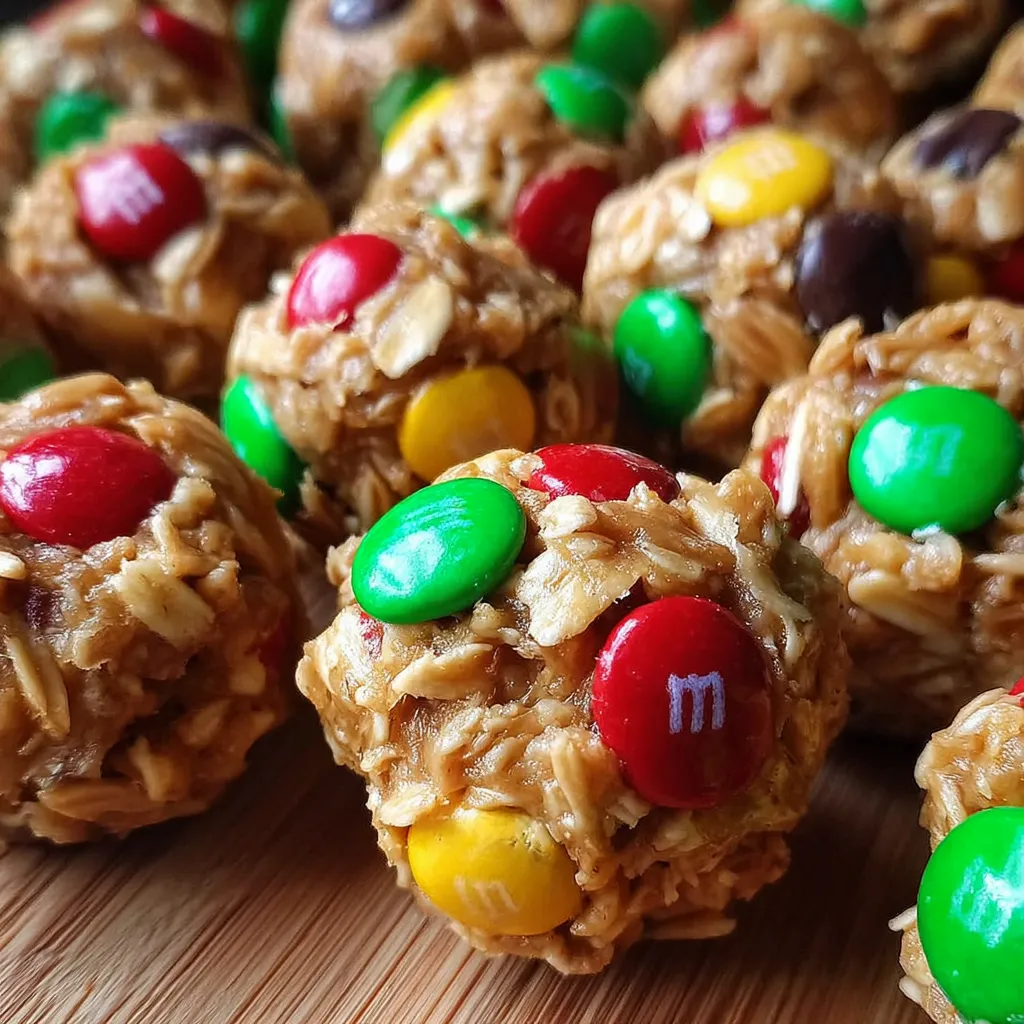
This tray of Christmas Energy Bites has been my go-to holiday nibble ever since a snowstorm trapped our family indoors one December. I wanted something quick, wholesome, and cheerful to bake for the neighborhood cookie swap, but with minimal fuss and no oven time. The result was a simple mixture of quick oats, creamy peanut butter, and a touch of honey studded with festive Mini M&Ms. They look like little ornaments on a plate and disappear faster than I can arrange them.
I first discovered this combination when I needed a quick snack to send with my daughter to a school holiday party. No bake, no sticky fingers when wrapped properly, and entirely approachable for kids to help with. The texture is soft and slightly chewy from the oats with a creamy backbone from the peanut butter and honey. The M&Ms add a crisp pop and color — a small sugar crunch that makes them feel indulgent. These bites are forgiving, travel well, and are easy to double or halve depending on how many hands you need to feed.
Why You'll Love This Recipe
- Ready in about 15 minutes of active time and no oven required, perfect for busy holiday mornings when you need something quick and festive.
- Uses pantry staples: quick oats, peanut butter, and honey — all items that most kitchens already have during the season.
- Kid-friendly assembly that makes them a great activity for little helpers to press the M&Ms into each ball and feel proud of their creation.
- Make-ahead friendly: chill in the fridge or freezer, then pack for school parties, cookie swaps, or a sweet addition to a dessert platter.
- Budget-conscious and scalable; ingredients are inexpensive and you can double the batch easily if hosting a crowd.
- Minimal equipment and cleanup — a single bowl and a spoon or spatula.
Every year my sister asks for these to be included in our holiday goodie boxes. One memorable year I made several batches and delivered them to neighbors with handwritten tags; the colorful bites brought so many smiles that they felt like a small holiday miracle. They’re that kind of food that creates tiny joyful moments.
Ingredients
- Quick oats — 2 cups: Choose rolled quick oats for a softer, chewier texture. When shopping look for a familiar brand like Quaker Quick Oats; they absorb the peanut butter and honey well and keep the bites from being gritty.
- Creamy peanut butter — 1 cup: Use a smooth, room-temperature jar for easy stirring. Skippy or Jif give a classic flavor; natural peanut butter works, but expect a looser mixture and possibly more chilling time to firm up.
- Honey — 1/4 cup: Liquid sweetener that binds and adds chew. Clover or wildflower honey both work; if your honey is very thick, warm it briefly in a bowl of hot water so it mixes evenly.
- Christmas Mini M&Ms — about 1/2 cup: Use mini or regular bite-sized chocolate candies in holiday colors. Reserve a few to press on top of each ball for presentation. If you prefer, use red and green M&Ms only for a classic Christmas palette.
- Optional: pinch of salt or 1/2 teaspoon vanilla extract: A small pinch of coarse salt or a splash of vanilla will enhance the sweetness and make the chocolate pop; add to taste.
Instructions
Combine the dry and wet ingredients: Place 2 cups quick oats into a large mixing bowl. Add 1 cup creamy peanut butter and 1/4 cup honey. Stir with a sturdy spatula until the mixture is uniformly combined and sticks together. Look for a cohesive dough that holds when pressed — if it appears too dry add 1 teaspoon water or a little extra honey; if too wet add 2 tablespoons more oats. Mixing thoroughly prevents crumbly bites later. Chill the dough (recommended): For easier rolling, cover the bowl and chill in the refrigerator for 20 to 30 minutes. Chilling firms the fats in the peanut butter and makes the dough less sticky, so the balls form neatly. If you are short on time you can skip chilling, but expect to wet your hands or use a small scoop to manage stickiness. Portion into tablespoon-size balls: Use a tablespoon or a small cookie scoop to portion the dough. Roll between your palms into tight spheres about 1 tablespoon in size. The uniform size helps them set evenly and gives a pleasing appearance on a platter. If they crack slightly at the edges, press firmly to seal each ball. Press the candies in place: Press several Christmas Mini M&Ms into the top of each ball; press gently to secure them without flattening the sphere. If any candies fall off, roll the ball again and press the candy back in. The candies add a decorative, crunchy contrast to the soft base. Set and serve: Arrange the finished bites on a parchment-lined tray and chill for another 10 minutes to firm up, if desired. Store in an airtight container in the refrigerator for up to one week, or freeze for longer storage. Serve chilled or at room temperature; they’re excellent on a cookie plate or packed in small treat bags.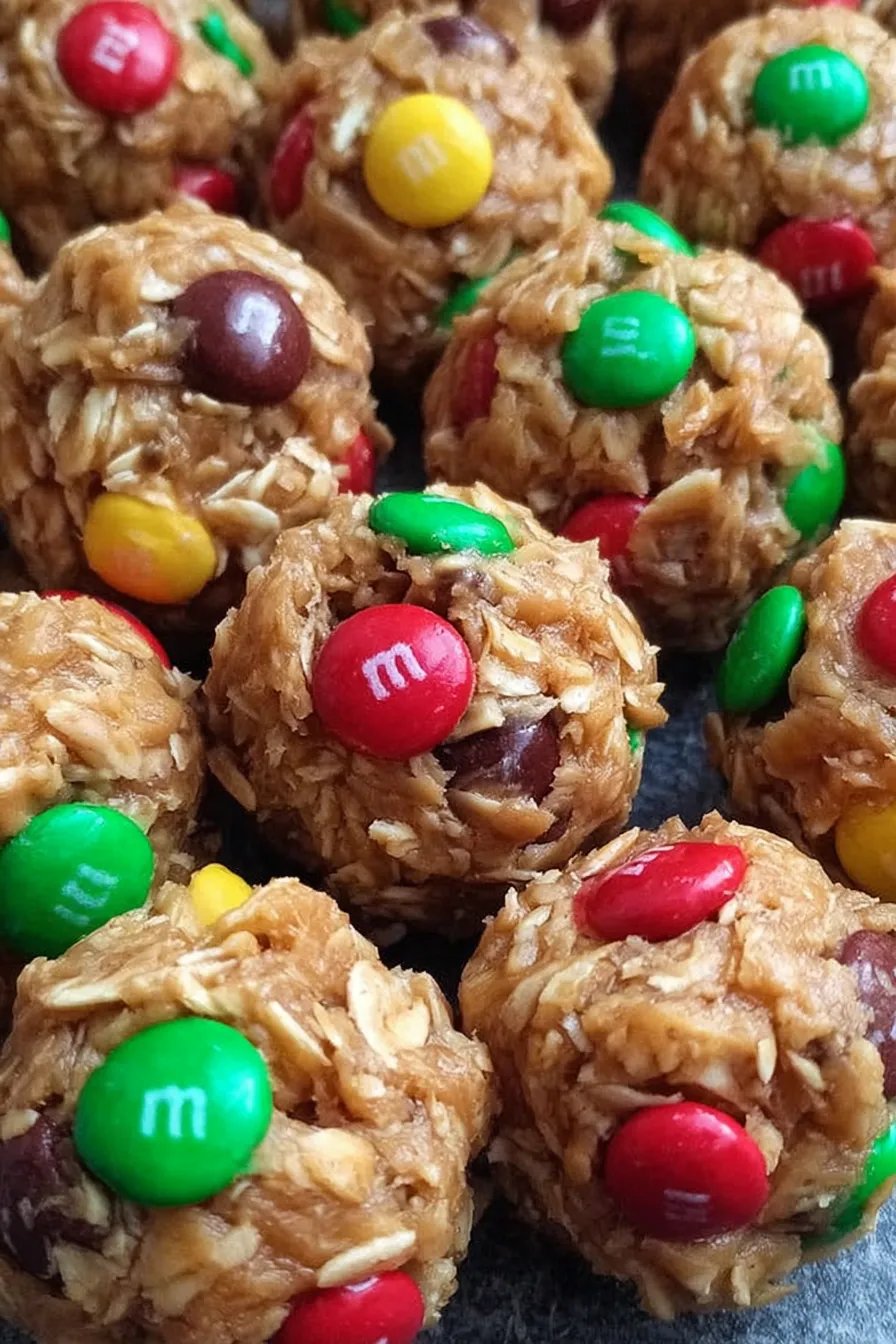
You Must Know
- These bites are high in protein and healthy fats thanks to peanut butter, making them a satisfying snack between meals.
- They freeze exceptionally well for up to 3 months; thaw at room temperature for 10 minutes before serving to soften slightly.
- For those with peanut allergies, substitute almond or sunflower seed butter and omit candies with milk if allergens are a concern.
- Storing them in a single layer separated by parchment prevents sticking and keeps the candies intact.
- Because they contain no added preservatives, keep refrigerated for the best texture and flavor.
What I love most about this mixture is how quickly it became a family tradition. My niece insists on pressing the final M&Ms as her official duty — she takes it very seriously. Once, while rushing to a holiday craft fair, I packed a container without chilling and they arrived slightly misshapen; the volunteers still loved them and asked for the recipe. Small, imperfect bites, made with intention, can create the warmest holiday memories.
Storage Tips
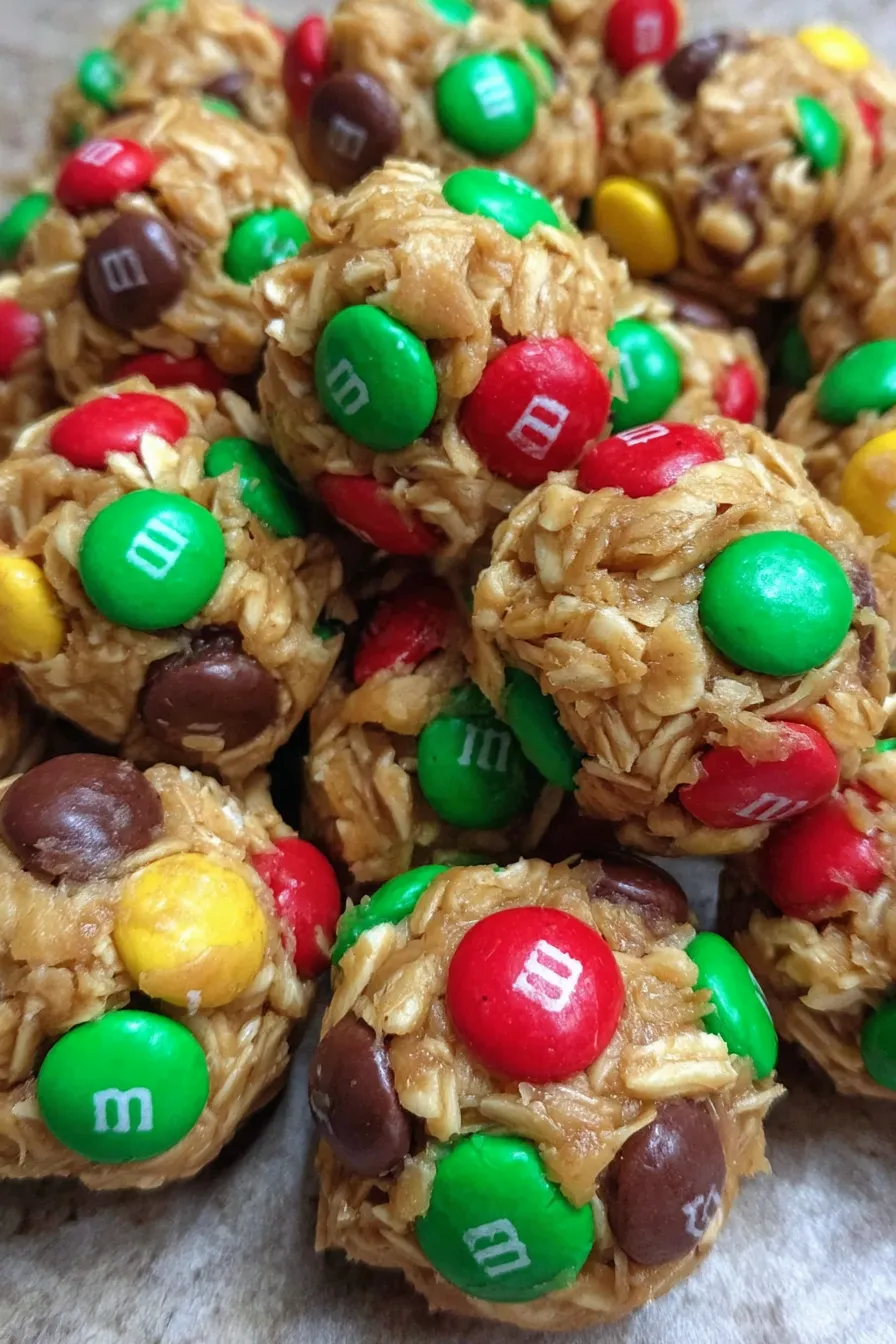
Store the energy bites in an airtight container in the refrigerator for up to one week. For longer storage, layer them between squares of parchment paper and freeze in a sealed container for up to three months. To thaw, move a portion to the fridge overnight or leave at room temperature for 10 to 15 minutes; this allows them to soften while keeping the M&Ms crisp. Avoid leaving the tray out in warm environments, as the peanut butter can become oily and the candies may bloom. For gift-giving, pack them in small boxes or cellophane bags with a ribbon and keep chilled until delivery.
Ingredient Substitutions
If you need to adapt the ingredients, here are practical swaps and the expected results. Swap creamy peanut butter for almond butter for a milder, slightly sweeter flavor; the texture will be similar. For nut-free households, sunflower seed butter works well though the color darkens slightly. Replace honey with maple syrup to make them vegan; expect a touch more stickiness so chill the dough a bit longer. If you prefer a chocolate-forward bite, fold in 1/4 cup mini chocolate chips and use plain M&Ms sparingly on top. To reduce sugar, use sugar-free chocolate candies or omit the candies entirely and add 1/4 cup chopped nuts or unsweetened coconut.
Serving Suggestions
Present these bites on a festive platter lined with parchment and garnished with a few whole candy canes and sprigs of rosemary for a holiday impression. They pair well with warm beverages like hot chocolate or spiced cider and make a nice contrast alongside buttery cookies on a dessert table. For a brunch spread, arrange them in small paper cups next to fruit and yogurt. These also travel well in small Mason jars for gift-giving — add a ribbon and a handwritten tag with serving suggestions like "enjoy chilled".
Cultural Background
Small no-bake snacks built from oats and nut butter have long been popular in American home cooking for their simplicity and nutrition. While not tied to a single traditional recipe, the idea of festive, bite-sized confections decorated for holidays is a universal practice: bright candies for celebration evoke the same spirit as decorated cookies across many cultures. Using seasonal colors like red and green honors Christmas traditions while keeping the treat modern and minimal in effort. This adaptation merges wholesome snack ingredients with the playful aesthetics of holiday baking.
Seasonal Adaptations
For a winter spice twist, add 1/2 teaspoon ground cinnamon and a pinch of nutmeg to the mixture. Around Easter swap the candies for pastel-colored M&Ms or mini chocolate eggs. In summer, replace the M&Ms with dried cherries and white chocolate chips for a bright, tart contrast. For New Year’s gatherings, add 1 tablespoon chia seeds and 2 tablespoons hemp hearts for a nutritional boost, and serve on a mirrored platter for an elegant touch.
Meal Prep Tips
Make a double batch and portion into individual snack bags for easy grab-and-go breakfasts or afternoon pick-me-ups. Use a tablespoon scoop to ensure uniform size and cooking times. Label containers with the date and freeze extras flat on a baking sheet before transferring them to freezer bags to save space. Thaw only the number you need to avoid refreezing, which can alter texture. When packing in lunchboxes, include an ice pack to keep them firm and maintain candy crunch.
These little bites are proof that small, thoughtful recipes can become beloved traditions. They’re quick, adaptable, and encourage family involvement — the perfect trifecta for holiday cooking. I hope you make them, add your own twist, and enjoy watching friends and family take that first delighted bite.
Pro Tips
Chill the mixture for 20 to 30 minutes to make rolling easier and to prevent sticking.
Use a tablespoon scoop for consistent sizing so the bites set evenly and look uniform.
Store between layers of parchment in an airtight container to prevent sticking and protect the candies.
Warm very thick honey in a small bowl of hot water for easier blending into the peanut butter.
If the mixture is too wet, add 1 to 2 tablespoons of quick oats at a time until it firms up.
This nourishing christmas energy bites recipe is sure to be a staple in your kitchen. Enjoy every moist, high protein slice — it is perfect for breakfast or as a wholesome snack any time.
Tags
Christmas Energy Bites
This Christmas Energy Bites recipe makes perfectly juicy, tender, and flavorful steak every time! Serve with potatoes and a side salad for an unforgettable dinner in under 30 minutes.
Ingredients
Main
Instructions
Combine ingredients
Add 2 cups quick oats to a large mixing bowl. Add 1 cup creamy peanut butter and 1/4 cup honey. Stir until the mixture is evenly combined and holds together when pressed. Adjust texture with small amounts of extra oats or honey as needed.
Chill the dough (recommended)
Cover the bowl and chill in the refrigerator for 20 to 30 minutes. Chilling firms the mixture, making it easier to portion and roll without sticking to your hands.
Portion into balls
Use a tablespoon or small cookie scoop to portion out tablespoon-sized balls. Roll between your palms into tight spheres so they stay intact and look neat.
Press candies into each ball
Press Christmas Mini M&Ms into the top of each ball, then roll gently to round the shape. Reserve a few candies to place on top for presentation.
Set and store
Place finished bites on parchment and chill for 10 minutes if desired to firm. Store in an airtight container in the refrigerator for up to one week or freeze for up to three months.
Last Step: Please leave a rating and comment letting us know how you liked this recipe! This helps our business to thrive and continue providing free, high-quality recipes for you.
Nutrition
Did You Make This?
Leave a comment & rating below or tag
@gusteen on social media!
Categories:
You might also like...

Fudgy Mississippi Mud Brownies
Ultra-fudgy brownies crowned with melty marshmallows and a glossy cocoa icing. A nostalgic crowd-pleaser that slices cleanly and disappears fast.
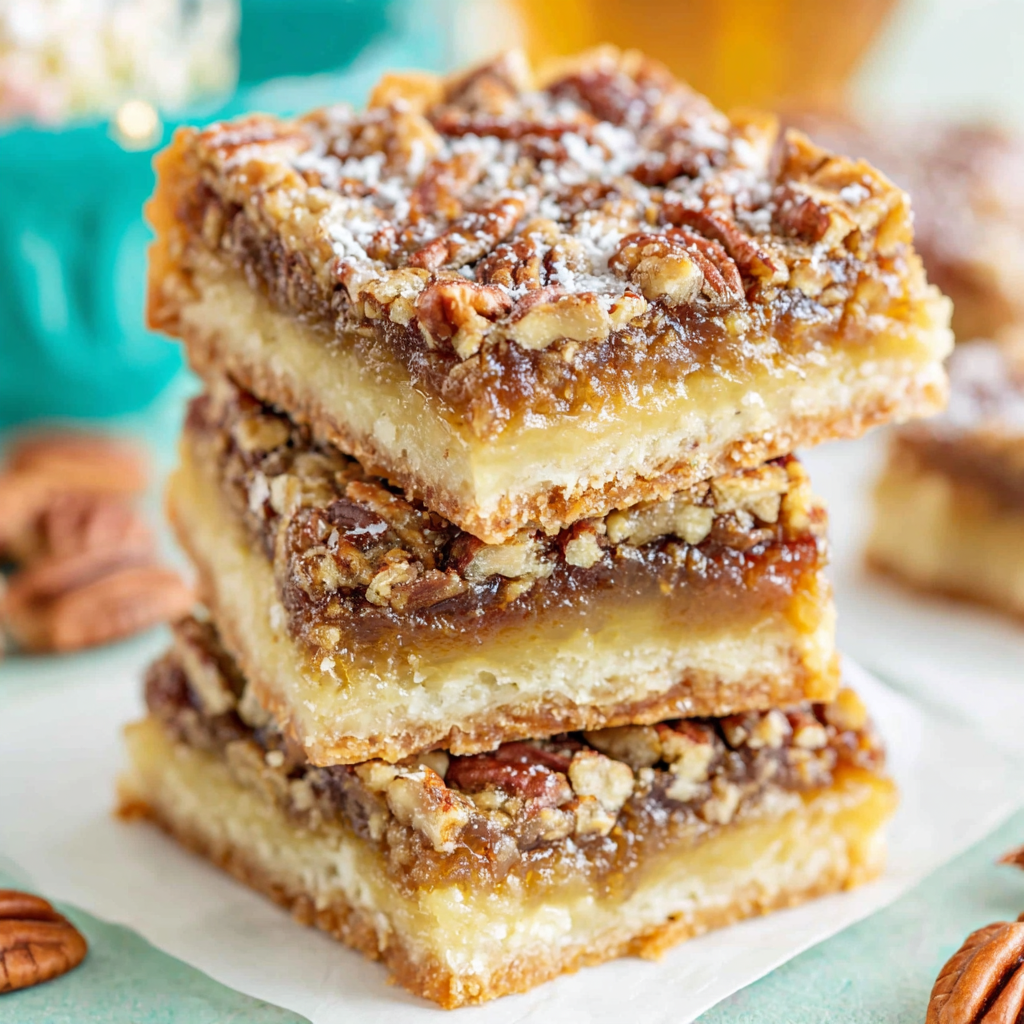
Buttery Pecan Pie Bars
Buttery shortbread crust meets gooey brown-sugar pecan filling in these quick, crowd-pleasing bars, prepped in just 10 minutes.
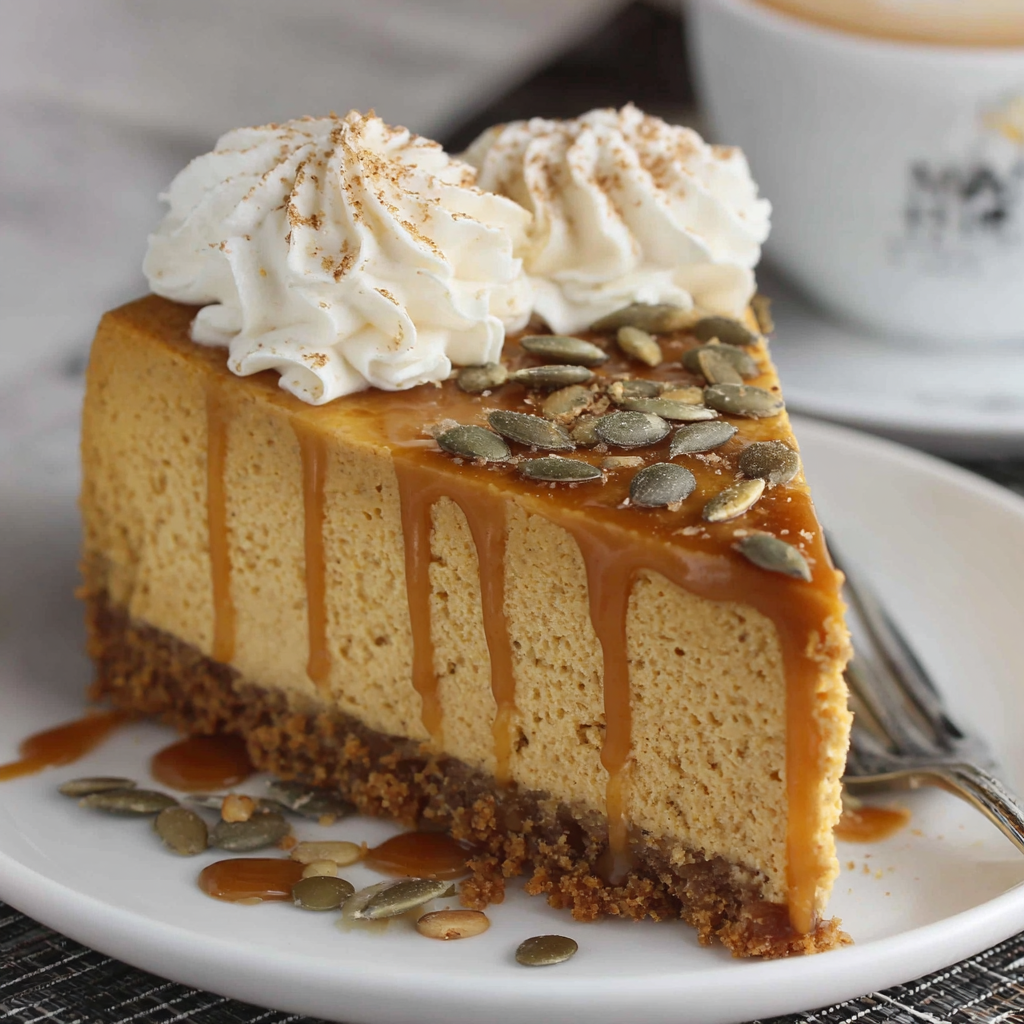
No-Crack Pumpkin Cheesecake
Ultra-smooth pumpkin cheesecake with warm spice, sturdy graham crust, and a foolproof, crack-free bake. Perfect with caramel and whipped cream.
Did You Make This?
Leave a comment & rating below or tag @gusteen on social media!
Rate This Recipe
Share This Recipe
Enjoyed this recipe? Share it with friends and family, and don't forget to leave a review!
Comments (1)
This recipe looks amazing! Can't wait to try it.
Comments are stored locally in your browser. Server comments are displayed alongside your local comments.

Hi, I'm Charlotte!
What's Popular

30-Minute Meals!
Join to receive our email series which contains a round-up of some of our quick and easy family favorite recipes.