
>>

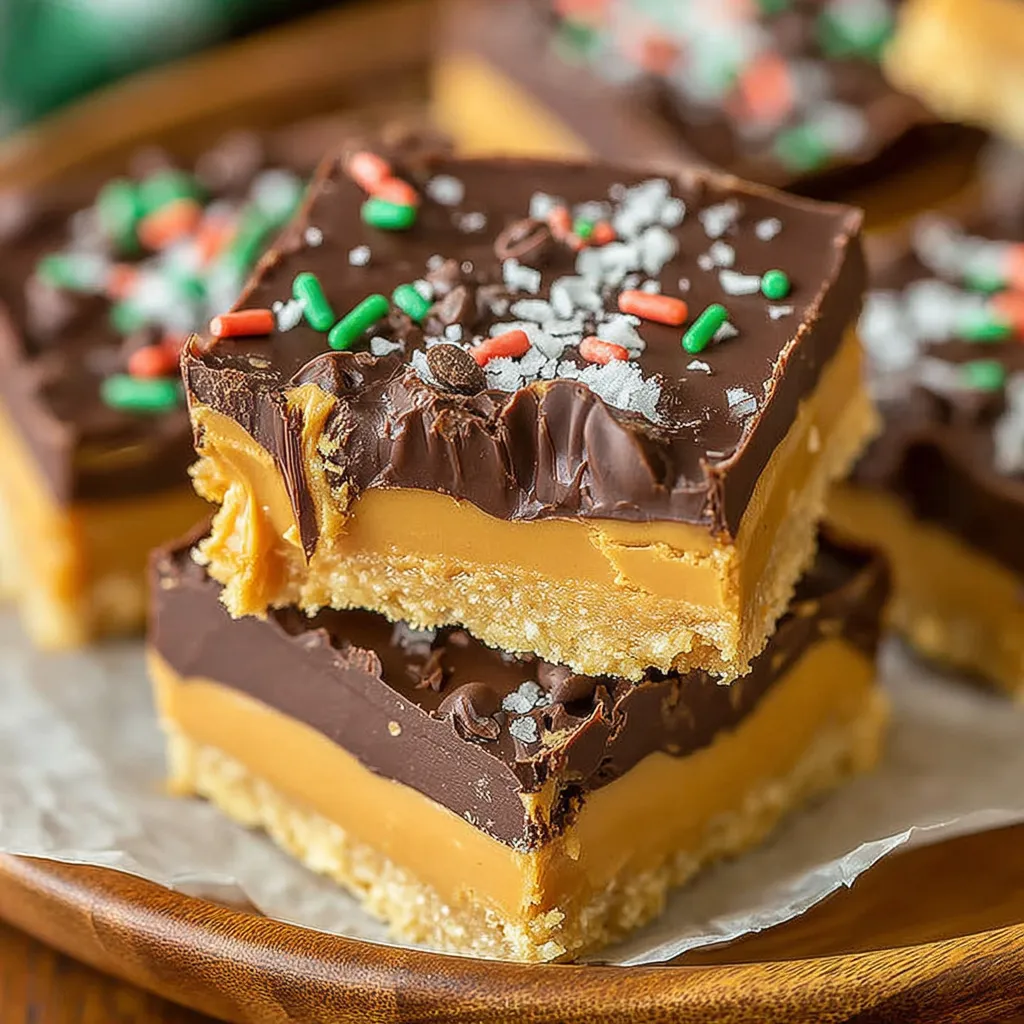
Creamy peanut butter layer topped with a glossy chocolate coating — these no-bake Buckeye Bars are an easy, nostalgic treat perfect for parties and make-ahead dessert.
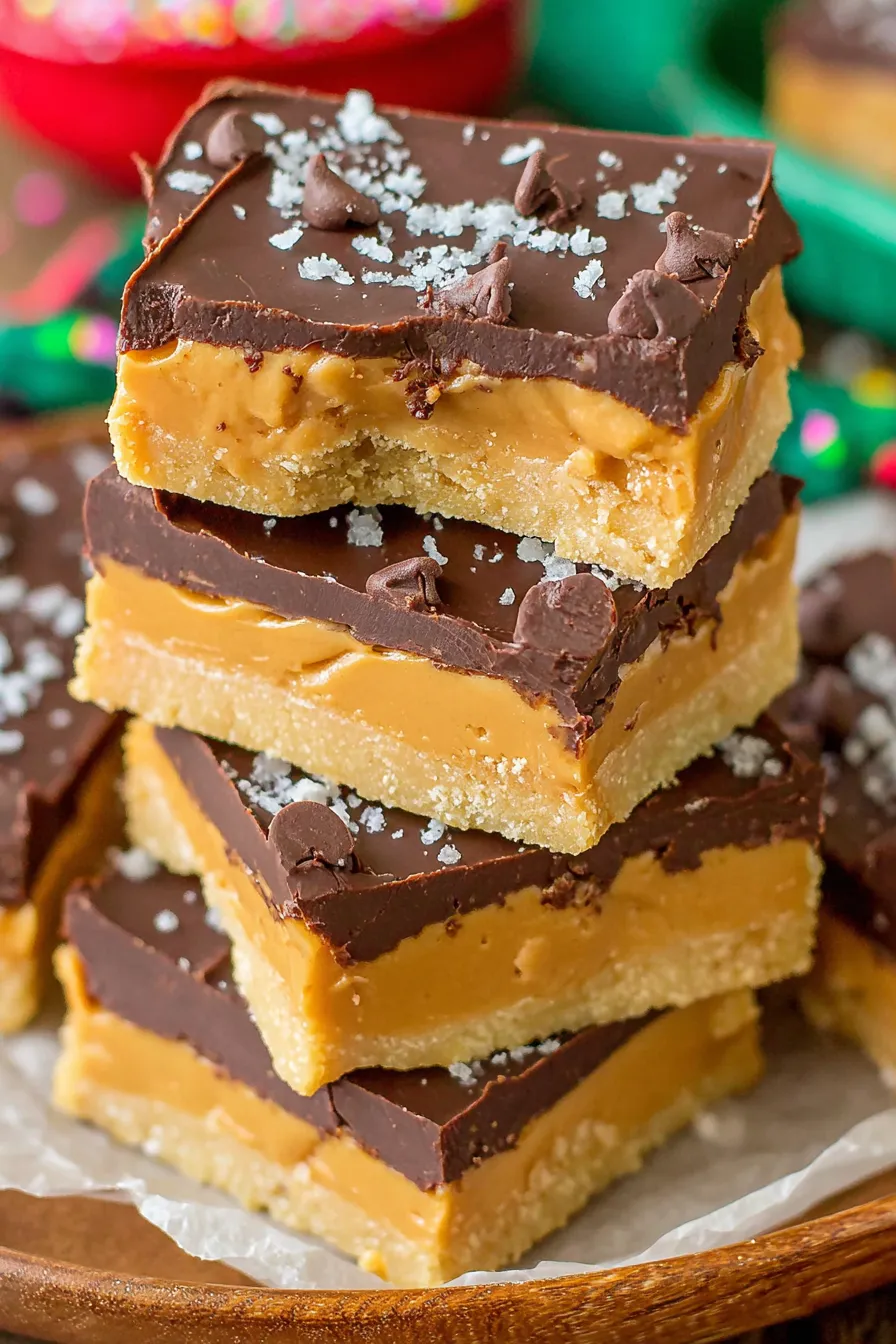
This recipe for Buckeye Bars has been a staple on my counter during holidays and weekend bake-a-thons for years. I first stumbled onto this combination of sweetened peanut butter and glossy chocolate while trying to recreate the flavor of chocolate-covered buckeye candies without the fuss of rolling dozens of tiny balls. The result is a rectangular slab with the same irresistible balance: a dense, creamy peanut butter base with a shiny chocolate top that snaps when you cut into it. It’s the kind of dessert that summons a crowd — friends arrive early when they know this will be on the table.
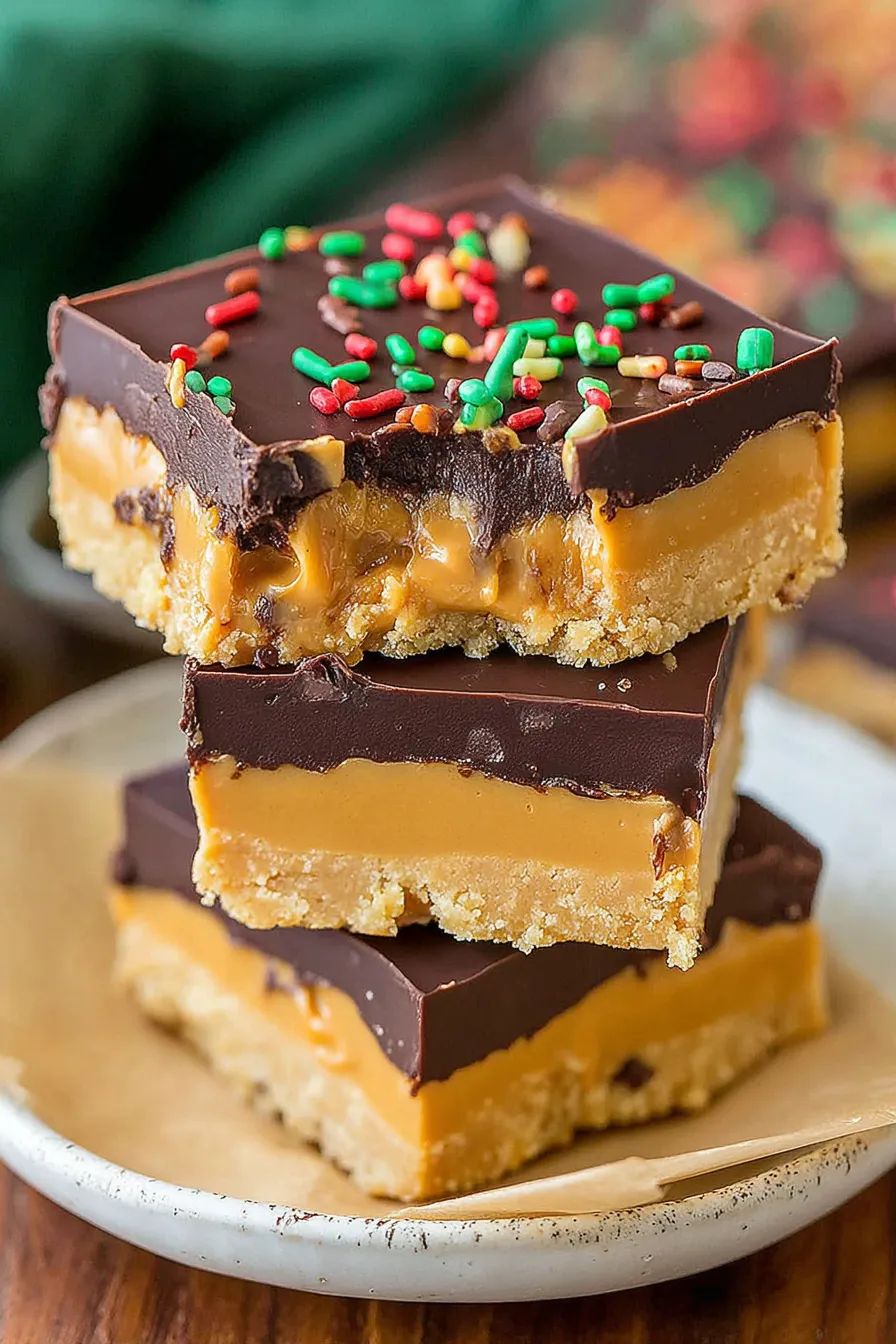
I discovered the exact proportions on a rainy afternoon when I wanted something that required minimal active time but maximum payoff. The texture is silky and dense from the powdered sugar and creamy peanut butter; the butter keeps the center tender and sliceable, while a thin chocolate layer gives that classic Buckeye contrast. My family flocks to the kitchen whenever I make these — the first time I served them at a summer potluck, they were gone in less than an hour. They’re forgiving, quick, and endlessly tweakable, which is why I keep this version handy for both weekday treats and bigger celebrations.
When I first served these at a backyard barbecue, a neighbor asked for the recipe before dessert plates were even cleared. Since then they’ve turned up at school bake sales, holiday cookie trays, and late-night snack sessions. I love how one small pan can deliver instant nostalgia with very little effort.
One of my favorite things about these bars is how reliably they bring people together. The first holiday I made them, my uncle, who is notoriously picky about desserts, asked for a second piece and then wrote down the ingredients so he could try making them himself. That kind of reaction never gets old.
Keep finished bars in a single layer in an airtight container in the refrigerator for up to 2 weeks. If stacking, place parchment between layers to prevent sticking. For longer storage, freeze cut bars individually wrapped in plastic and then foil or a freezer bag; thaw in the refrigerator for a few hours before serving. If the chocolate develops a slight bloom after freezing, it’s only a surface change and won’t affect taste — warm bars briefly at room temperature to restore shine.
If you need dairy-free bars, substitute vegan butter and use dairy-free chocolate chips; the structure remains the same. For a less-sweet filling, reduce powdered sugar by 1/4 cup and add a pinch more salt to balance. Swap creamy peanut butter for almond or sunflower seed butter for nut-free options — sunflower seed butter gives a similar texture but a slightly greenish tint when mixed with powdered sugar. Remember that different nut butters absorb powdered sugar differently, so adjust sweetness and texture incrementally.
Serve chilled or at cool room temperature for the best texture. These bars are lovely on a dessert platter with berries and salted nuts, or cut into smaller squares for bite-sized finger food at parties. Garnish individual bars with a sprinkle of flaky sea salt, a drizzle of contrasting white chocolate, or finely chopped roasted peanuts for crunch and visual appeal.
The Buckeye flavor takes its name from the buckeye candy — a chocolate-dipped peanut-butter confection resembling the Ohio buckeye nut. This pantry-friendly slab captures the same nostalgic profile in a traybake format, making it a popular adaptation in Midwestern American kitchens. Over time, variations have spread across the country, with each family developing its own preferred chocolate-to-peanut ratio and finishing touches.
In colder months, serve with a warm mug of coffee or cocoa; you can stir a teaspoon of instant espresso into the melted chocolate for a mocha edge. For summer gatherings, make thinner bars and chill thoroughly to keep them stable outdoors. Holiday versions can include festive sprinkles, chopped peppermint, or a salted caramel drizzle for added decadence.
Make a double batch and freeze half for later — cutting and wrapping individual portions in advance makes weekday snacks effortless. Press the filling into two 8x8 pans instead of one 9x9 if you want thinner pieces that set quicker. Label containers with the date so you rotate the oldest supply first.
These bars are simple, crowd-pleasing, and reliably delicious. Give them a try on your next gathering — I think you’ll find they disappear faster than you expect, and that’s the best kind of compliment in any kitchen.
Beat the butter and peanut butter until completely smooth before adding powdered sugar to avoid lumps.
Use parchment paper with an overhang for easy removal and cleaner edges when cutting.
If melting chocolate in the microwave, stir frequently and stop heating when still slightly thick — residual heat will finish melting it.
Chill for at least 1 hour to ensure clean slicing and a firm chocolate top.
Wipe the knife blade with a hot towel between cuts for neat squares.
This nourishing classic buckeye bars recipe is sure to be a staple in your kitchen. Enjoy every moist, high protein slice — it is perfect for breakfast or as a wholesome snack any time.
Yes — store bars in an airtight container in the refrigerator for up to two weeks. For longer storage, freeze for up to 3 months and thaw in the fridge before serving.
If you prefer a firmer chocolate top, chill the pan until the chocolate is mostly set, then return to the refrigerator to finish. Wiping the knife between cuts prevents chocolate from smearing.
Recipe data validation failed
Please check the recipe data format. See console for details.

Ultra-fudgy brownies crowned with melty marshmallows and a glossy cocoa icing. A nostalgic crowd-pleaser that slices cleanly and disappears fast.

Buttery shortbread crust meets gooey brown-sugar pecan filling in these quick, crowd-pleasing bars, prepped in just 10 minutes.

Ultra-smooth pumpkin cheesecake with warm spice, sturdy graham crust, and a foolproof, crack-free bake. Perfect with caramel and whipped cream.
Leave a comment & rating below or tag @gusteen on social media!
Enjoyed this recipe? Share it with friends and family, and don't forget to leave a review!
This recipe looks amazing! Can't wait to try it.
Comments are stored locally in your browser. Server comments are displayed alongside your local comments.

Join to receive our email series which contains a round-up of some of our quick and easy family favorite recipes.
