
>>

A simple, crusty Italian batard made with pantry staples — golden crust, tender crumb, and deeply satisfying flavor. Perfect for sandwiches, soup dipping, or toasting.
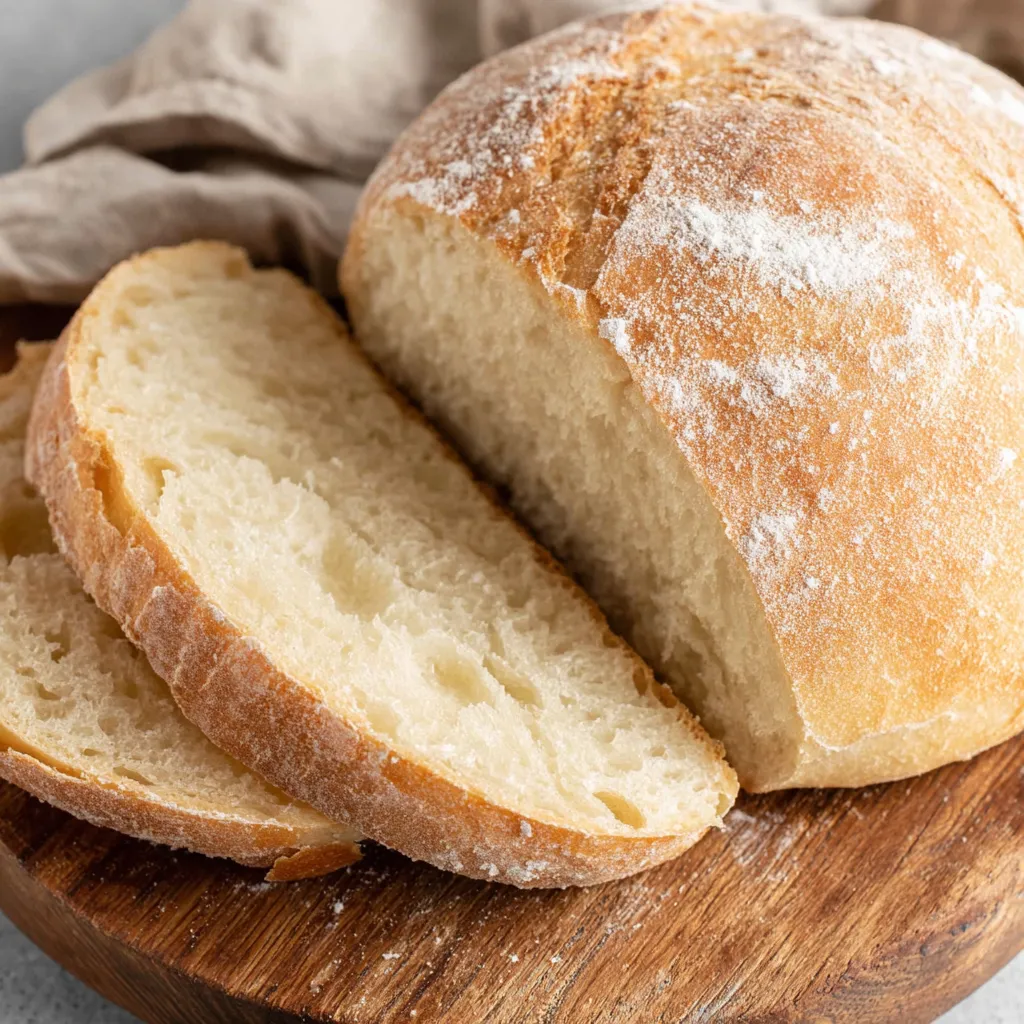
This loaf is my go-to when I want warm, comforting bread that smells like a little bakery in my kitchen. I first learned this shape and method one rainy afternoon when I was craving something rustic but approachable. The dough is forgiving — just yeast, flour, water, oil, sugar and salt — but with a few small technique notes you get a loaf with a crisp, golden crust and a tender, slightly chewy interior. It’s the kind of bread that makes people pause, tear off a corner, and smile.
What makes this version special is its balance: the olive oil keeps the crumb soft while the shaping creates a pleasing crust-to-crumb ratio. I often bake it to accompany tomato soup, to build an open-faced sandwich, or to dip into a garlicky olive oil. Over the years I’ve tweaked proofing times and handling to make it beginner-friendly without sacrificing artisan character. Expect a reliable rise and a full-flavored crust every time.
My family always gathers when this bread is in the oven. One winter evening I served it with a hearty stew and every guest asked for a second slice; my sister even declared it the best loaf I’d ever made. Those small moments — butter melting into warm crumb, the sound of a good slice tearing away — are why I keep returning to this simple formula.
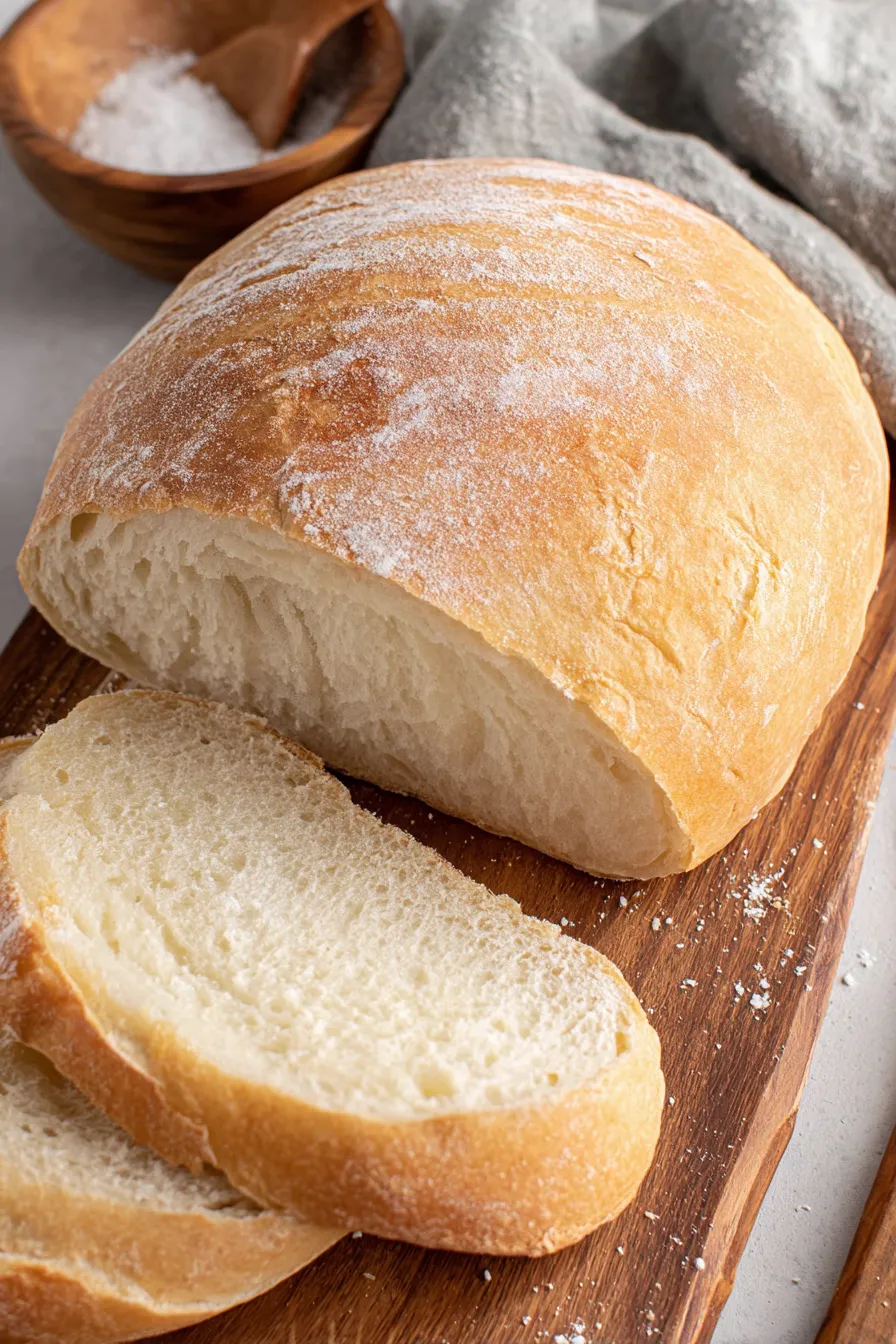
My favorite thing about this bread is how a simple technique produces a loaf that feels special. Over time I discovered that a slightly cooler final rise (20 minutes rather than 30) keeps the crust thin and crisp while developing just enough oven spring. Guests always comment on the crust-to-crumb contrast; it’s the small details — a well-scored top, a hot oven, and a patient cooling period — that lift this from good to memorable.
For short-term storage, keep the loaf in a paper bag or wrapped in a clean kitchen towel at room temperature for up to 48 hours; this preserves the crust better than plastic. If you need to keep it longer, slice and freeze the extra portions: flash-freeze slices on a tray, then transfer to a freezer bag. Reheat slices from frozen in a toaster or oven at 350°F for 8–10 minutes. Avoid refrigerating a whole loaf for extended periods as it accelerates staling — freezing is preferable. When reheating a whole frozen loaf, wrap in foil and warm at 350°F for 15–20 minutes until internal temperature reaches 140°F.
If you don’t have bread flour, all-purpose works fine; expect a slightly softer crust and less chew. To make a whole wheat version, substitute up to half the white flour with whole wheat, but add 1–2 tablespoons of water to compensate for the bran’s absorption and knead a few minutes longer. For a richer crumb, replace 1 tablespoon of water with milk or add 1 tablespoon of honey — note that milk makes it no longer strictly vegan. If you’re out of olive oil, vegetable oil or melted butter can be used, though flavor will vary.
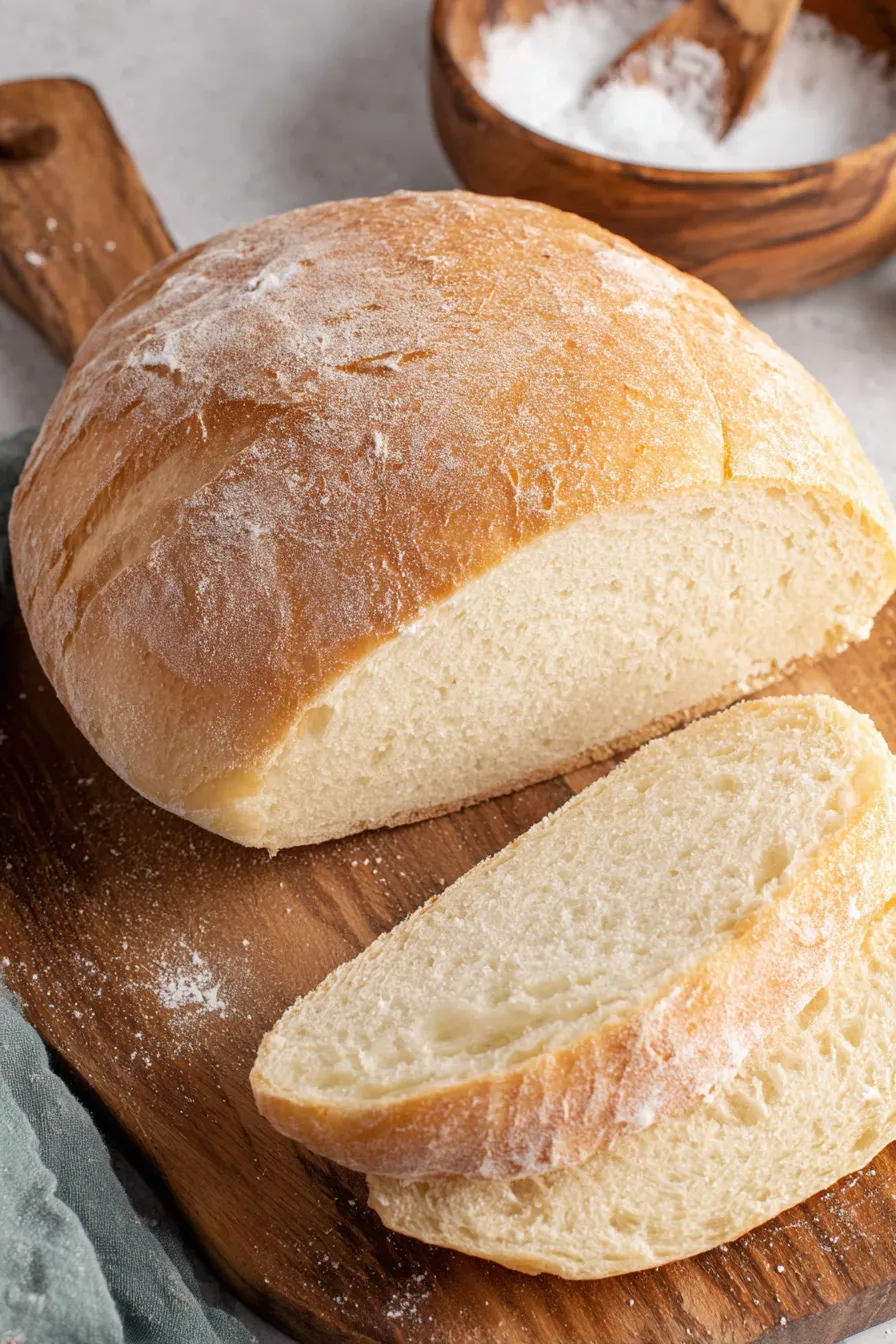
Serve warm with good olive oil and flaky salt for dipping, or slice for sandwiches: this loaf makes excellent panini and open-faced bruschetta. Pair with a tomato-basil salad, creamy soups, or roasted vegetables. For breakfast, toast slices and top with mashed avocado, a squeeze of lemon and chili flakes. For a rustic presentation, break the loaf into chunks and arrange on a wooden board with cheeses, olives and cured meats for casual entertaining.
This style of free-form loaf traces to the rustic peasant breads of Italy: simple doughs shaped and baked at home, prized for their crust and crumb balance. The batard, a torpedo-shaped loaf, sits between a boule and baguette in its texture and is popular in home baking because its shape fits nicely on a standard baking sheet. Regional variations across Italy incorporate olive oil, semolina flour or herbs for localized flavors, reflecting centuries of breadmaking adapted to local fields and traditions.
In cooler months, I like adding a spoonful of roasted garlic or a tablespoon of chopped rosemary to the dough for cozy flavors. In summer, serve this bread with fresh tomatoes, basil and burrata for a light, seasonal meal. For holiday gatherings, add 1 teaspoon of fennel seeds or a tablespoon of chopped olives for a festive twist. Adjust water slightly for humidity changes: more humid conditions need marginally less added liquid.
To prep ahead, you can mix the dough in the evening and refrigerate the covered bowl overnight — this slow, cold fermentation develops flavor. In the morning, shape and allow a final rise while the oven preheats. For multiple loaves, scale ingredients and use a stand mixer to save time. Use shallow, airtight containers for storing sliced bread in the freezer and label with the date to keep track. Reheat slices directly from frozen for quick breakfasts or sandwiches.
This loaf is a joyful mix of simplicity and technique — it rewards patience and becomes the centerpiece of many meals. Give it a try, make it yours with small tweaks, and enjoy the ritual of warm bread shared at the table.
Always proof active dry yeast in warm (not hot) water to ensure liveliness; water should feel like warm bath water.
Avoid adding all the extra flour at once; add the remaining flour sparingly during kneading to prevent a dense loaf.
Let the loaf cool completely before slicing to set the crumb and avoid a gummy interior.
For extra oven spring, place a shallow pan of hot water on the lower rack while the loaf bakes to add steam.
This nourishing classic italian bread (batard) recipe is sure to be a staple in your kitchen. Enjoy every moist, high protein slice — it is perfect for breakfast or as a wholesome snack any time.
This Classic Italian Bread (Batard) recipe makes perfectly juicy, tender, and flavorful steak every time! Serve with potatoes and a side salad for an unforgettable dinner in under 30 minutes.
Combine 2 1/4 teaspoons active dry yeast, 1 teaspoon sugar and 1 cup warm water (about 110°F) in a large bowl. Let sit 5–10 minutes until foamy. If no foam appears, use fresh yeast.
Add 2 cups flour, 2 tablespoons olive oil and 1 teaspoon salt to the yeast mixture. Stir until a shaggy dough forms. If using a stand mixer, use the dough hook on low to combine.
Turn dough onto a floured surface and knead 10 minutes by hand, or knead 4–6 minutes on medium speed in a stand mixer, adding remaining flour gradually until dough is smooth and elastic.
Shape into a ball, place in an oiled bowl and turn to coat. Cover and let rise about 1 hour until doubled in size in a warm, draft-free spot.
Punch down dough, shape into a 12-inch batard on a lightly floured surface, transfer to a prepared baking sheet, cover with a towel and let rise 20–30 minutes until puffy.
Preheat oven to 400°F. Make several 1/4-inch slashes on the loaf. Bake 20–25 minutes until golden brown and hollow-sounding when tapped. Cool completely on a rack before slicing.
Last Step: Please leave a rating and comment letting us know how you liked this recipe! This helps our business to thrive and continue providing free, high-quality recipes for you.
Leave a comment & rating below or tag
@gusteen on social media!

Ultra-fudgy brownies crowned with melty marshmallows and a glossy cocoa icing. A nostalgic crowd-pleaser that slices cleanly and disappears fast.

Buttery shortbread crust meets gooey brown-sugar pecan filling in these quick, crowd-pleasing bars, prepped in just 10 minutes.

Ultra-smooth pumpkin cheesecake with warm spice, sturdy graham crust, and a foolproof, crack-free bake. Perfect with caramel and whipped cream.
Leave a comment & rating below or tag @gusteen on social media!
Enjoyed this recipe? Share it with friends and family, and don't forget to leave a review!
This recipe looks amazing! Can't wait to try it.
Comments are stored locally in your browser. Server comments are displayed alongside your local comments.

Join to receive our email series which contains a round-up of some of our quick and easy family favorite recipes.
