
>>

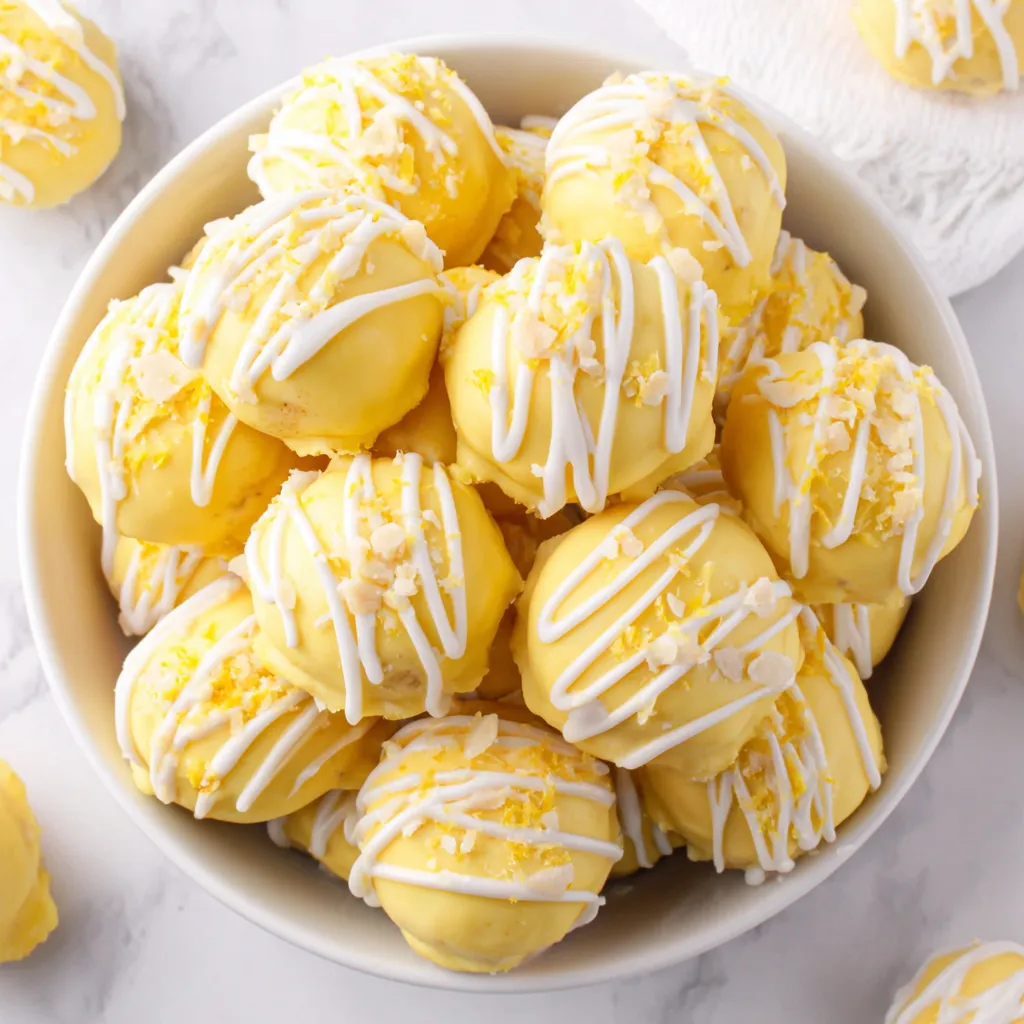
Tiny, tangy no-bake lemon cheesecake bites coated in bright yellow candy melts and drizzled with white almond bark — a make-ahead, crowd-pleasing finger food.
When I first served these, my sister remarked on how they tasted like a cross between cheesecake and lemon candy. Over several iterations I learned which candy melt brands coat smoothly and how long to chill so the centers hold their shape. The recipe quickly became a staple — my friends now ask me to bring a batch whenever there’s a gathering, and I love that I can customize colors and drizzle patterns to match the event.
The ingredient list is intentionally short — the boxed mix supplies most of the sweetness and lemon essence, while the cream cheese provides richness and body. If you prefer a brighter natural lemon flavor, stir in 1 to 2 teaspoons fresh lemon zest into the cream cheese before mixing in the dry mix. When shopping for candy melts look for ones labeled for dipping; economy wafers sometimes have stabilizers that cause dull finish or graininess.
My favorite part of making these is the finish: the glossy yellow shell and white drizzle make each bite feel festive, and they’re so fast to assemble that I can make multiple color themes in one afternoon. Guests often ask if they’re homemade chocolates, and I love revealing how simple the technique is — just a little chilling and a gentle hand while dipping. Over time I learned a few plating tricks to make them look bakery-ready, like spacing them evenly and adding a small paper liner for presentation.
Keep finished bites in a single layer in an airtight container in the refrigerator for up to 5 days. If stacking is necessary, separate layers with parchment paper to avoid scuffing the coating. For longer storage, freeze on a baking sheet in a single layer until solid, then transfer to a freezer-safe bag and use within 3 months. Thaw in the refrigerator for an hour before serving — avoid room-temperature thawing for long periods to maintain texture and prevent sweating on the coating.
If you prefer a different flavor, substitute the lemon cake mix with yellow, white, or chocolate boxed mix; keep proportions the same. For dairy-free options, use a vegan cream cheese and dairy-free candy melts, though texture will be slightly softer. To reduce sweetness, use sugar-free or reduced-sugar candy coatings, but note that thinner coatings can be more fragile — chill the centers longer before dipping. For a more natural lemon profile, add 1 teaspoon lemon zest and 1 tablespoon fresh lemon juice to the cream cheese before combining; reduce the dry mix by a tablespoon if mixture becomes too loose.
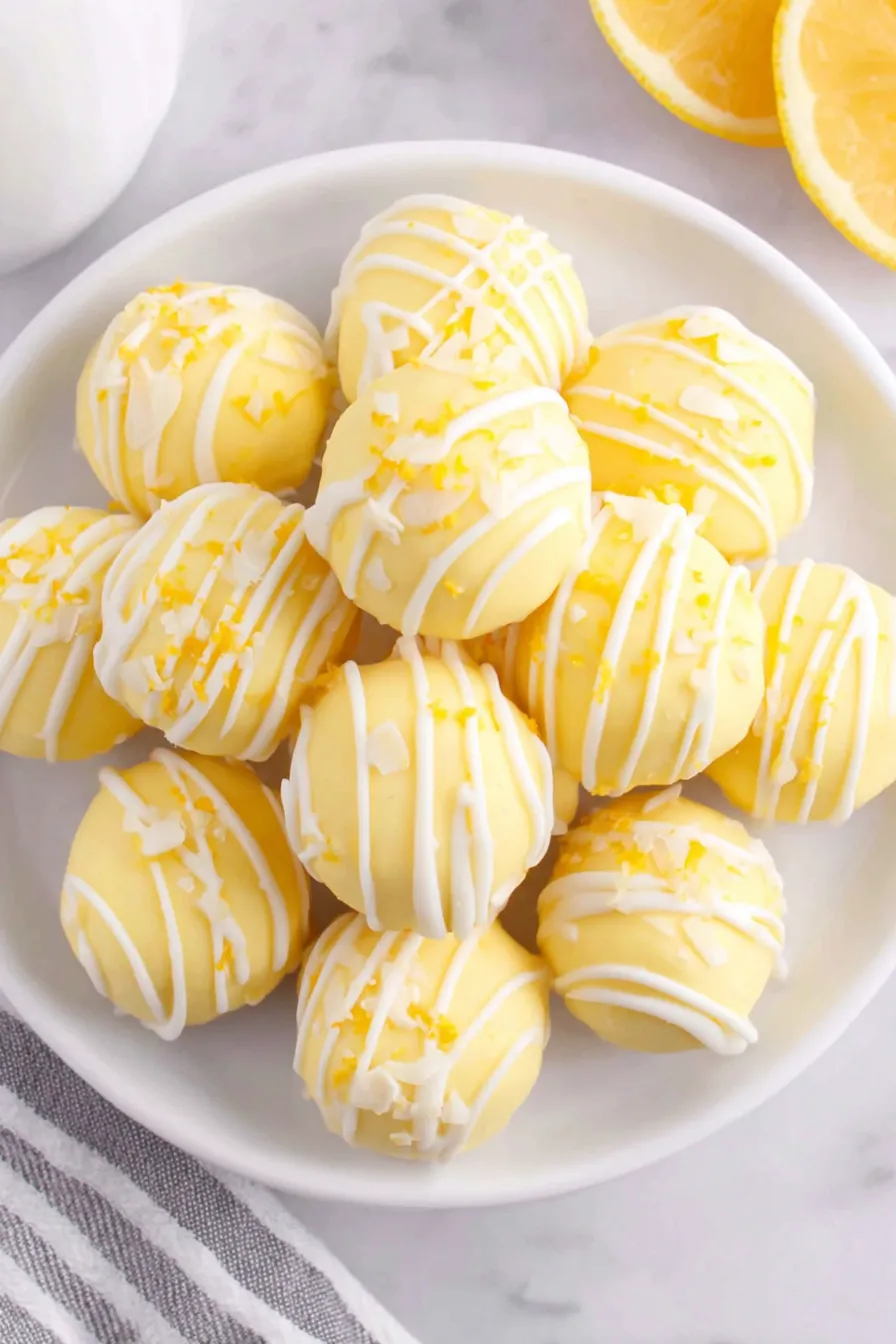
Serve chilled on a decorative platter or in mini paper liners for an elegant look. Pair with fresh berries or a citrus-scented whipped cream for a layered dessert table. They make great favors — package three to six in a clear box tied with ribbon for showers or bridal parties. For brunch, balance the sweetness with a savory platter of cured meats and cheeses so guests can alternate tastes.
These no-bake lemon cream bites are part of a larger American tradition of boxed-mix desserts and easy, small-format confections. Combining boxed cake mix with a creamy binder has been a popular shortcut for decades, especially for creating freezer-friendly candy-style bites and truffles. The technique reflects a practical home-cooking history where convenience ingredients are elevated with fresh dairy and thoughtful finishing touches.
For spring and summer, choose pastel coatings and add freeze-dried lemon powder for an intense citrus pop. In winter, use dark chocolate coating with gold sprinkles for a festive holiday bite. For holidays, swap the drizzle color to match themes: green for St. Patrick’s Day, red for Valentine’s Day. You can also fold in finely chopped candied ginger or poppy seeds to complement the lemon base.
Make the centers up to 2 days ahead and keep them chilled; dip on the day you intend to serve for the best glossy finish. If freezing, pre-freeze dipped bites on a tray before bagging to prevent sticking. When transporting, pack chilled packs around the container to keep the coating from softening and avoid stacking under heavy items to prevent deformation.
These lemon cheesecake bites are a delightful, adaptable treat that balances ease with a bakery-quality finish. Make them your own with color, drizzle, or mix-in variations, and enjoy how quickly a simple set of ingredients transforms into a crowd-pleasing dessert.
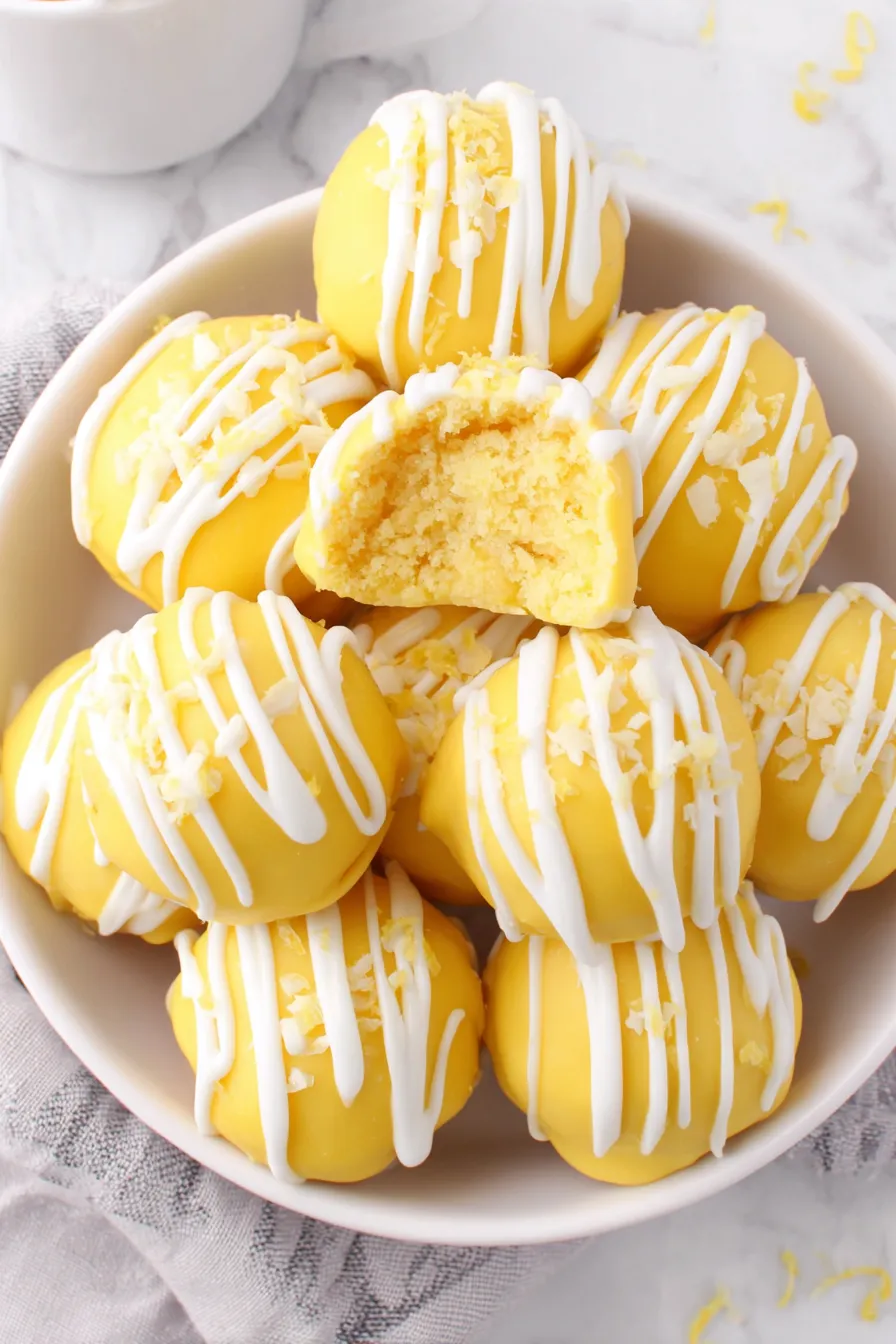
Chill the cream-cheese mixture at least 2 hours so it firms and scoops cleanly.
Microwave the dry cake mix briefly to heat-treat raw flour before combining with cream cheese.
Use a 1-tablespoon scoop for uniform bites and consistent coating coverage.
Tap excess coating off with a fork and use a toothpick to slide the coated ball off the fork for a clean finish.
If coating seizes or becomes grainy, gently reheat in 10-second bursts, stirring between each burst.
This nourishing lemon cheesecake bites recipe is sure to be a staple in your kitchen. Enjoy every moist, high protein slice — it is perfect for breakfast or as a wholesome snack any time.
This Lemon Cheesecake Bites recipe makes perfectly juicy, tender, and flavorful steak every time! Serve with potatoes and a side salad for an unforgettable dinner in under 30 minutes.
Pour the 15.25-ounce boxed lemon mix into a microwave-safe bowl and microwave in two 30-second intervals, stirring after each; cool completely before use.
In a medium bowl, beat 8 ounces room-temperature cream cheese on medium-high for 2 to 2½ minutes until completely smooth and lump-free.
Sprinkle the cooled dry lemon mix over the beaten cream cheese and mix until just combined; avoid overbeating to keep a dense, scoopable texture.
Cover tightly and refrigerate the mixture for 2 hours to firm up for scooping and dipping.
Using a 1-tablespoon scoop, form balls and roll smooth; place on a parchment-lined baking sheet for dipping.
Melt 12 ounces yellow candy melts in a heat-safe bowl in 30-second bursts, stirring thoroughly between intervals until smooth.
Dip each ball on a fork into the melted coating, tap off excess, and return to the parchment-lined sheet; use a spoon if any spots need extra coverage.
Melt 4 ounces white almond bark in short microwave bursts and drizzle thin ribbons over the coated bites with a spoon for contrast.
Refrigerate until set, about 20 to 30 minutes; store in an airtight container in the fridge for up to 5 days or freeze for longer storage.
Last Step: Please leave a rating and comment letting us know how you liked this recipe! This helps our business to thrive and continue providing free, high-quality recipes for you.
Leave a comment & rating below or tag
@gusteen on social media!

Ultra-fudgy brownies crowned with melty marshmallows and a glossy cocoa icing. A nostalgic crowd-pleaser that slices cleanly and disappears fast.

Buttery shortbread crust meets gooey brown-sugar pecan filling in these quick, crowd-pleasing bars, prepped in just 10 minutes.

Ultra-smooth pumpkin cheesecake with warm spice, sturdy graham crust, and a foolproof, crack-free bake. Perfect with caramel and whipped cream.
Leave a comment & rating below or tag @gusteen on social media!
Enjoyed this recipe? Share it with friends and family, and don't forget to leave a review!
This recipe looks amazing! Can't wait to try it.
Comments are stored locally in your browser. Server comments are displayed alongside your local comments.

Join to receive our email series which contains a round-up of some of our quick and easy family favorite recipes.
