
>>

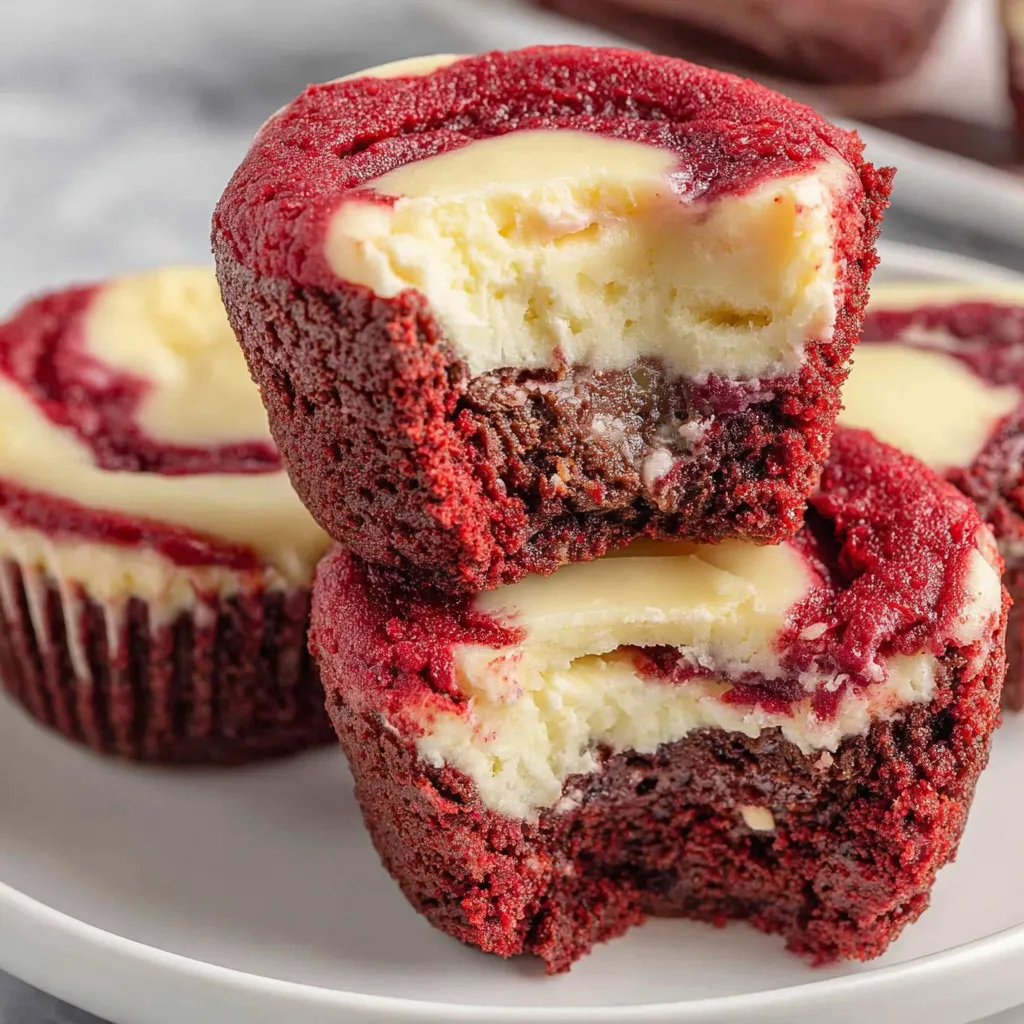
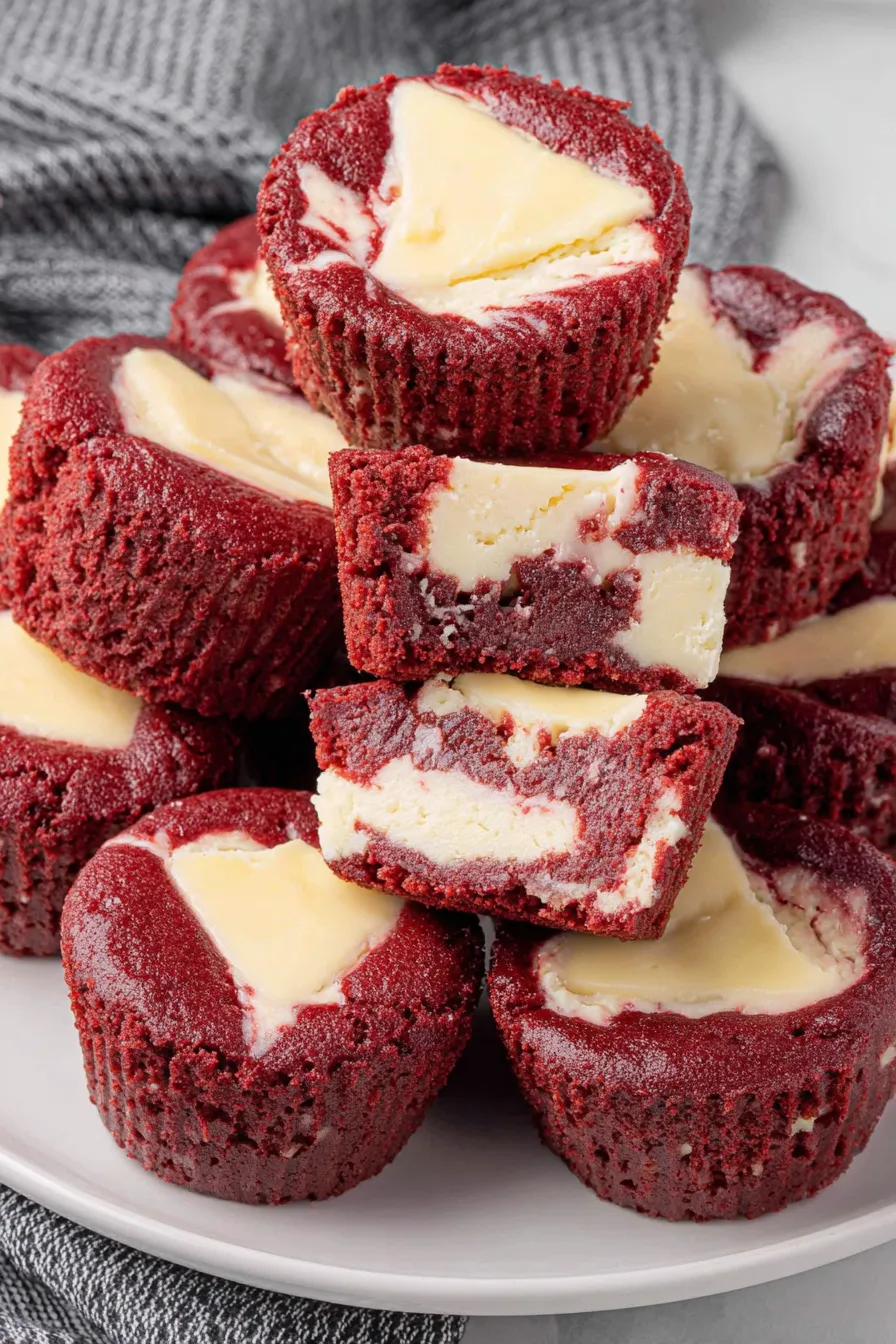
Tiny, tender red velvet bites with a creamy cheesecake center — a perfect crowd-pleasing finger dessert you can make in under an hour.
I’ve watched picky eaters reach past larger desserts to these because the flavor is familiar but the size is inviting. On one occasion, I brought a tray to a potluck where every single piece disappeared — someone told me they liked the red velvet crumb and the cheesecake center so much they thought about ordering a whole cake in that style. That’s the kind of reaction this recipe attracts: warm, impressed smiles and requests for the method.
My favorite part is the way the creamy filling peeks out of the red base like a hidden jewel. One Christmas I made three batches in different color schemes, and people kept asking which batch was the original; everyone had a favorite, but the classic red with cream cheese won unanimously. The little rounds are small gestures that feel celebratory — they’re how I end a dinner when I want something sweet without a whole cake.
Store cooled mini rounds in an airtight container in the refrigerator for up to 3 days. Stack with parchment or wax paper between layers to prevent sticking. For longer storage, freeze on a baking sheet until solid (about 1 hour) then transfer to a zip-top freezer bag or airtight container for up to 3 months. To serve from frozen, thaw in the refrigerator for several hours or at room temperature for 20–30 minutes. Reheat is not necessary — they’re best chilled or at cool room temperature. If you need to transport them, use a rigid container and a sheet of cooling rack beneath the pieces to keep them from shifting.
If you need a dairy-free version, use a full-fat dairy-free cream cheese and a plant-based butter substitute; results will be slightly different in texture and flavor but still tasty. For a lighter base, swap 1/4 cup of all-purpose flour for 1/4 cup oat flour, noting the crumb will be softer. If you don’t have gel food color, reduce liquid color and add an extra tablespoon of cocoa to maintain structure; you can also emphasize the cocoa flavor rather than the color. For a slightly tangier filling, replace half of the sugar with powdered sugar and add 1 tablespoon of sour cream to the filling for additional acidity and silkiness.
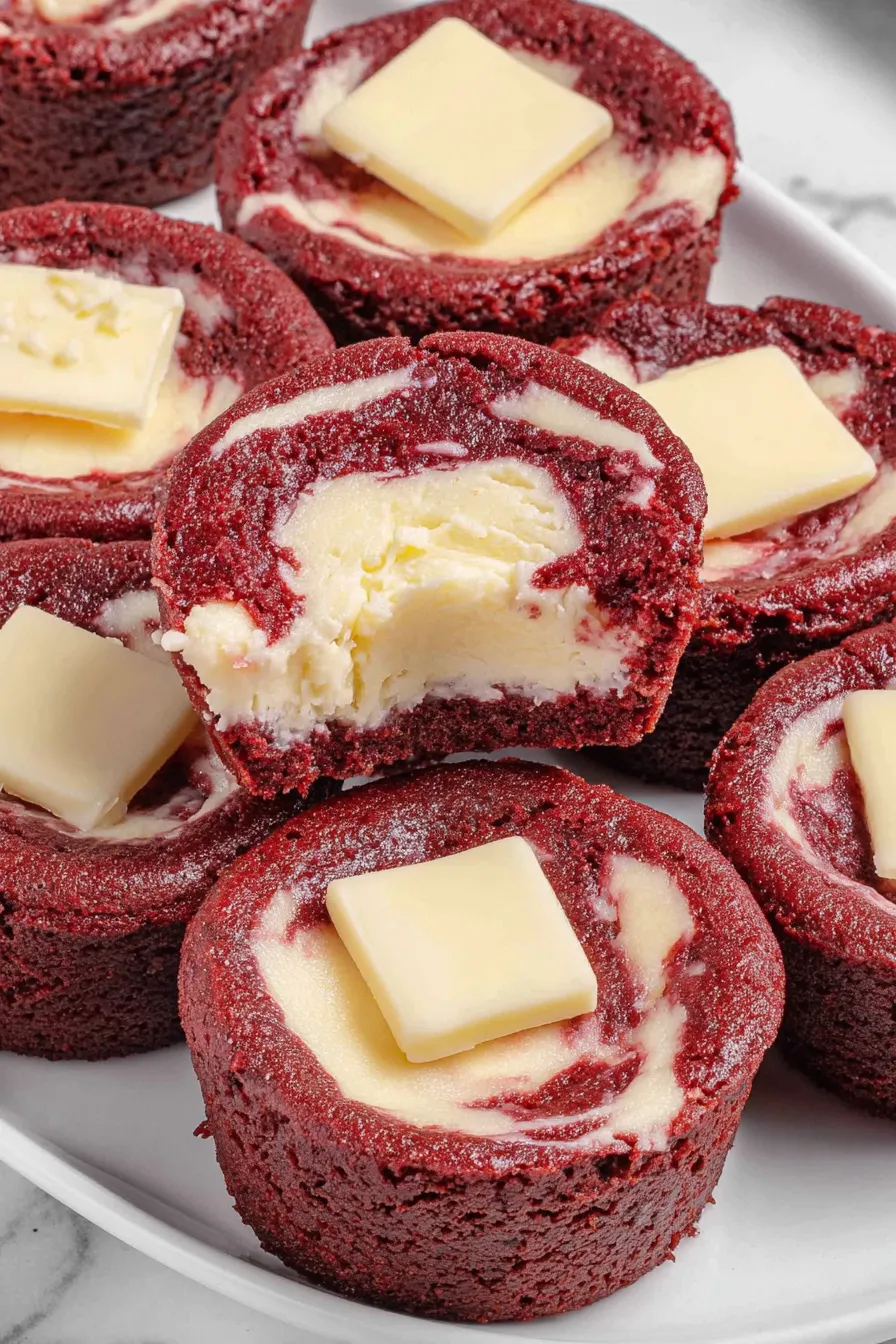
Serve these on a pretty platter garnished with a dusting of powdered sugar or a tiny swirl of whipped cream and a fresh raspberry on top for contrast. They’re perfect for tea parties, baby showers, or as a bite-sized dessert after a heavy meal. Pair with a cup of strong coffee or a dessert wine like late-harvest Riesling for an elegant finish. For a seasonal touch, top with crushed candy canes in winter or a sprinkle of lemon zest in spring to refresh the palate.
Red velvet’s origins trace to the early 20th century when cocoa’s popularity and the chemistry between reactants like natural cocoa and buttermilk created deeper red hues. While modern recipes use food color to achieve the signature red, the combination of cocoa and acidic ingredients lends a mild chocolate tang. Miniature cheesecakes are an American adaptation of classic European custard and cheese-based desserts; combining the two creates a playful hybrid that nods to both traditions — visually festive like red velvet and luxuriously creamy like cheesecake.
For winter holidays, top with peppermint bits or a drizzle of dark chocolate ganache. In spring, use pink or pastel gel colors for a lighter look and garnish with edible flowers. For summer gatherings, add a bright berry compote spooned onto each bite just before serving to introduce freshness and contrast. Adjust spices seasonally: a pinch of cinnamon or espresso powder deepens flavor in cooler months, while citrus zest brightens the profile in warmer months.
Prep the base batter and filling separately and refrigerate each in airtight containers for up to 24 hours before assembling and baking. Portion the base batter into a plastic container with a lid; spooning from a chilled container gives uniform sizes. Make the filling and store it in a piping bag in the refrigerator — cut a corner and pipe straight into the bases when ready to bake. This approach saves time on the day of serving and makes scaling up for events straightforward.
These mini red velvet cheesecakes are a reliable crowd-pleaser: small enough to sample multiple flavors, elegant enough to serve at special occasions, and simple enough for a weeknight baking project. Make them your own, and enjoy the delight they bring to any table.
Use room-temperature eggs and cream cheese to avoid lumps and ensure smooth incorporation.
Measure flour by spooning into the cup and leveling with a knife to avoid packing and dense bases.
Stop mixing the base batter as soon as dry streaks disappear to keep the crumb tender and prevent toughness.
Chill the filled pan briefly (10 minutes) if your kitchen is warm; this helps the filling stay centered while baking.
Use a small cookie scoop or piping bag for uniform portions and consistent bake times.
This nourishing mini red velvet cheesecake recipe is sure to be a staple in your kitchen. Enjoy every moist, high protein slice — it is perfect for breakfast or as a wholesome snack any time.
Yes — store in an airtight container in the refrigerator for up to 3 days. For longer storage, freeze solid on a tray then transfer to a freezer bag for up to 3 months.
Use gel food coloring for the best hue; if using liquid color, add slightly less liquid elsewhere or increase cocoa by 1 tablespoon to maintain structure.
If the filling jiggled too much after baking, next time reduce oven temperature by 25°F and increase bake time by 1–2 minutes to achieve a gentler set without overbrowning.
This Mini Red Velvet Cheesecake recipe makes perfectly juicy, tender, and flavorful steak every time! Serve with potatoes and a side salad for an unforgettable dinner in under 30 minutes.
Preheat oven to 350°F. Spray a standard 24-cup mini muffin pan with nonstick spray or butter; line with mini cups if preferred.
Whisk together 1 cup all-purpose flour with 1/4 cup plus 1 tablespoon unsweetened cocoa powder in a small bowl until evenly mixed. Set aside.
In a medium bowl, whisk 3/4 cup melted and cooled salted butter with 1 1/4 cups granulated sugar, 1 tablespoon red gel food color, 2 teaspoons vanilla, and 2 beaten eggs until smooth and glossy.
Stir the flour-cocoa mixture into the wet ingredients just until incorporated; avoid overmixing to keep the bases tender.
Beat 8 ounces softened cream cheese on medium-high for 1 minute, add 1/4 cup sugar and 1 teaspoon vanilla and beat 1–1 1/2 minutes. Mix in 1 egg yolk until no yellow streaks remain.
Add about 1 tablespoon of red velvet batter to each mini cup. Pipe or spoon roughly 2 teaspoons of cheesecake filling into the center of each base.
Bake at 350°F for 8 to 9 minutes until centers are slightly set. Cool in pan 20–30 minutes, then transfer to a wire rack to cool completely before refrigerating or serving.
Last Step: Please leave a rating and comment letting us know how you liked this recipe! This helps our business to thrive and continue providing free, high-quality recipes for you.
Leave a comment & rating below or tag
@gusteen on social media!

Ultra-fudgy brownies crowned with melty marshmallows and a glossy cocoa icing. A nostalgic crowd-pleaser that slices cleanly and disappears fast.

Buttery shortbread crust meets gooey brown-sugar pecan filling in these quick, crowd-pleasing bars, prepped in just 10 minutes.

Ultra-smooth pumpkin cheesecake with warm spice, sturdy graham crust, and a foolproof, crack-free bake. Perfect with caramel and whipped cream.
Leave a comment & rating below or tag @gusteen on social media!
Enjoyed this recipe? Share it with friends and family, and don't forget to leave a review!
This recipe looks amazing! Can't wait to try it.
Comments are stored locally in your browser. Server comments are displayed alongside your local comments.

Join to receive our email series which contains a round-up of some of our quick and easy family favorite recipes.
