
No-Bake Christmas Mini Cheesecakes

Festive no-bake mini cheesecakes with a buttery graham crust and light vanilla cream filling, topped with red and green sprinkles and optional crushed candy canes.
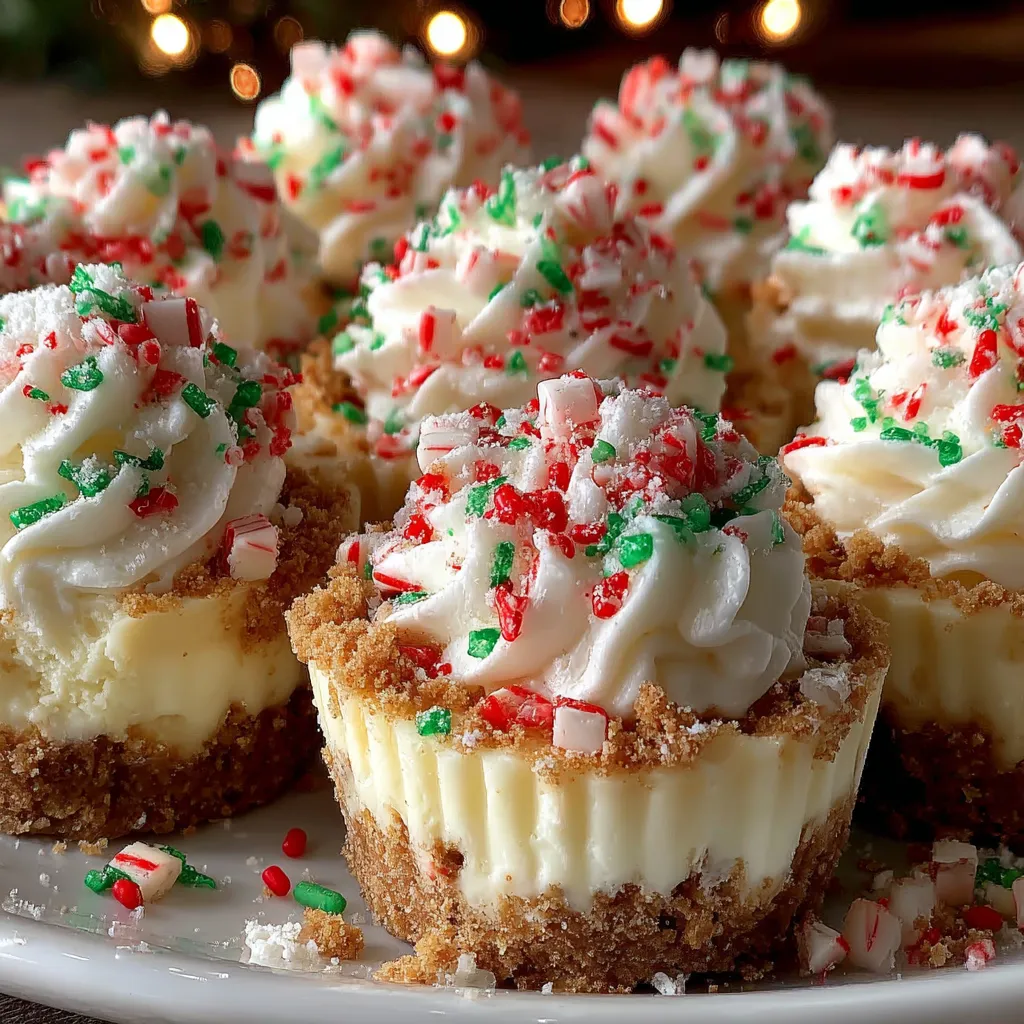
This recipe is my go-to for easy holiday baking when the calendar is overflowing yet I still want something special on the dessert table. I first created these no-bake mini cheesecakes one December evening when I needed a last-minute sweet for a neighborhood cookie swap. The result was unexpectedly perfect: a crisp, buttery graham base that holds a feather-light, tang-kissed cream cheese filling. The bite is creamy and smooth, with the pleasant crunch of the crust and a joyful pop of color from the red and green sprinkles. They are small enough to be a finger food yet rich enough to feel indulgent.
I love these because they capture the classic cheesecake flavor without the fuss of baking, making them ideal for tiny hands and busy hosts. They set up reliably in the refrigerator and travel well to parties, potlucks, and office celebrations. What makes them special is the texture contrast: a compact crumb base that gives way to an airy, cloud-like filling. Over the years I have adjusted the sweetness so the cream cheese flavor remains the star, and I often add crushed candy canes for a festive crunch and bright peppermint note. These treats became a holiday tradition in my family; seeing the kids' faces when I bring out the tray is one of my favorite seasonal memories.
Why You'll Love This Recipe
- Ready mostly in under 30 minutes of active time with a 3-hour chill, perfect for holiday prep and last-minute entertaining.
- Uses pantry staples like graham cracker crumbs, butter, cream cheese, and powdered sugar so you can assemble without a special shopping trip.
- Completely no-bake: no oven space needed, which is helpful when the holiday oven is busy with cookies and roasts.
- Make-ahead friendly: make the night before and garnish just before serving to keep colors bright and textures perfect.
- Crowd-pleasing single bites that are easy to plate, transport, and serve at buffets or as part of a dessert sampler.
- Flexible toppings: switch sprinkles for fruit, caramel, or crushed candy canes for different flavor profiles and holiday themes.
When I first brought these to a family gathering, everyone assumed they had been painstakingly baked. Instead they were the result of a hurried afternoon and a simple idea. My mother called them "deceptively elegant," and a neighbor asked for the recipe before dessert was even finished. Those early responses convinced me to keep this method simple and reliable, focusing on technique so anyone can reproduce the silky filling and stable crust.
Ingredients
- Graham cracker crumbs (1 1/2 cups): Look for whole graham crackers or prepackaged crumbs. If using whole crackers, pulse in a food processor for a finer texture. The crumbs provide structure and a toasty, slightly sweet base.
- Melted butter (6 tablespoons): Use unsalted butter so you control seasoning. Melt and cool slightly before combining; it binds the crumbs and firms up in the fridge to a compact crust.
- Granulated sugar (2 tablespoons): Adds a touch of sweetness and helps the crust hold its shape. If you prefer less sweetness in the base, reduce by 1 tablespoon.
- Cream cheese (8 ounces, softened): Full-fat cream cheese gives the best texture and flavor. Leave it at room temperature about 30 minutes so it whips smooth without lumps. Brands I use include Philadelphia or a trusted local creamery for extra richness.
- Powdered sugar (1 cup): Sifted for lump-free mixing. It sweetens and stabilizes the filling; adjust slightly to taste if you like a tangier cheesecake.
- Cold heavy cream (1 cup): Chill the bowl and beaters for firmer peaks. This makes the filling light and airy when folded into the cream cheese base.
- Vanilla extract (1 teaspoon): Pure vanilla extract lifts the flavor and rounds out the dairy notes; use a good-quality extract for best aroma.
- Red and green sprinkles and optional crushed candy canes: For festive finishing touches. Crushed candy canes add peppermint brightness and crunchy texture.
Instructions
Prepare the crust: In a medium bowl combine 1 1/2 cups graham cracker crumbs, 6 tablespoons melted butter, and 2 tablespoons granulated sugar. Stir until the crumbs are evenly coated and resemble wet sand. If using a mini muffin tin, spray lightly or use paper liners so the crusts release easily. The correct texture is compactable; press firmly so the base holds together after chilling. Form and chill the crusts: Press the crumb mixture firmly into the bottoms of mini cheesecake liners or a 12-cup mini muffin tin using the back of a small spoon or a measuring tablespoon for even pressure. A flat-bottomed glass or the end of a pestle works well to compact the crumbs. Chill in the refrigerator for at least 15 minutes to solidify the butter. Smooth the cream cheese: Beat 8 ounces softened cream cheese in a large mixing bowl with an electric mixer on medium speed until smooth and creamy, about 2 minutes. Scrape the bowl to avoid lumps. This step ensures a silky base before adding sweeteners and whipped cream. Add powdered sugar: Gradually add 1 cup sifted powdered sugar to the whipped cream cheese, mixing on low to combine and then on medium until integrated. Taste and adjust sweetness; the filling should be sweet but still allow the cream cheese tang to come through. Whip the heavy cream: In a separate chilled bowl whip 1 cup cold heavy cream with 1 teaspoon vanilla extract until stiff peaks form. Start on low speed to avoid splatter and increase to high as the cream thickens. Stiff peaks give body so the filling holds its shape in mini portions. Fold the components: Gently fold the whipped cream into the cream cheese mixture with a spatula in three additions. Use a light hand to keep the texture airy. Stop when the mixture is smooth and uniform; overfolding will deflate the whipped cream and yield a denser filling. Assemble and chill: Spoon or pipe the filling onto chilled crusts, smoothing the tops. A piping bag fitted with a round tip creates tidy domes. Refrigerate for at least 3 hours, or until fully set; overnight is ideal for the cleanest slices and firmest texture. Decorate before serving: Just before serving, top each mini cheesecake with red and green sprinkles and, if using, a pinch of crushed candy cane. The candy cane adds a bright crunch and a festive scent that pairs wonderfully with the creamy filling.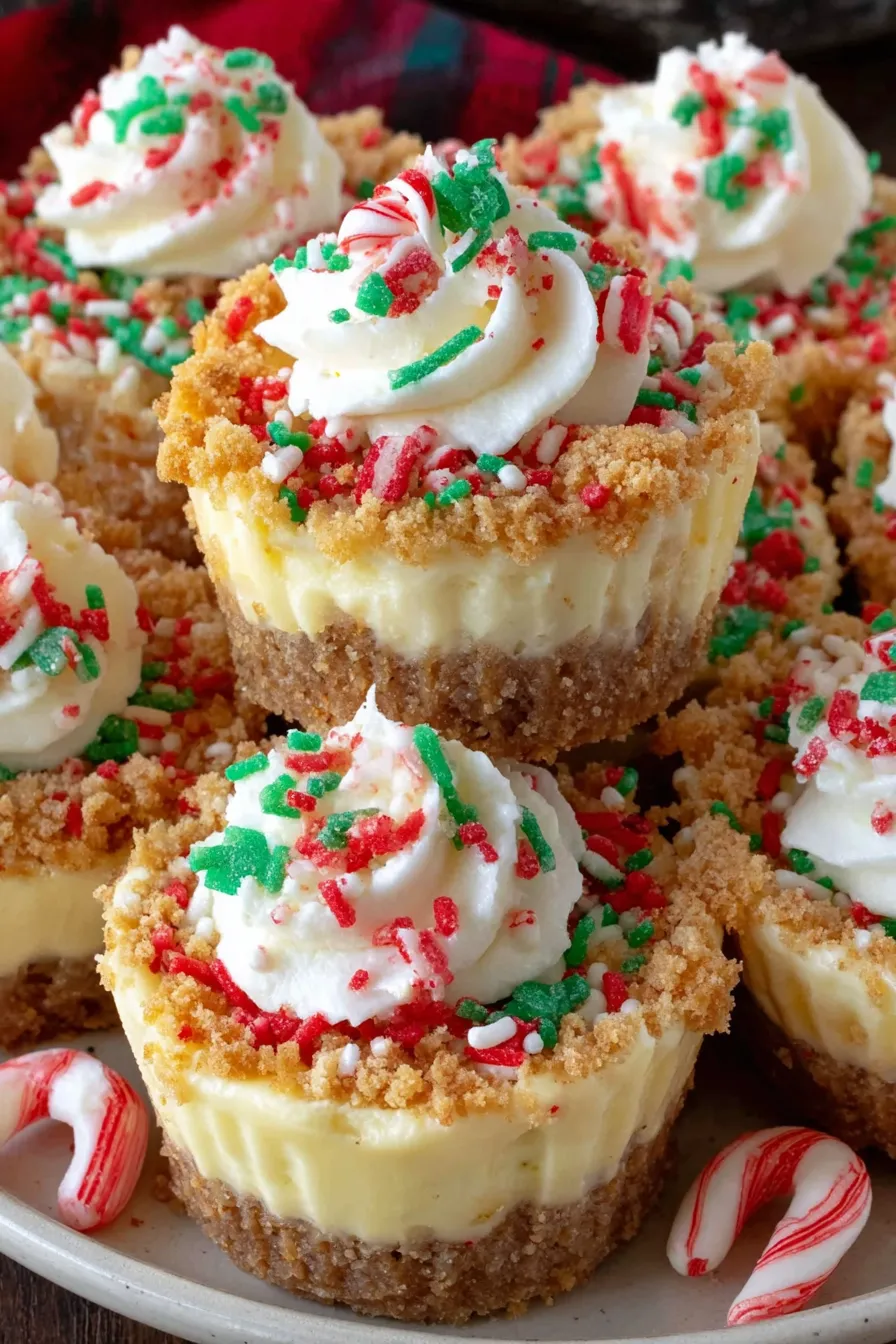
You Must Know
- These single-bite treats can be made up to 24 hours in advance; garnish just before serving to preserve sprinkles and candied toppings.
- Store in an airtight container in the refrigerator for up to 4 days. Freeze for up to 3 months on a tray then transfer to a freezer-safe container for longer storage.
- High in dairy: contains cream cheese and heavy cream; they are not suitable for dairy-free diets unless using substitutes.
- Best served cold: remove from the refrigerator only a few minutes before serving so the filling remains firm and the crust retains crunch.
What I adore most about these is how reliably they set and still feel luxurious. One holiday morning I prepared three batches back-to-back while juggling coffee and wrapping paper; despite the rush, they were the first dessert to disappear at our brunch. The contrast between the dense crumb base and the cloudlike filling always earns compliments, and kids love the festive sprinkles.
Storage Tips
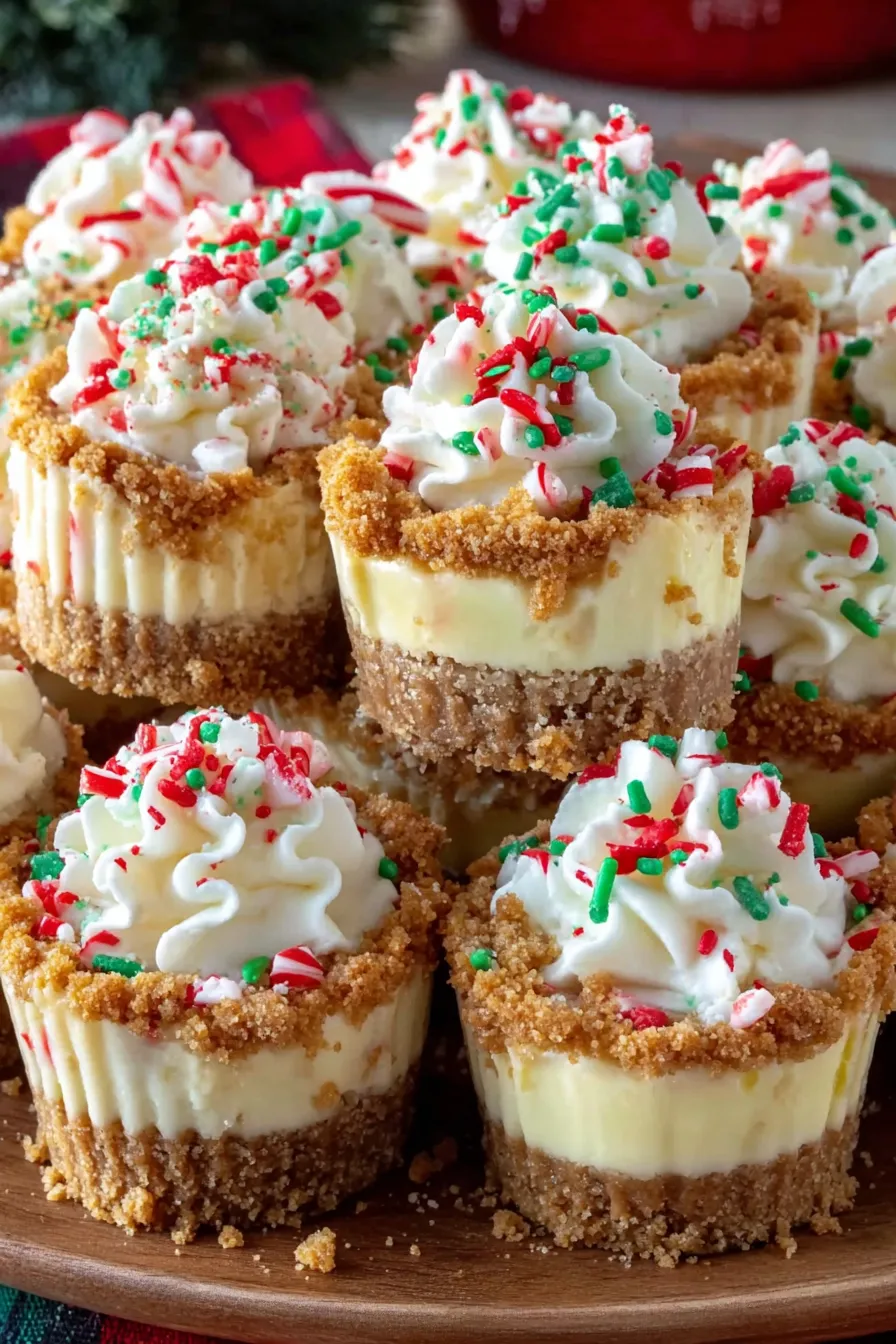
Store finished mini cheesecakes in a single layer in an airtight container in the refrigerator for up to 4 days. If stacking is necessary, place parchment or wax paper between layers to protect the decorations. For long-term storage freeze them on a baking sheet until firm, then transfer to a freezer-safe container with parchment between layers. To serve from frozen, thaw in the refrigerator for 2 to 3 hours. Refrain from leaving them at room temperature for extended periods; the filling softens quickly once out of refrigeration.
Ingredient Substitutions
For a gluten-free version use gluten-free graham-style crumbs or crushed gluten-free cookies in the same measurement. To make them lighter, substitute half-and-half for heavy cream and reduce powdered sugar by 2 tablespoons, though the texture will be softer and less stable. Vegan adaptations require vegan cream cheese and coconut cream whipped until thick; the flavor shifts toward coconut and the texture will be less tang-forward. For a peppermint-forward variant replace 1 teaspoon vanilla with 1/2 teaspoon peppermint extract.
Serving Suggestions
Present on a tiered platter for a festive centerpiece or line them on parchment paper on a simple tray for casual gatherings. Pair with bitter coffee or a citrusy tea to cut through the richness. For holiday variety, add a scatter of chopped pistachios or a small dollop of fruit curd. These are ideal as part of a dessert board alongside cookies, nuts, and fruit—guests love sampling different small bites.
Cultural Background
The concept of chilled cream-filled tarts and cheesecakes has roots in American and European traditions of refrigerated desserts. Graham crackers are a distinctly American ingredient, invented in the early 19th century and commonly used for crusts in no-bake desserts. Miniaturizing desserts into single servings reflects modern entertaining trends that favor variety and portability. Over time these small cheesecakes became a holiday staple because they are easy to scale and decorate for seasonal themes.
Seasonal Adaptations
In winter add spices such as a pinch of ground cinnamon to the crust or swap sprinkles for chopped roasted hazelnuts and a caramel drizzle for a cozy twist. For summer parties top with fresh berries or a spoonful of lemon curd. For Valentine’s Day use pink sanding sugar or freeze-dried strawberry powder folded into the filling for a natural color and bright flavor.
Meal Prep Tips
Make a double batch of crust and keep extra crumbs in the refrigerator for quick assembly later in the week. The filling can be prepared and stored in an airtight container for up to 2 days; whip the cream and fold shortly before assembling to keep the texture light. Use a piping bag to portion filling quickly and consistently into cups for an attractive, professional finish.
These little cheesecakes strike the perfect balance between festive presentation and practical preparation. Whether you are hosting a crowd or need a thoughtful homemade gift, they are reliable, delicious, and easy to adapt to your holiday style. Enjoy sharing them with the people you love and making them part of your seasonal traditions.
Pro Tips
Soften cream cheese at room temperature for about 30 minutes to avoid lumps and ensure smooth mixing.
Chill the mixing bowl and beaters before whipping heavy cream for firmer peaks.
Press crusts firmly into liners using the back of a tablespoon or a small flat-bottomed glass for an even base.
Garnish right before serving to keep sprinkles bright and candy canes crisp.
This nourishing no-bake christmas mini cheesecakes recipe is sure to be a staple in your kitchen. Enjoy every moist, high protein slice — it is perfect for breakfast or as a wholesome snack any time.
FAQs about Recipes
How long do these keep?
Yes. Store in an airtight container in the refrigerator for up to 4 days. For longer storage freeze on a tray then transfer to a freezer-safe container for up to 3 months.
How do I get the filling to be light and stable?
Use chilled heavy cream and a chilled bowl. Whip to stiff peaks and fold gently to keep airiness. If the filling is too soft, chill for longer before serving.
Tags
No-Bake Christmas Mini Cheesecakes
This No-Bake Christmas Mini Cheesecakes recipe makes perfectly juicy, tender, and flavorful steak every time! Serve with potatoes and a side salad for an unforgettable dinner in under 30 minutes.
Ingredients
Crust
Filling
Instructions
Prepare the crust
Combine graham cracker crumbs, melted butter, and granulated sugar until the mixture resembles wet sand. Press into mini liners and chill for 15 minutes.
Whip and smooth cream cheese
Beat softened cream cheese until smooth, then gradually add powdered sugar. Scrape the bowl to remove lumps and ensure a silky base.
Whip cream to stiff peaks
In a chilled bowl whip the cold heavy cream with vanilla until stiff peaks form to provide lift and lightness to the filling.
Fold and assemble
Gently fold whipped cream into the cream cheese mixture in three additions. Pipe or spoon onto chilled crusts and smooth tops.
Chill until set
Refrigerate for at least 3 hours or overnight for best firmness and texture before decorating and serving.
Decorate and serve
Top with red and green sprinkles and optional crushed candy canes just before serving to keep decorations crisp.
Last Step: Please leave a rating and comment letting us know how you liked this recipe! This helps our business to thrive and continue providing free, high-quality recipes for you.
Nutrition
Did You Make This?
Leave a comment & rating below or tag
@gusteen on social media!
Categories:
You might also like...
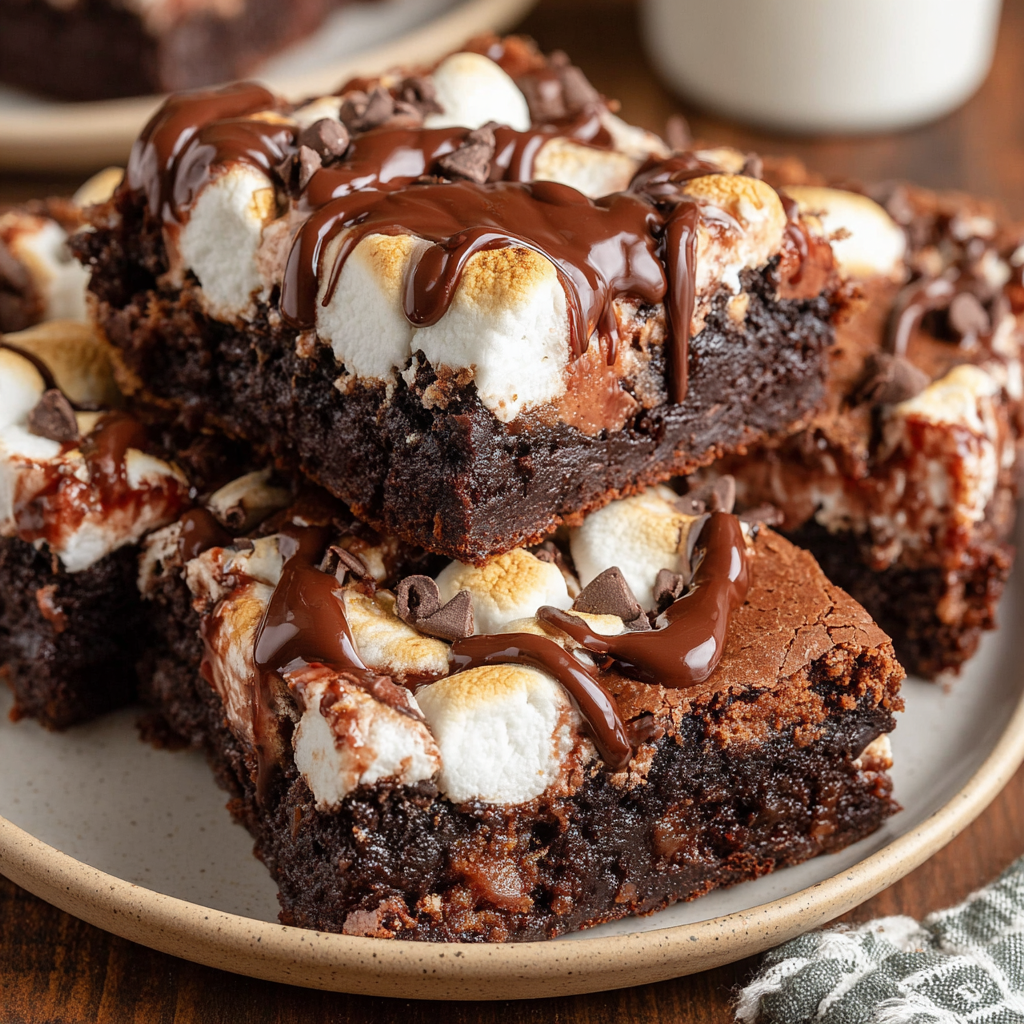
Fudgy Mississippi Mud Brownies
Ultra-fudgy brownies crowned with melty marshmallows and a glossy cocoa icing. A nostalgic crowd-pleaser that slices cleanly and disappears fast.
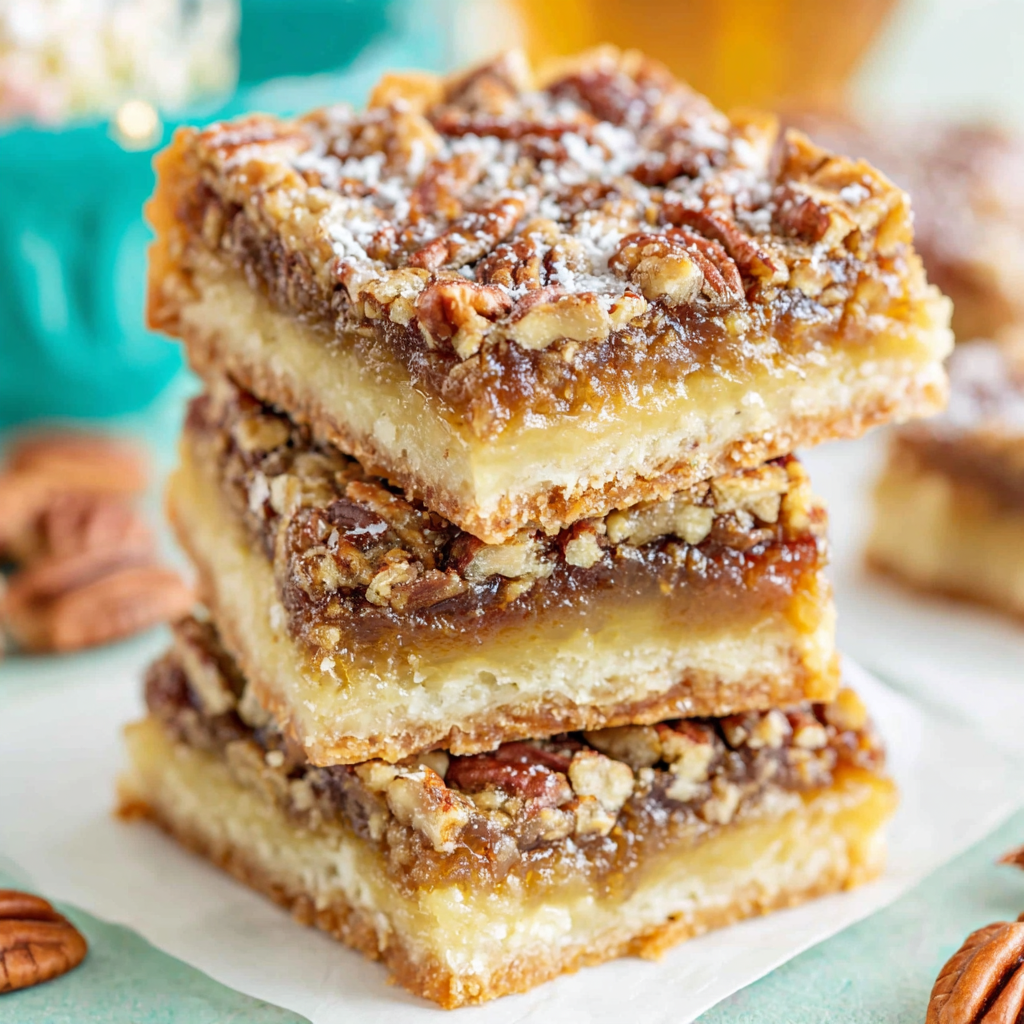
Buttery Pecan Pie Bars
Buttery shortbread crust meets gooey brown-sugar pecan filling in these quick, crowd-pleasing bars, prepped in just 10 minutes.
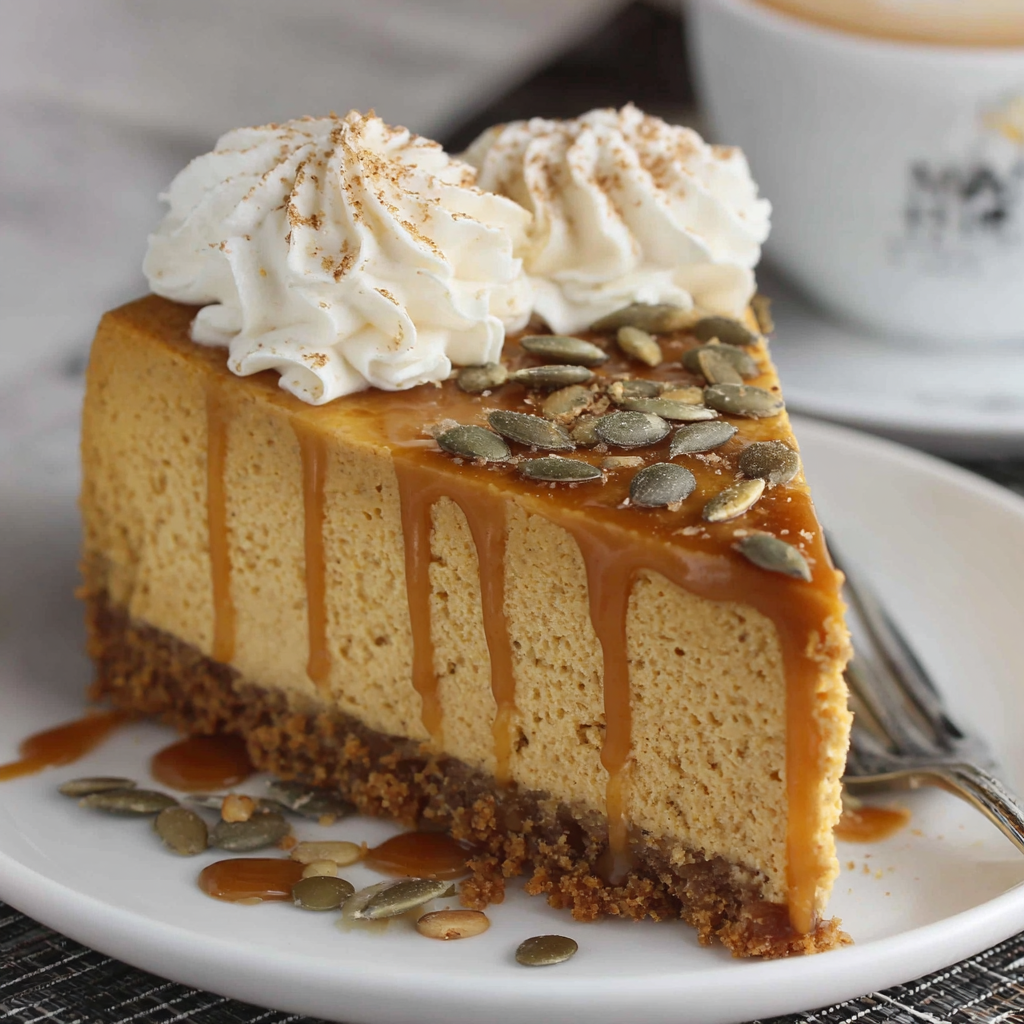
No-Crack Pumpkin Cheesecake
Ultra-smooth pumpkin cheesecake with warm spice, sturdy graham crust, and a foolproof, crack-free bake. Perfect with caramel and whipped cream.
Did You Make This?
Leave a comment & rating below or tag @gusteen on social media!
Rate This Recipe
Share This Recipe
Enjoyed this recipe? Share it with friends and family, and don't forget to leave a review!
Comments (1)
This recipe looks amazing! Can't wait to try it.
Comments are stored locally in your browser. Server comments are displayed alongside your local comments.

Hi, I'm Charlotte!
What's Popular
30-Minute Meals!
Join to receive our email series which contains a round-up of some of our quick and easy family favorite recipes.