
>>

Soft, cakey red velvet cookies rolled in a generous crust of powdered sugar for dramatic crinkles — ready in about 20 minutes and made in one bowl.
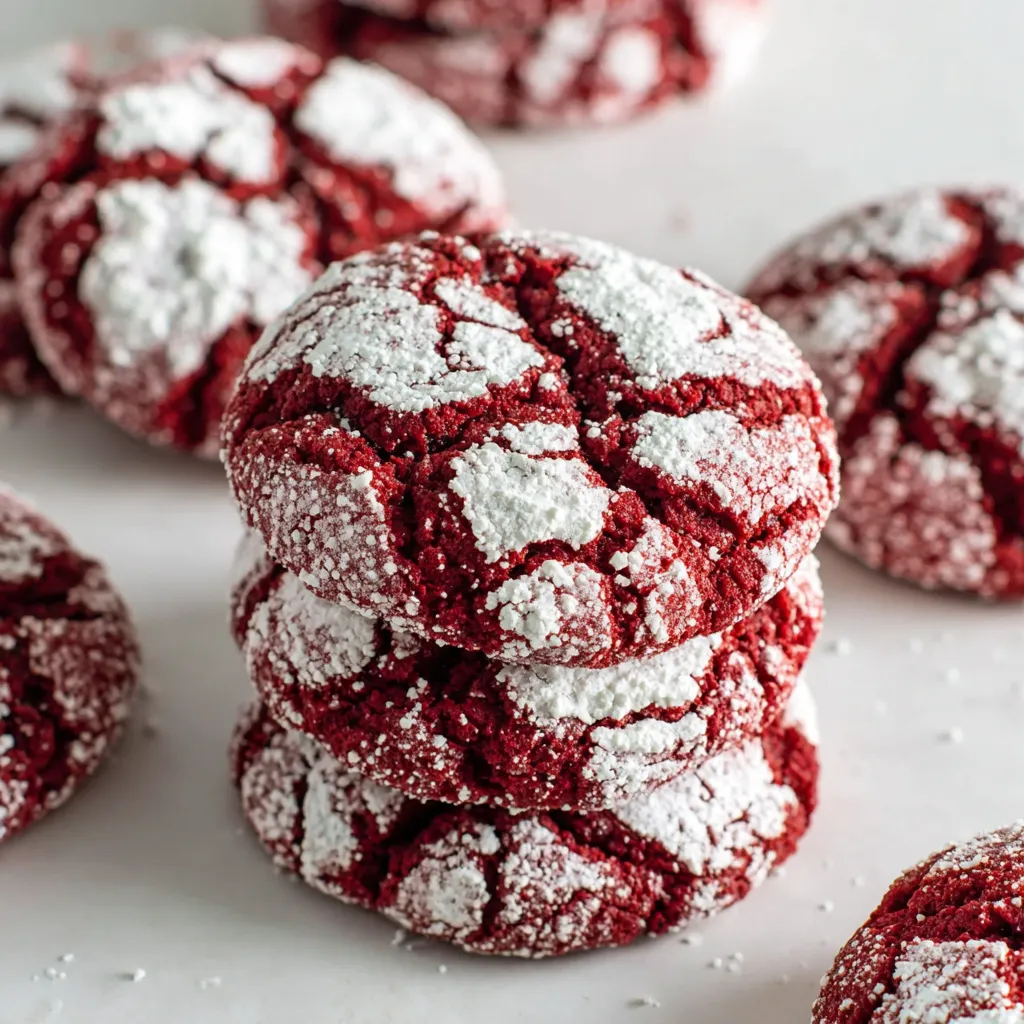
This recipe landed in my weeknight rotation the minute I discovered how little fuss it demanded and how big the payoff was. I developed these red velvet crinkle cookies on a rainy afternoon when I wanted a classic cakey cookie that didn’t require chilling or multiple bowls. The idea was simple: one bowl, quick whisking, and a final dramatic coat of powdered sugar that yields those signature crackled tops. The texture is tender and slightly cakey with a delicate cocoa lift; the outside gets a light sugary shell and the inside stays moist and soft.
What makes these particularly special to me is how forgiving they are. I’ve made them for school bake sales, a holiday cookie swap, and a last-minute tea with friends; in every instance they disappeared first. The bright red hue from gel coloring and the decadent cocoa note give them the nostalgia of red velvet cake but in an easy, handheld form. If you love desserts that look impressive but are simple to execute, these cookies will become one of your go-to recipes.
Every time I bring these out my family comments on how they taste like a small cake in cookie form. The first time I made a batch, my neighbor came by and left with three cookies tucked into a napkin — I had to smile as I baked another tray for ourselves. They’re reliably loved, which is why I keep this recipe ready when I want a quick, feel-good baking win.
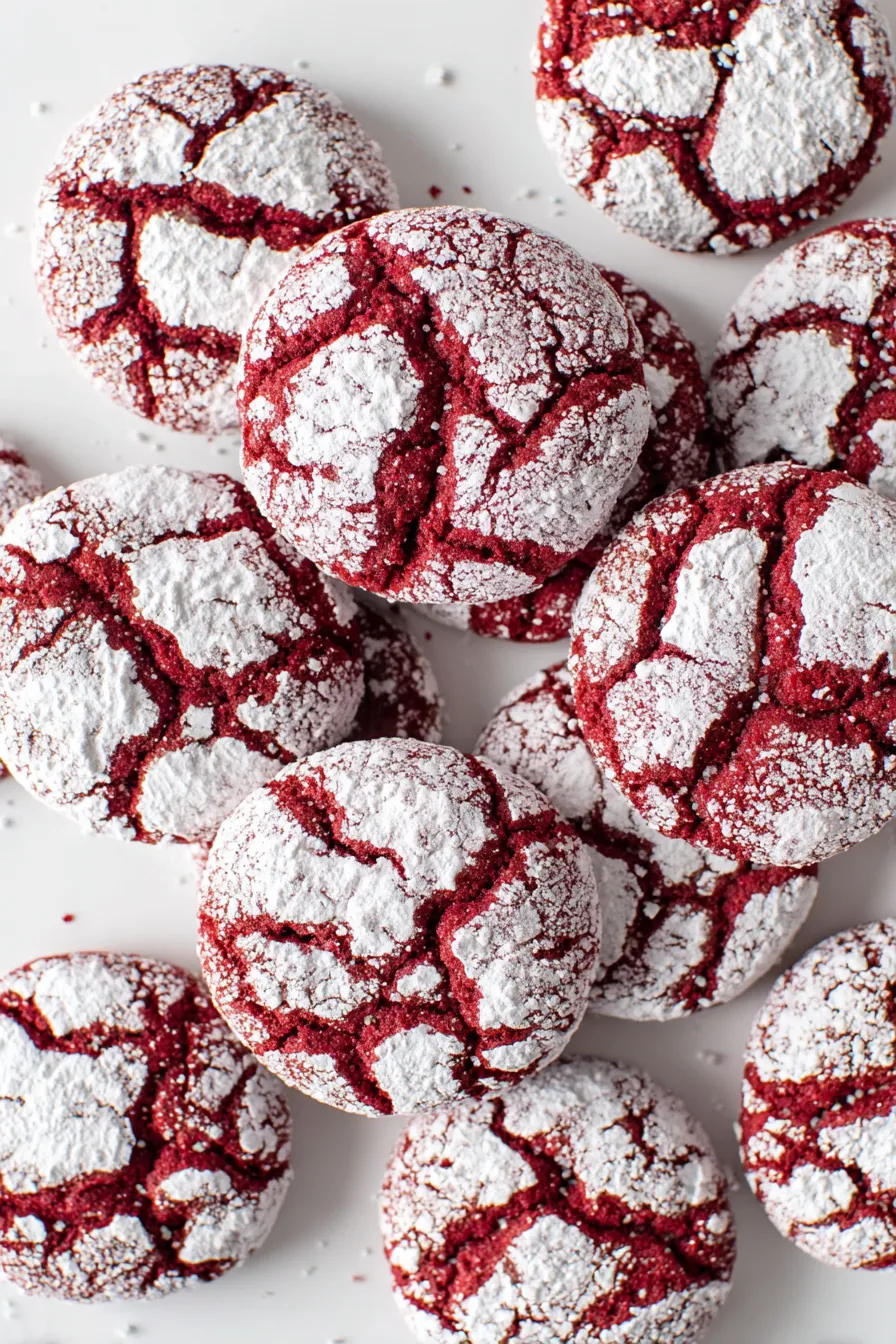
My favorite part of these cookies is how quickly they elevate a gathering: the bright red color and snowy powdered tops always make people smile. Over the years I've learned little adjustments — slightly more powdered sugar for a dramatic crinkle, or a touch of espresso in the batter to intensify the cocoa — that keep the base recipe fresh and adaptable.
Store cooled cookies in an airtight container at room temperature for up to five days. To keep them from losing their powdered sugar coating, layer cookies between sheets of parchment. For longer storage, freeze baked cookies flat on a sheet pan until solid, then transfer to a zip-top bag or airtight container; they’ll keep up to three months. Reheat briefly in a low oven (275°F / 135°C) for 4–6 minutes to revive a soft interior and slightly crisp exterior. Avoid refrigerating baked cookies — cold usually firms the fats and dries them out.
Want to tweak the recipe? Use light olive oil or melted coconut oil for a different aroma — melted coconut will bring a subtle coconut note and slightly firmer texture. For a dairy-free version, ensure powdered sugar is certified bone-char-free and use your neutral oil of choice. To make eggless cookies, try a commercial egg replacer or a flax egg (1 tablespoon ground flax + 3 tablespoons water, chilled) — expect a denser, less cakey result. Swap Dutch-processed cocoa for regular unsweetened if you prefer mellower acidity; reduce baking soda by a pinch if using Dutch-processed cocoa.

Serve these as a sweet bite alongside coffee or hot chocolate; their bright color makes them ideal for Valentine's Day or holiday platters. Pair with a simple whipped cream or mascarpone dip for a richer experience, or plate them with fresh berries to cut the sweetness. For a playful dessert, sandwich two cookies with a thin spread of cream cheese frosting — it echoes red velvet tradition and elevates them to a special-occasion treat.
Red velvet has roots in Southern American baking, where its vivid color and tender crumb became a hallmark through the 20th century. Originally, the velvet name referenced the soft, fine crumb textures achieved by acid-coagulated and well-mixed batters. Over time it evolved into the iconic red hue, often associated with celebration. These crinkle cookies borrow that classic flavor profile and translate it into a quick, portable form that echoes the cake tradition while keeping the technique refreshingly simple.
Shift the flavor profile with the seasons: in winter add 1/4 teaspoon warm spices (cinnamon and nutmeg) for a cozy twist; in spring, fold a tablespoon of orange zest into the dough to brighten the cocoa. For holiday cookie swaps, roll half the cookies in a mixture of powdered sugar and finely chopped freeze-dried raspberries for a tart contrast. The recipe scales well for batch baking — double the ingredients for larger gatherings, and bake on multiple pans in rotation.
If you like to bake ahead, make a double batch and freeze scooped but unbaked dough balls on a lined tray until solid, then transfer to a container. When you’re ready, bake from frozen, adding 1–2 minutes to the bake time. For packed lunches or dessert boxes, layer cookies with parchment in small containers to preserve the powdered sugar finish. Keep a small packet of powdered sugar on hand to refresh any dulled surfaces before serving.
These crinkle-topped red velvet cookies are one of my simplest ways to make an impression: minimal time, a single bowl, and a result that always feels celebratory. Try the variations, make the recipe your own, and don’t be surprised when neighbors come for seconds.
Use gel food coloring for deep color without thinning the batter; a little goes a long way.
Roll dough first in granulated sugar, then in powdered sugar — the two-stage coating yields dramatic crinkles.
Measure flour by spooning into the cup and leveling to avoid a dry, dense result.
Bake until edges are set and centers still look slightly underbaked; they will firm up as they cool.
This nourishing one bowl 20-minute red velvet crinkle cookies recipe is sure to be a staple in your kitchen. Enjoy every moist, high protein slice — it is perfect for breakfast or as a wholesome snack any time.
This One Bowl 20-Minute Red Velvet Crinkle Cookies recipe makes perfectly juicy, tender, and flavorful steak every time! Serve with potatoes and a side salad for an unforgettable dinner in under 30 minutes.
Preheat oven to 325°F (165°C). Line one or two baking sheets with parchment paper. If your oven runs hot, split the batch across two sheets for even baking.
In a medium bowl, whisk together oil, brown sugar, granulated sugar, egg, vanilla, and red gel coloring for about 1 minute until glossy and slightly thickened.
Sift in flour, sifted cocoa, salt, and baking soda. Fold with a rubber spatula until just combined; batter will be wet and slightly oily.
Place granulated sugar in one small bowl and powdered sugar in another. Use a #40 scoop or about 1 1/2 tablespoons per cookie.
Scoop 40 g (approx.) balls of dough, roll first in granulated sugar, then roll and press into powdered sugar so it adheres generously.
Place coated dough balls on the prepared sheet pan and bake 12–13 minutes until edges are set and tops are puffed. Rotate pan if needed for even color.
Allow cookies to cool on the pan 10–15 minutes, then transfer to a wire rack to cool completely. For neat rounds, gently nudge into shape with a slightly larger cutter.
Last Step: Please leave a rating and comment letting us know how you liked this recipe! This helps our business to thrive and continue providing free, high-quality recipes for you.
Leave a comment & rating below or tag
@gusteen on social media!

Ultra-fudgy brownies crowned with melty marshmallows and a glossy cocoa icing. A nostalgic crowd-pleaser that slices cleanly and disappears fast.

Buttery shortbread crust meets gooey brown-sugar pecan filling in these quick, crowd-pleasing bars, prepped in just 10 minutes.

Ultra-smooth pumpkin cheesecake with warm spice, sturdy graham crust, and a foolproof, crack-free bake. Perfect with caramel and whipped cream.
Leave a comment & rating below or tag @gusteen on social media!
Enjoyed this recipe? Share it with friends and family, and don't forget to leave a review!
This recipe looks amazing! Can't wait to try it.
Comments are stored locally in your browser. Server comments are displayed alongside your local comments.

Join to receive our email series which contains a round-up of some of our quick and easy family favorite recipes.
