
>>

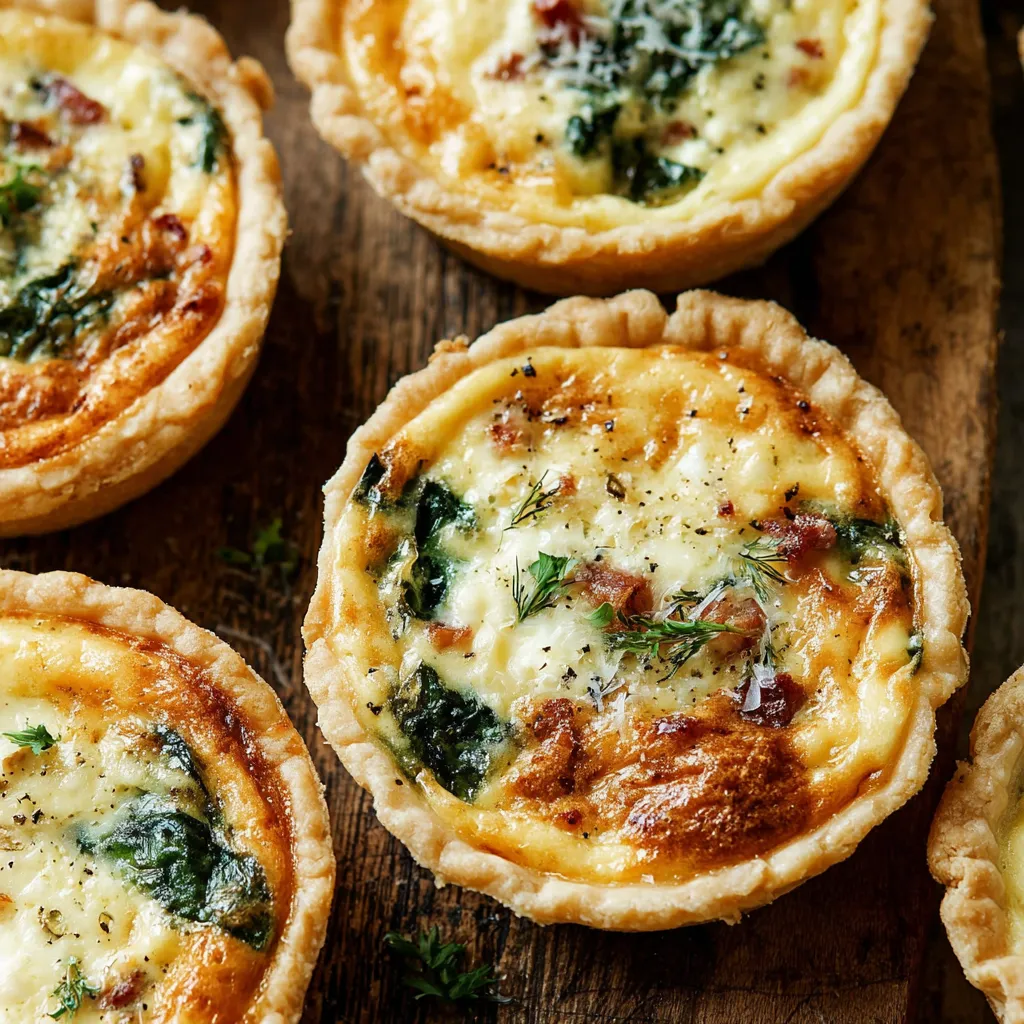
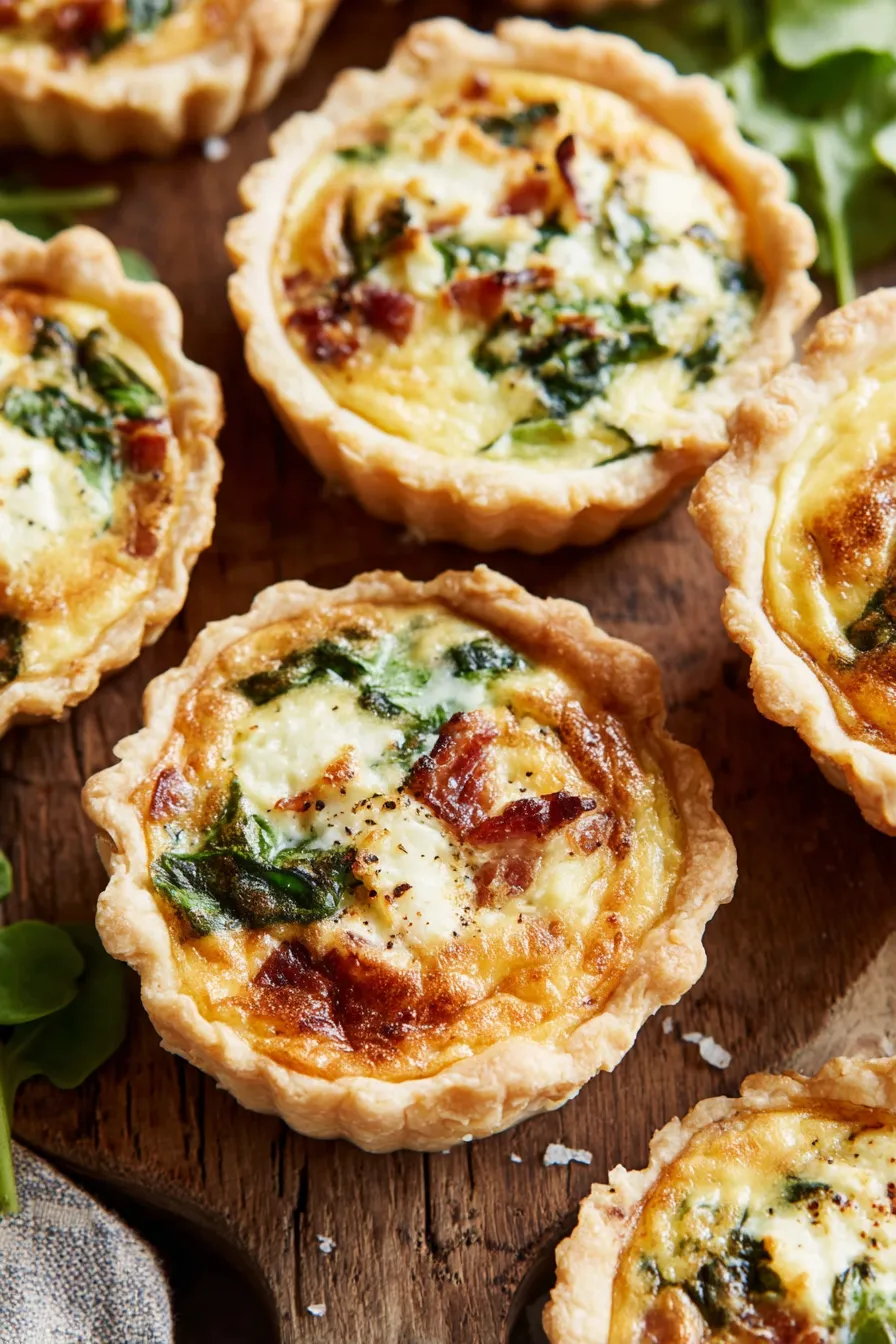
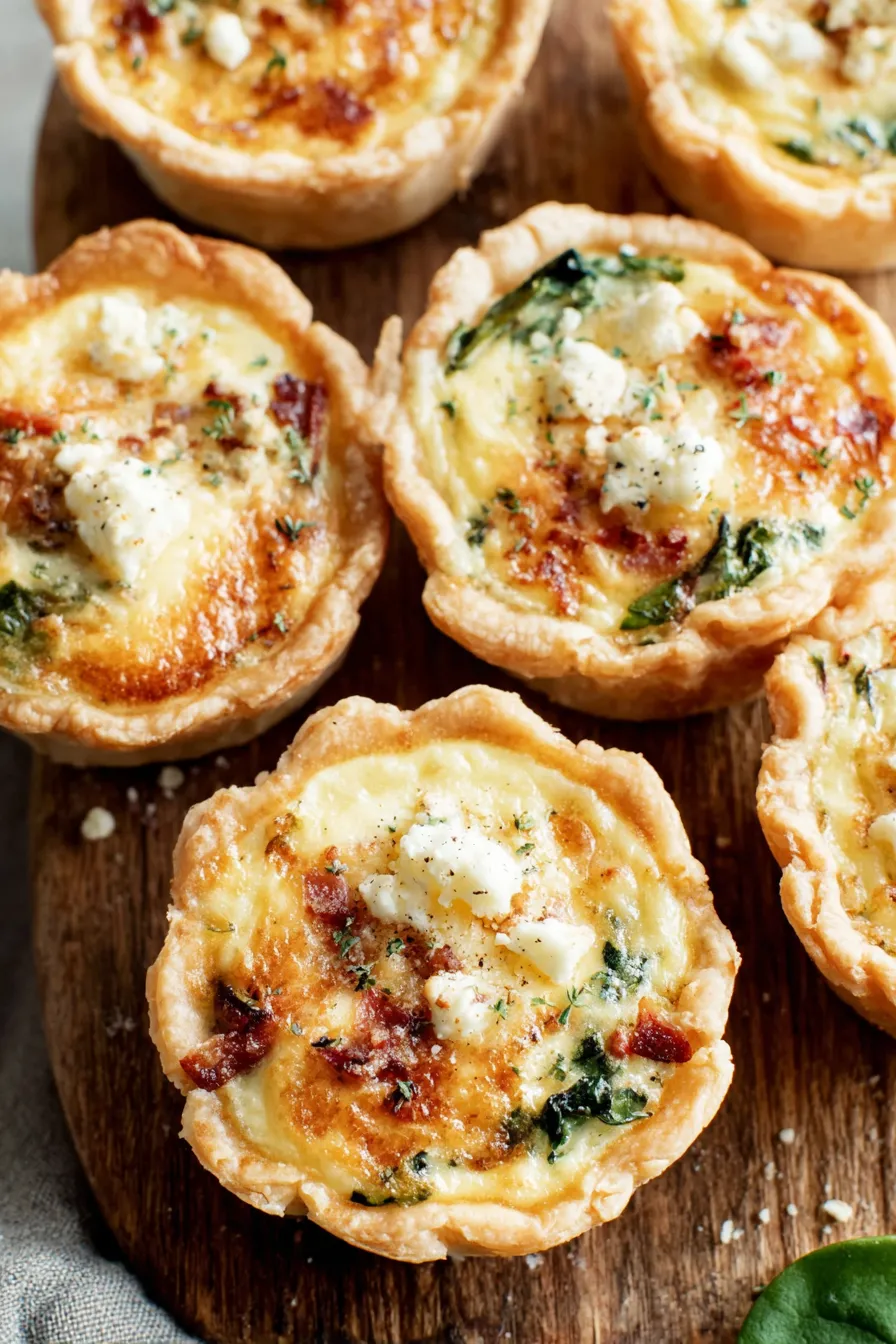
Buttery mini pastry shells filled with a silky egg custard and your favorite add-ins — ideal for brunch, parties, or make-ahead lunches.
This batch of mini quiche has been my go-to for weekend brunches and last-minute gatherings for years. I first landed on this combination while prepping food for a neighborhood potluck — I wanted something that traveled well, could be made ahead, and appealed to a crowd with different tastes. The result was a dozen tiny golden parcels with a tender, flaky crust and a creamy, savory center. They disappear faster than anything else on the table. Over time I refined the method so the crust stays crisp, the custard sets reliably, and every bite has the right amount of add-ins without sinking the center.
What makes these especially special is texture: the contrast between the all-butter crust and the silken egg filling with a slight wobble in the middle. The add-ins — whether caramelized onions, diced ham, or spinach — bring bursts of flavor and color. I usually make the dough the night before, which saves time on the day and yields a sturdier shell. These little bites are perfect warm from the oven or at room temperature, and they travel well in a picnic box. They’re also forgiving: if you’re short on time, store-bought pie crust works beautifully.
Personally, I remember bringing a tray of these to my sister's baby shower; guests loved them and several asked for the "secret" tip — chill the dough well and don't overfill the shells. My kids, who can be picky, declared them the "best bite-sized quiche" and asked for seconds. That reaction sealed their place in my regular entertaining lineup.
My favorite aspect is how forgiving this method is — even when the first batch came out slightly overbrowned on the edges, everyone loved the creamy center and the mix-and-match add-ins. I’ve sent these to potlucks, packed them for road trips, and used them as a protein-rich snack after school. The most frequent feedback: "Make more!"
To store, cool completely then layer the mini quiche in an airtight container with parchment between layers to prevent sticking. Refrigerate up to 4 days. For freezing, flash-freeze in a single layer on a baking sheet for 1 hour, then transfer to a freezer bag with the air pressed out; label with date and freeze up to 3 months. To reheat from frozen, place on a baking tray in a 350°F oven for 15–18 minutes; from refrigerated, reheat at 325°F for 8–10 minutes. Avoid microwaving for long, as it softens pastry and can make the crust soggy.
If you need dairy-free options, substitute a commercial dairy-free full-fat creamer for heavy cream and an unsweetened plant milk like oat milk for whole milk — expect a slightly different mouthfeel. Use a gluten-free pie crust blend to make them gluten-free, remembering texture will change slightly. For lower-fat versions, use all milk (1 cup) instead of milk plus heavy cream, but reduce baking time slightly and watch for a firmer set. Swap cheeses: Gruyère yields a nutty richness; feta adds tang; cheddar gives a familiar savory flavor. Always pre-cook watery vegetables to concentrate flavor and remove excess moisture.
Serve warm as part of a brunch spread with a simple green salad tossed in lemon vinaigrette, roasted cherry tomatoes, and crusty sourdough. For an appetizer tray, arrange them with crudités, olives, and a variety of mustards and chutneys for dipping. Garnish with microgreens or a small sprig of dill for elegance. For a kid-friendly plate, pair with fresh fruit and carrot sticks. They also work well on a holiday buffet — place on tiered platters for visual impact and label with add-in varieties for guests.
The concept of small savory custards baked in pastry finds cousins across Europe: French quiche Lorraine is the best known, historically made with eggs, cream, and lardons in a single pie. Mini versions likely grew out of canapé and hors d'oeuvre traditions where small, individual portions are favored for gatherings. Offering different fillings reflects regional produce and preservation methods — smoked ham in the north, sautéed mushrooms where forests are common, or goat cheese in Mediterranean areas. Shrinking the format to mini sizes adapts the classic to modern entertaining and sharing cultures.
Spring: fill with blanched asparagus tips, fresh peas, and lemon zest. Summer: mix in charred corn, cherry tomatoes, and basil. Autumn: swap in roasted squash, sage, and crumbled aged cheddar. Winter: caramelized onions, sautéed mushrooms, and Gruyère or a touch of truffle oil make a cozy bite. Adjust cooking technique slightly for wetter fillings in summer (reduce added liquid, pre-roast vegetables) and increase seasoning to balance heartier winter components.
For efficient meal prep, make the dough and custard a day ahead. Pre-cook and cool add-ins, and keep them in separate containers so you can assemble on the day of serving. Assemble the unbaked shells on baking sheets, cover tightly with plastic wrap, and refrigerate for up to 24 hours before baking. This approach is perfect for hosting: pop them in a hot oven while finishing other dishes. For grab-and-go lunches, portion 3–4 mini quiche into containers with a small salad; they reheat well in an office toaster oven.
These little tarts are one of my most requested make-ahead items — a simple, stylish bite that highlights technique and taste. Try different add-in combinations and make the formula your own: once you find your favorite mix, they’ll likely become a staple for your family and guests.
Keep the dough cold; if it softens, refrigerate briefly before cutting to maintain shape.
Pre-cook any high-moisture add-ins like spinach, mushrooms, or onions to avoid soggy centers.
Avoid overfilling shells — fill 3/4 full to allow custard expansion and a neat edge.
This nourishing perfect mini quiche (make-ahead, freezable, crowd-pleasing) recipe is sure to be a staple in your kitchen. Enjoy every moist, high protein slice — it is perfect for breakfast or as a wholesome snack any time.
Yes — finish cooking from frozen at 350°F for 15–18 minutes. For refrigerated quiche, reheat at 325°F for 8–10 minutes until warmed through.
Use a 2.5-inch cutter or a 1/3-cup measuring cup to cut rounds; aim for 24 rounds per 9-10 inch crust.
This Perfect Mini Quiche (Make-Ahead, Freezable, Crowd-Pleasing) recipe makes perfectly juicy, tender, and flavorful steak every time! Serve with potatoes and a side salad for an unforgettable dinner in under 30 minutes.
Make or unwrap two chilled pie crusts. If making from scratch, chill dough at least 2 hours or overnight. Keep dough cold to prevent shrinking and ensure flakiness.
In a large bowl, whisk 4 large eggs with 1/2 cup whole milk and 1/2 cup heavy cream; add 1/4 teaspoon salt and 1/4 teaspoon pepper. Cover and refrigerate until ready to assemble.
Preheat oven to 375°F (191°C). Grease two 24-count mini muffin pans liberally with nonstick spray. If only one pan is available, plan to bake in batches.
On a floured surface, roll one chilled crust to about 12 inches. Cut 2.5-inch rounds using a 2.5-inch cutter or 1/3-cup measure. Re-roll scraps quickly and keep dough cold.
Press each round into greased mini muffin cups, pushing up the sides. Pour cold custard into shells about 3/4 full. Evenly distribute 3/4 cup add-ins across cups and sprinkle with 1/2 cup cheese.
Bake at 375°F for 25–28 minutes until centers are nearly set and edges are lightly golden. Cool 5 minutes in the pan before removing. Serve warm or at room temperature.
Last Step: Please leave a rating and comment letting us know how you liked this recipe! This helps our business to thrive and continue providing free, high-quality recipes for you.
Leave a comment & rating below or tag
@gusteen on social media!

Ultra-fudgy brownies crowned with melty marshmallows and a glossy cocoa icing. A nostalgic crowd-pleaser that slices cleanly and disappears fast.

Buttery shortbread crust meets gooey brown-sugar pecan filling in these quick, crowd-pleasing bars, prepped in just 10 minutes.

Ultra-smooth pumpkin cheesecake with warm spice, sturdy graham crust, and a foolproof, crack-free bake. Perfect with caramel and whipped cream.
Leave a comment & rating below or tag @gusteen on social media!
Enjoyed this recipe? Share it with friends and family, and don't forget to leave a review!
This recipe looks amazing! Can't wait to try it.
Comments are stored locally in your browser. Server comments are displayed alongside your local comments.

Join to receive our email series which contains a round-up of some of our quick and easy family favorite recipes.
