
>>

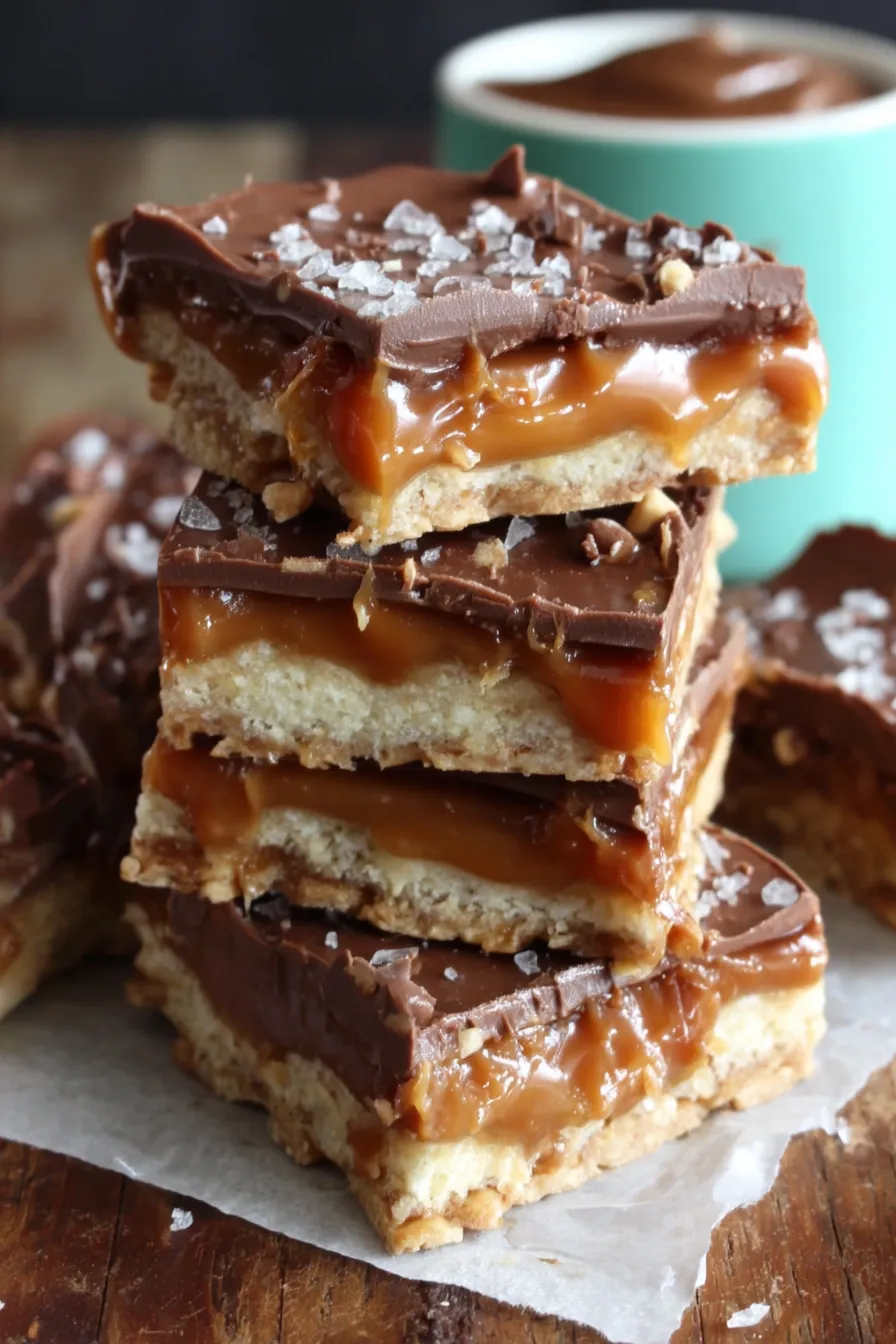
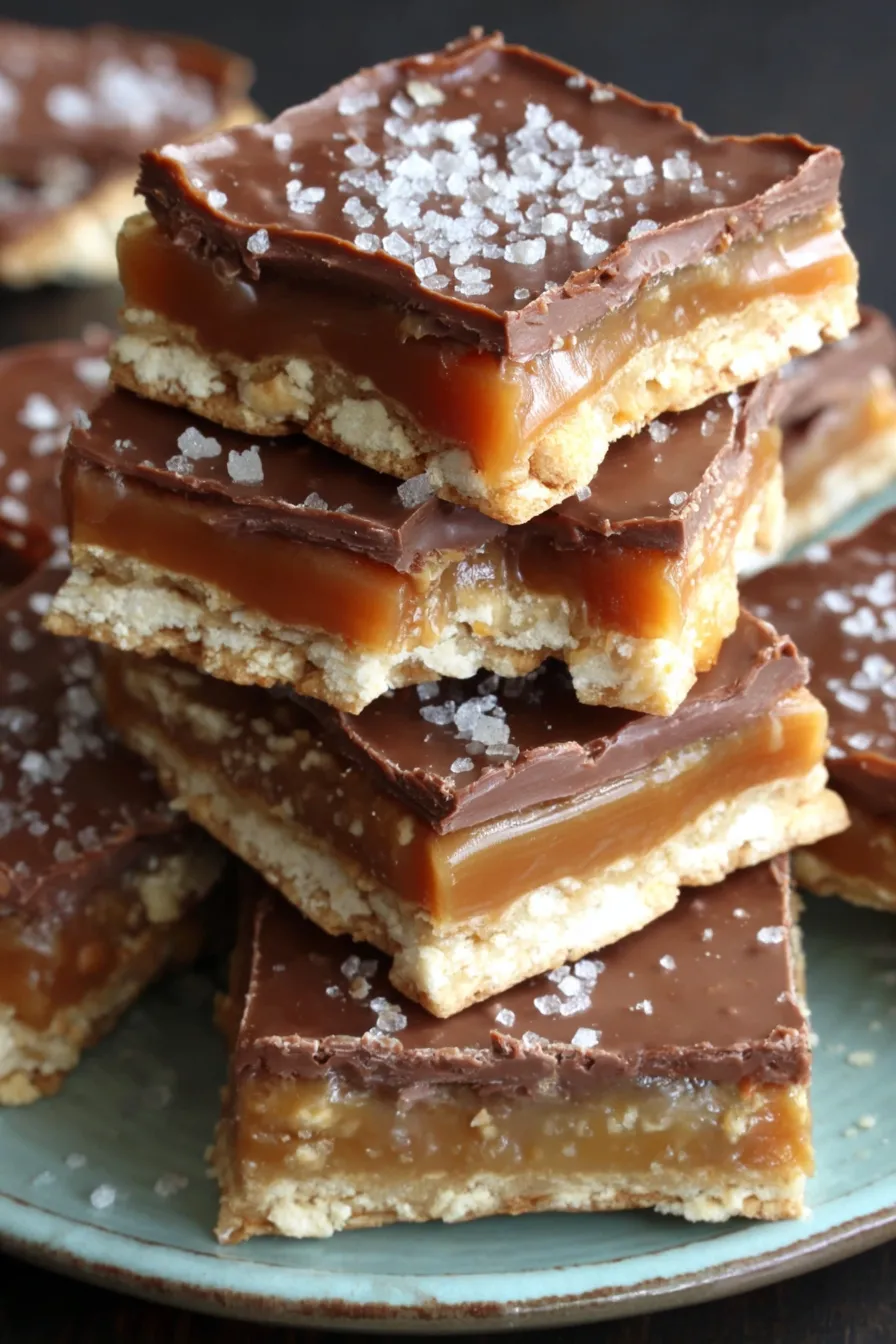
Buttery, gooey layers of salted caramel sandwiched between crisp crackers and topped with a chocolate-butterscotch peanut butter glaze — a nostalgic no-bake favorite.
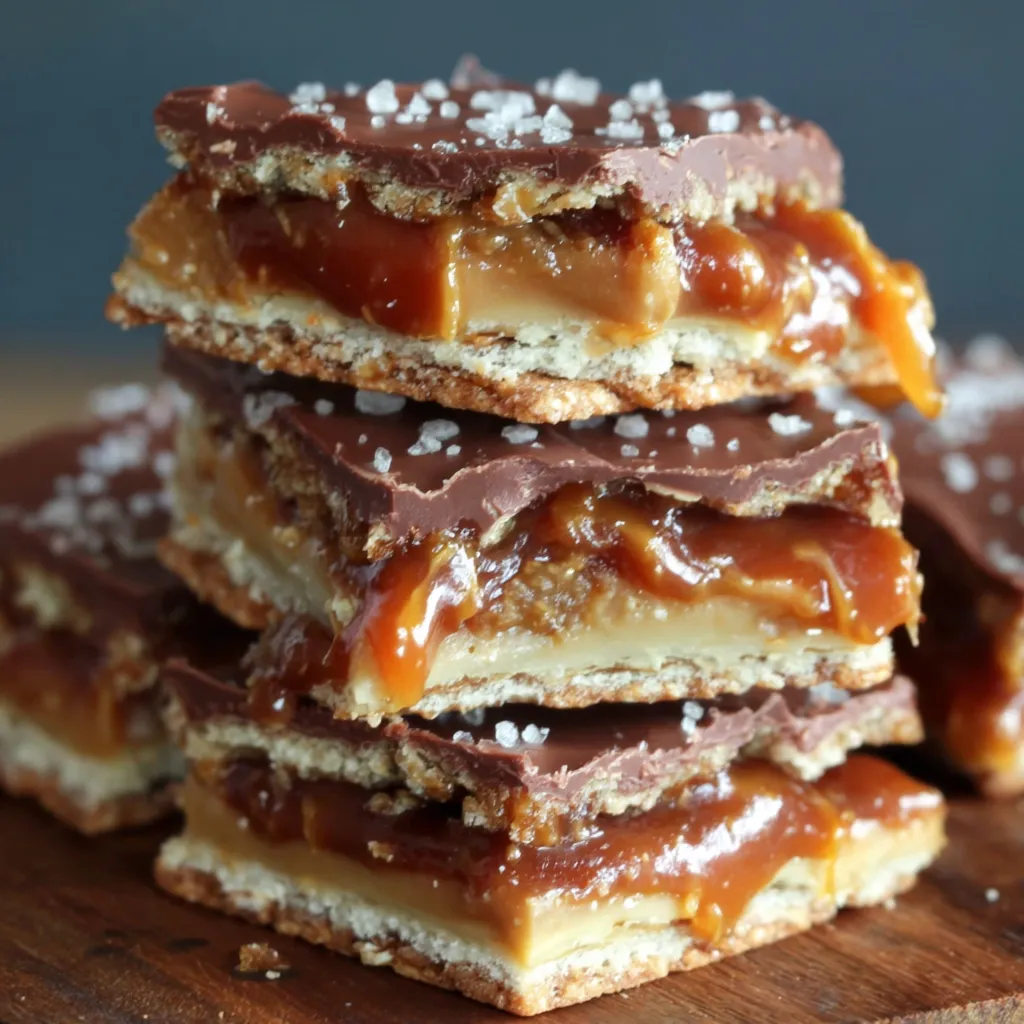
This dessert has been a go-to for potlucks, holiday trays, and last-minute guests for years. I first discovered this combination when I needed a make-ahead sweet that traveled well and fed a crowd; the contrast between crisp crackers, warm caramel, and a glossy chocolate-butterscotch topping immediately won everyone over. The bars are indulgent without being fussy: the caramel is cooked just long enough to be rich and slightly thick, the crackers provide a satisfying snap, and the frosting melts into the edges in a way that makes every bite addictive.
I remember the first time I served these at a family reunion. I baked a double batch, packed them into tins, and by the end of the day everyone wanted the recipe. The salted finish — a simple sprinkle of coarse salt across the top — lifts the sweetness and keeps the bars from feeling cloying. They are simple to make in a 9x13-inch pan for thicker squares or spread across a 10x15-inch jelly roll pan when you want thinner, more portable pieces. Either way, they disappear fast.
In my kitchen these have become my secret weapon when I need something nostalgic and irresistible. Family members often request a pan for birthdays and I’ve learned tricks — like chilling briefly in the freezer for a clean cut — that make serving effortless. The first time my picky nephew tried one, he surprised everyone by asking for seconds; that day sealed these bars as a weekly request.
What I love most is how forgiving this method is. Even if the caramel appears slightly thin when hot, chilling gives it enough structure to hold the bars together. Over the years I’ve learned to trust the 7-minute boil and the cooling chill: it consistently yields bars that are gooey in the interior and crisp at the edges. People always comment on the nostalgic combination of chocolate, butterscotch, and peanut butter — it tastes like a childhood treat upgraded for grown-up palates.
Keep the bars refrigerated in an airtight container to maintain the glossy topping and crisp texture of the crackers. Layer parchment between tiers to prevent sticking. Refrigerated, they stay fresh for 4–5 days; for longer storage, freeze in a single layer on a baking sheet until firm, then transfer to a freezer-safe container for up to 3 months. To thaw, move to the refrigerator overnight for even texture preservation. Avoid leaving at room temperature for long periods; the caramel will soften and the topping may sweat in warm conditions.
If you need to swap ingredients, there are a few reliable substitutions. For a nut-free version, omit peanut butter and increase butterscotch chips to 1 1/3 cups or add 2 tablespoons light corn syrup to retain gloss. For a gluten-free version, use certified gluten-free crackers and graham-style crumbs. To make the topping dairy-free, use dairy-free chocolate and butterscotch alternatives and a dairy-free margarine in the caramel — note the flavor and mouthfeel will shift slightly. Always keep ratios close: too much liquid in swaps will yield a softer set.
Serve chilled squares as part of a dessert platter with fresh berries, salted nuts, or a scoop of vanilla ice cream for contrast. For parties, cut into 1.5–2-inch bites and arrange on a parchment-lined tray; garnish with a tiny pinch of flaky sea salt for a caramel boost. These bars pair well with coffee or an after-dinner port. For a festive twist, drizzle white chocolate over the top and sprinkle edible gold dust for holiday presentations.
This style of layered cracker and caramel confection has roots in American home baking — think of the classic “cracker toffee” or “saltine toffee” often made for holidays. Using graham crumbs in the caramel adds a hint of digestive richness reminiscent of classic American s'more flavors. Over time, regional variations have incorporated different chips, nut butters, or types of crackers, but the core idea — alternating crisp layers with a buttery caramel — remains a comforting, nostalgic treat across many households.
Adjust the topping and garnishes for seasons: in winter add a sprinkle of crushed peppermint candies atop the chocolate; in summer swap peanut butter for almond butter and top with toasted coconut for a lighter profile. For autumn, stir a pinch of cinnamon or pumpkin pie spice into the caramel. These small changes allow the same base technique to feel fresh throughout the year.
For efficient prep, crush the graham crackers and measure the chips and peanut butter ahead of time. Assemble a station with the pan lined, crackers ready, and a bowl for mixing. After the caramel step, work swiftly while it remains pourable. If preparing for transport, chill the bars completely and cut them the day of serving to keep edges neat. Use a warmed knife and wipe between cuts for professional-looking squares.
These bars are a joyful blend of texture and flavor — easy enough for busy nights but impressive enough for gatherings. Make a pan, keep some in the freezer for emergencies, and expect requests for the recipe when you share them. Enjoy the process, and don’t skip the sea salt finish if you want to elevate the sweetness.
Line the pan with parchment that overhangs for easy removal and clean slicing.
Use a sharp knife warmed under hot water and dried between cuts for neat edges.
Chill briefly in the freezer for 15–25 minutes to speed up set time before slicing.
Stir constantly while boiling the caramel to prevent scorching and ensure even texture.
For visual interest, finish with a light sprinkle of flaky sea salt while the topping is still soft.
This nourishing salted caramel cracker bars recipe is sure to be a staple in your kitchen. Enjoy every moist, high protein slice — it is perfect for breakfast or as a wholesome snack any time.
Store in the refrigerator for 4–5 days or freeze up to 3 months. Thaw overnight in the fridge.
Yes — you can make them in a 10x15-inch pan for thinner bars; a 9x13-inch pan yields thicker squares.
This Salted Caramel Cracker Bars recipe makes perfectly juicy, tender, and flavorful steak every time! Serve with potatoes and a side salad for an unforgettable dinner in under 30 minutes.
Line a 9x13-inch pan with parchment paper or foil with an overhang. Arrange one layer of club crackers so they touch and fill as much of the pan as possible; trim to fit where needed.
In a medium saucepan combine butter, graham cracker crumbs, packed brown sugar, and milk. Bring to a rolling boil over medium heat, stirring constantly. Maintain a steady boil and cook for 7 minutes while stirring to develop color and thickness, then remove from heat and stir in vanilla.
Pour half of the hot caramel over the first cracker layer, add a second layer of crackers, pour the remaining caramel, and top with a final cracker layer. Press lightly to compact while the caramel is warm.
Over low heat, melt the milk chocolate chips, butterscotch chips, and peanut butter together, stirring until smooth and glossy. Keep the heat low to avoid seizing.
Pour the topping over the assembled bars and smooth. Chill in the freezer for 15–25 minutes or the refrigerator for 1–2 hours until firm. Use an overhanging parchment to lift and cut into desired squares with a warmed knife.
Last Step: Please leave a rating and comment letting us know how you liked this recipe! This helps our business to thrive and continue providing free, high-quality recipes for you.
Leave a comment & rating below or tag
@gusteen on social media!

Ultra-fudgy brownies crowned with melty marshmallows and a glossy cocoa icing. A nostalgic crowd-pleaser that slices cleanly and disappears fast.

Buttery shortbread crust meets gooey brown-sugar pecan filling in these quick, crowd-pleasing bars, prepped in just 10 minutes.

Ultra-smooth pumpkin cheesecake with warm spice, sturdy graham crust, and a foolproof, crack-free bake. Perfect with caramel and whipped cream.
Leave a comment & rating below or tag @gusteen on social media!
Enjoyed this recipe? Share it with friends and family, and don't forget to leave a review!
This recipe looks amazing! Can't wait to try it.
Comments are stored locally in your browser. Server comments are displayed alongside your local comments.

Join to receive our email series which contains a round-up of some of our quick and easy family favorite recipes.
